Your First Form — Build a Contact Form in 5 Minutes
In this tutorial you will build a real contact form from scratch using Formcierge's drag-and-drop builder. You will add three fields — Full Name, Email Address, and Message — mark them as required, then save and preview the result. No coding is needed at any point. By the end you will have a working form ready to embed on any page of your WordPress site.
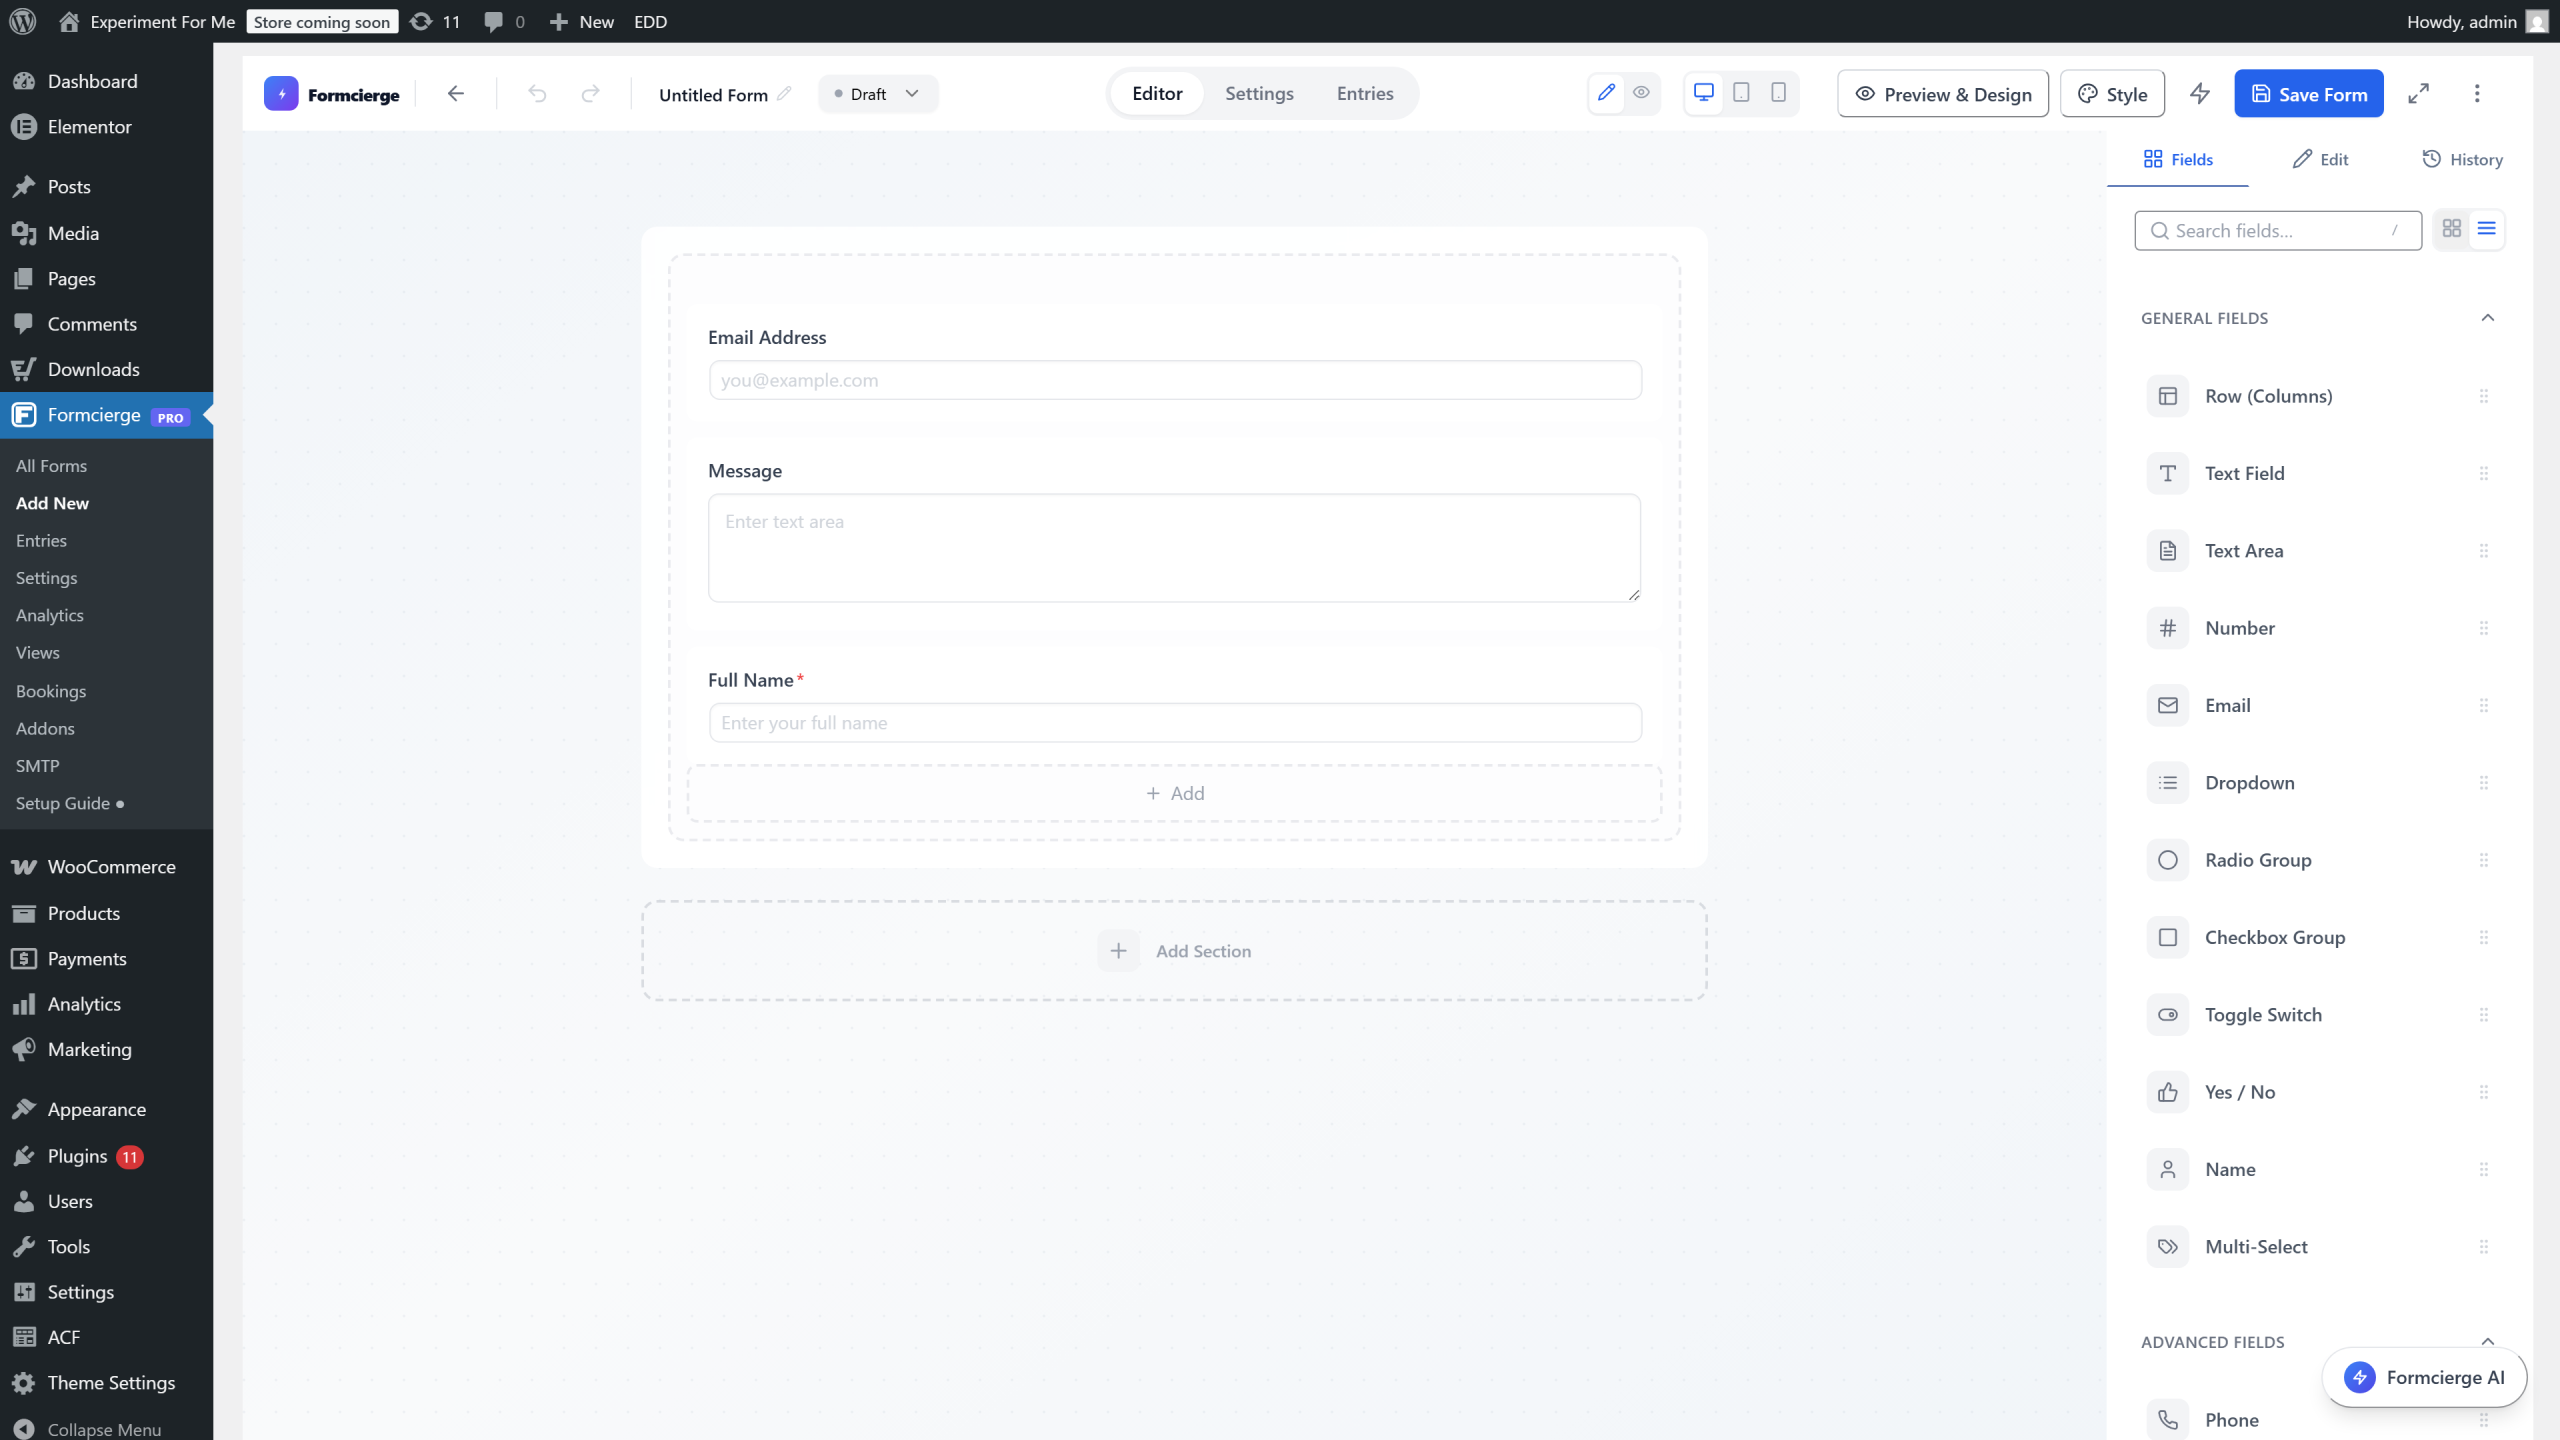
When you create a new form, Formcierge opens the **form builder** automatically. The screen is divided into three areas: a **field palette** on the left where you choose which fields to add, a **canvas** in the centre where your form takes shape, and a **properties panel** on the right where you configure each field after selecting it. The canvas is blank right now — you will fill it in the following steps.
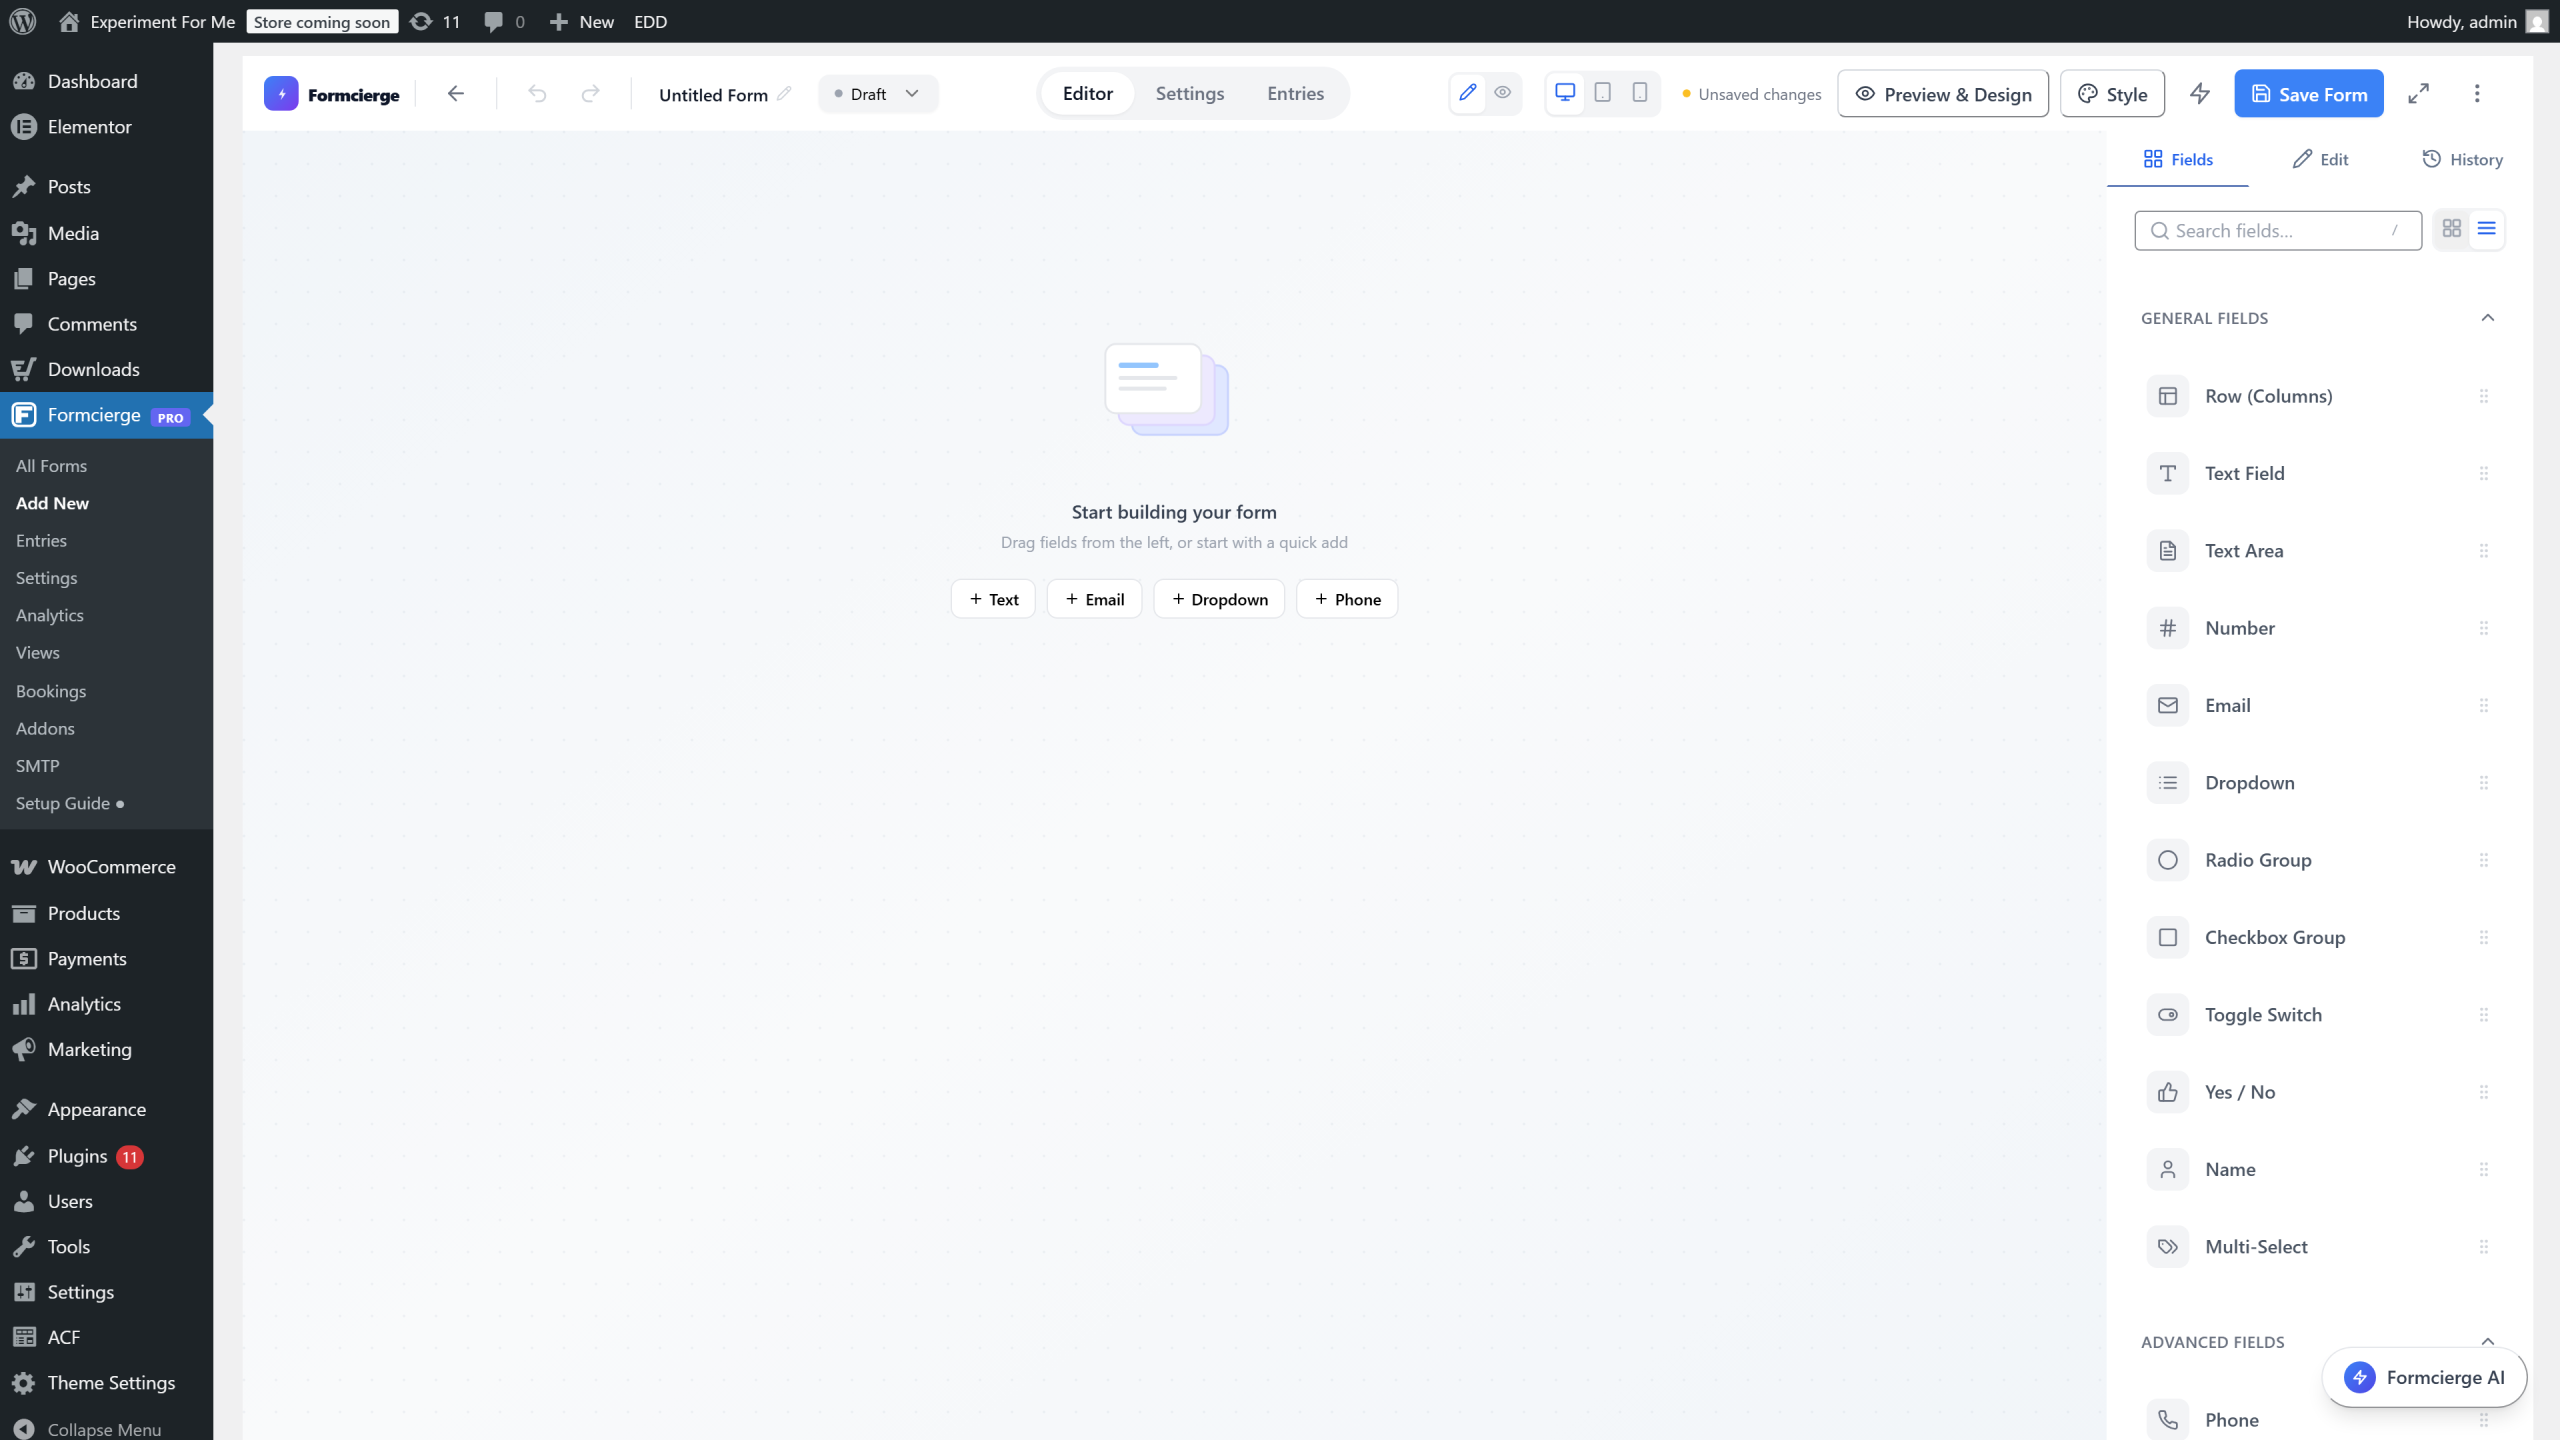
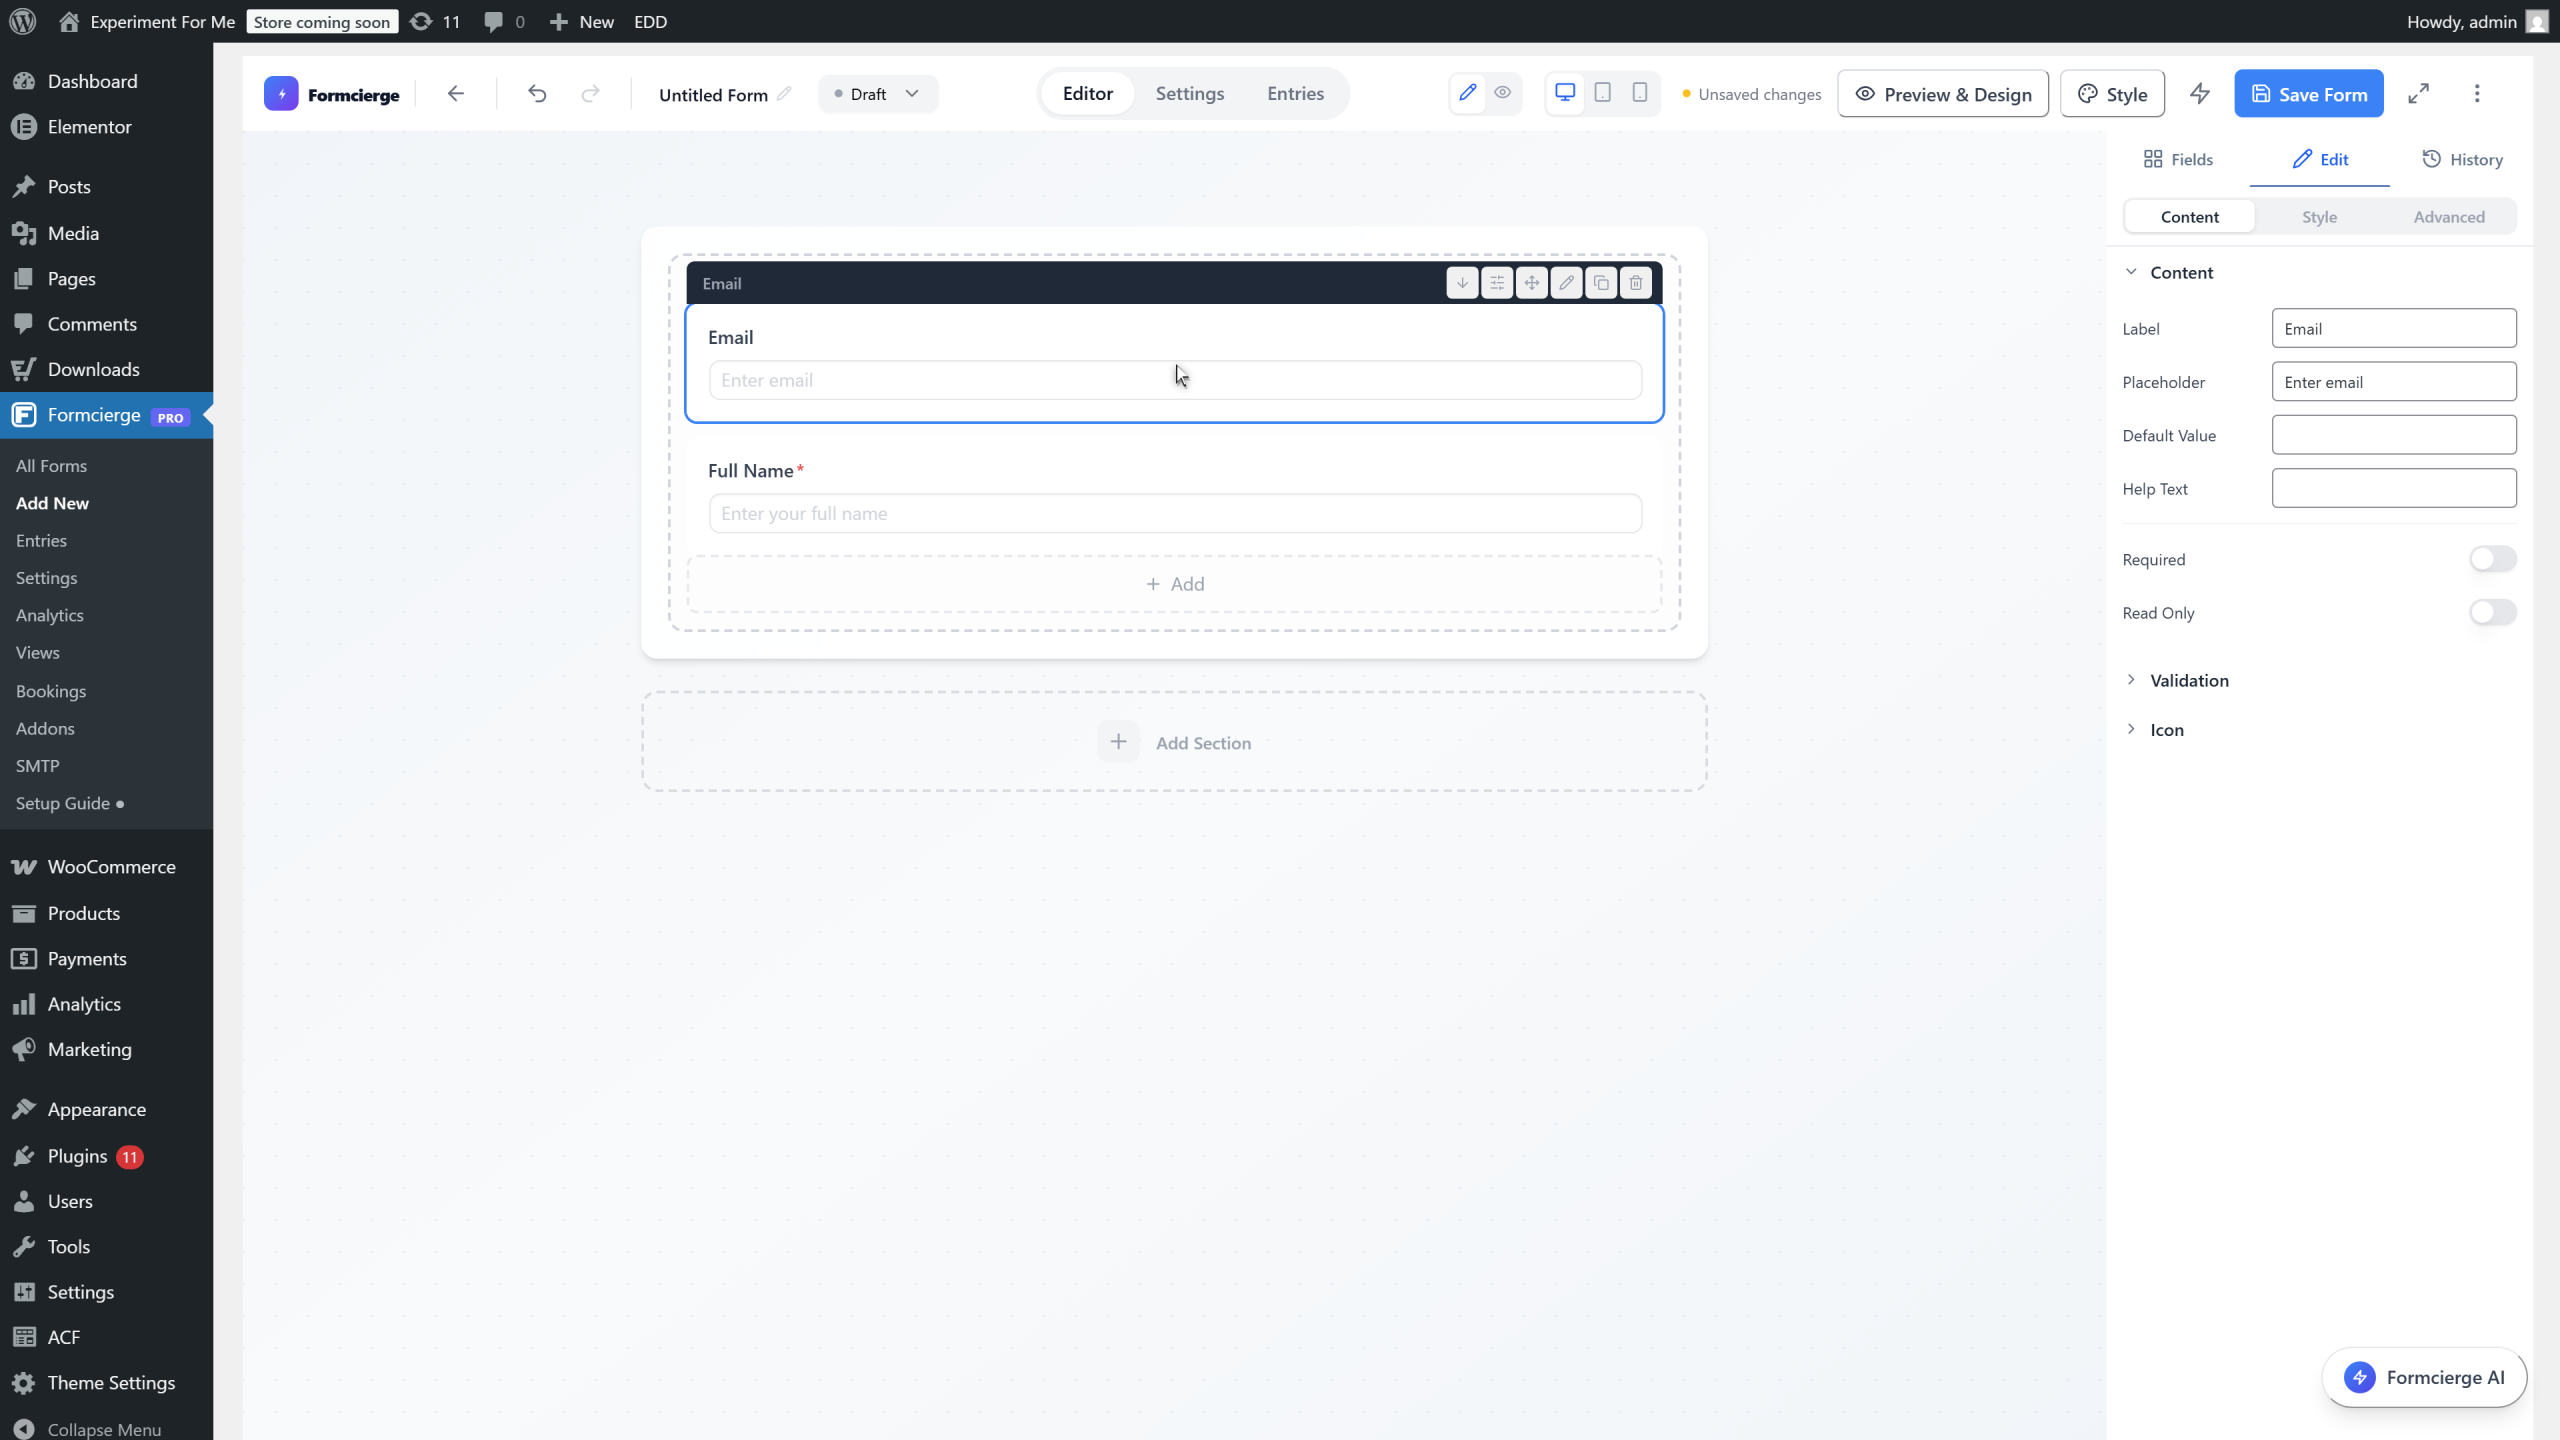
In the left panel, find **Text Field** under the *General* group. Click and drag it onto the empty canvas. A single-line text input appears on the form with a placeholder label. You will rename it in the next step.

Click the **Text Field** you just added on the canvas to select it. The right panel switches to that field's settings, showing a **General** tab with controls for the label, placeholder text, help text, and more.

In the right panel, click the **Label** input and type **Full Name**. The canvas updates in real time — visitors will see *Full Name* as the heading above this field on the live form.
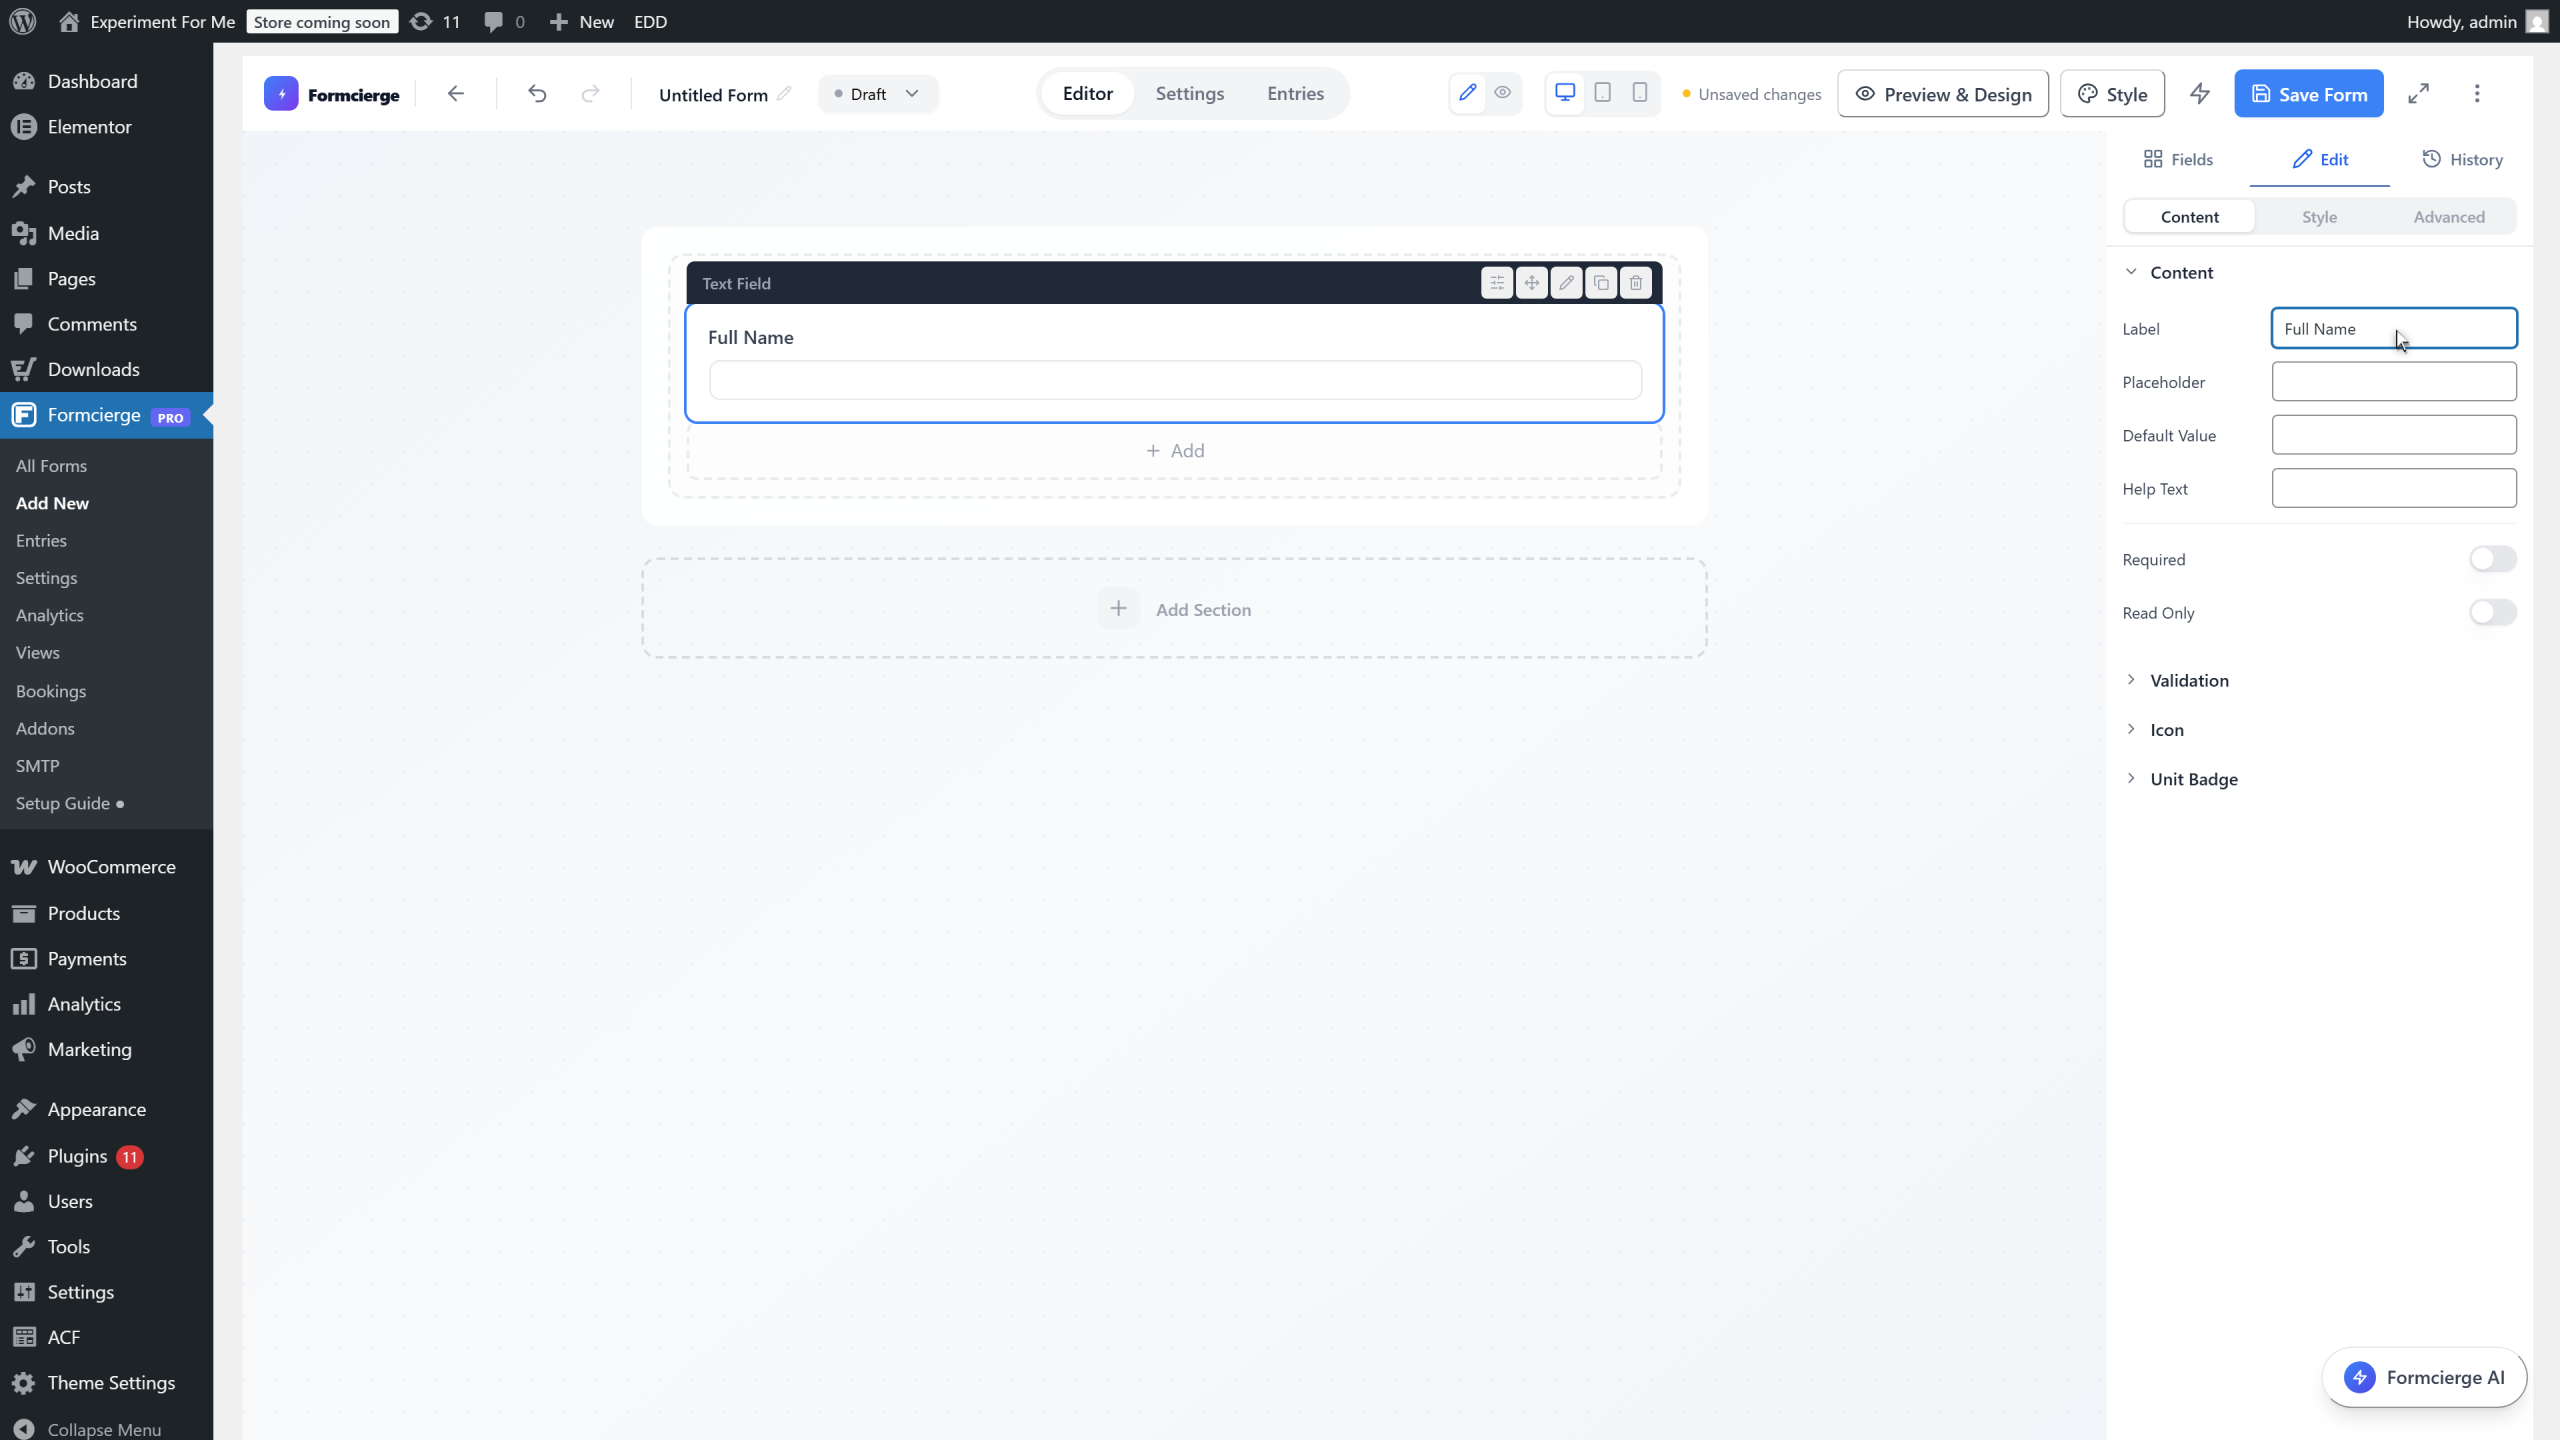
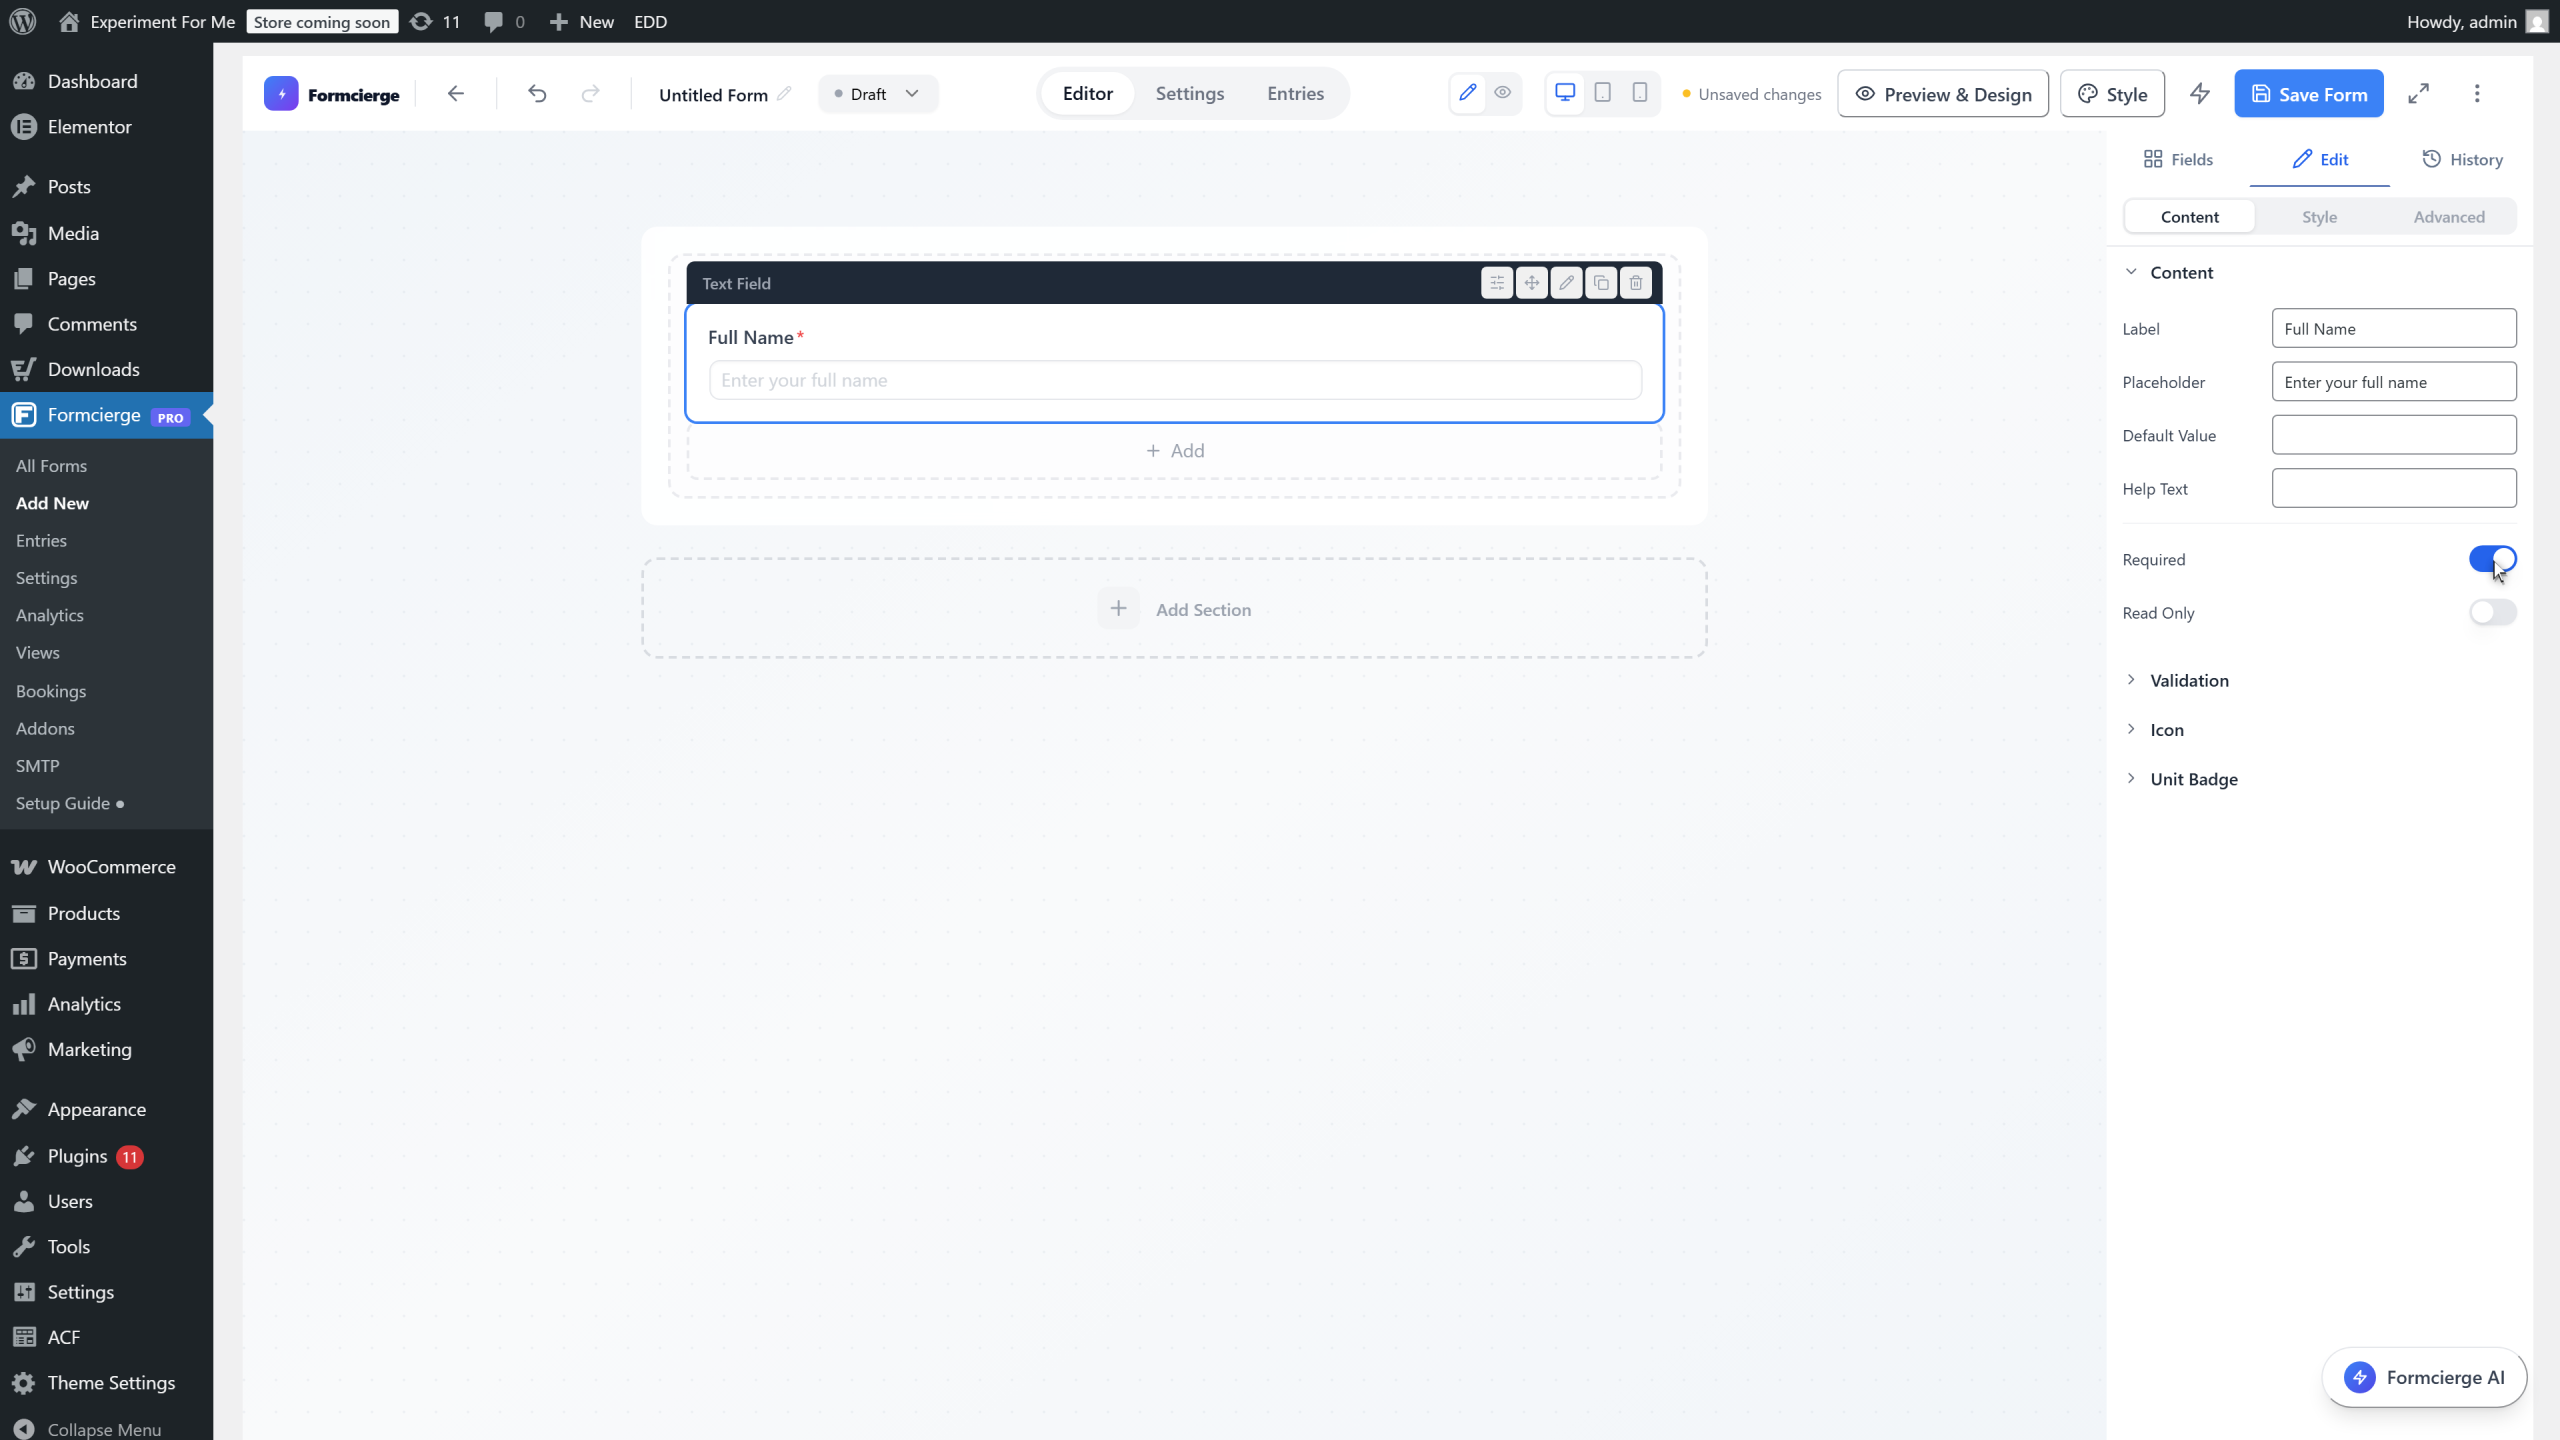
Click the **Placeholder** input and type **Enter your full name**. Placeholder text appears inside the field before the visitor starts typing, giving them a hint about what to fill in. It disappears automatically when they begin typing.

Toggle the **Required** switch to the on (blue) position. An asterisk (*) will appear next to *Full Name* on the live form, and Formcierge will prevent submission if a visitor leaves this field blank.
From the left panel, drag the **Email** field onto the canvas below the Full Name field. Formcierge's Email field automatically validates that the visitor types a properly-formatted email address (e.g. name@domain.com) — no custom code needed.
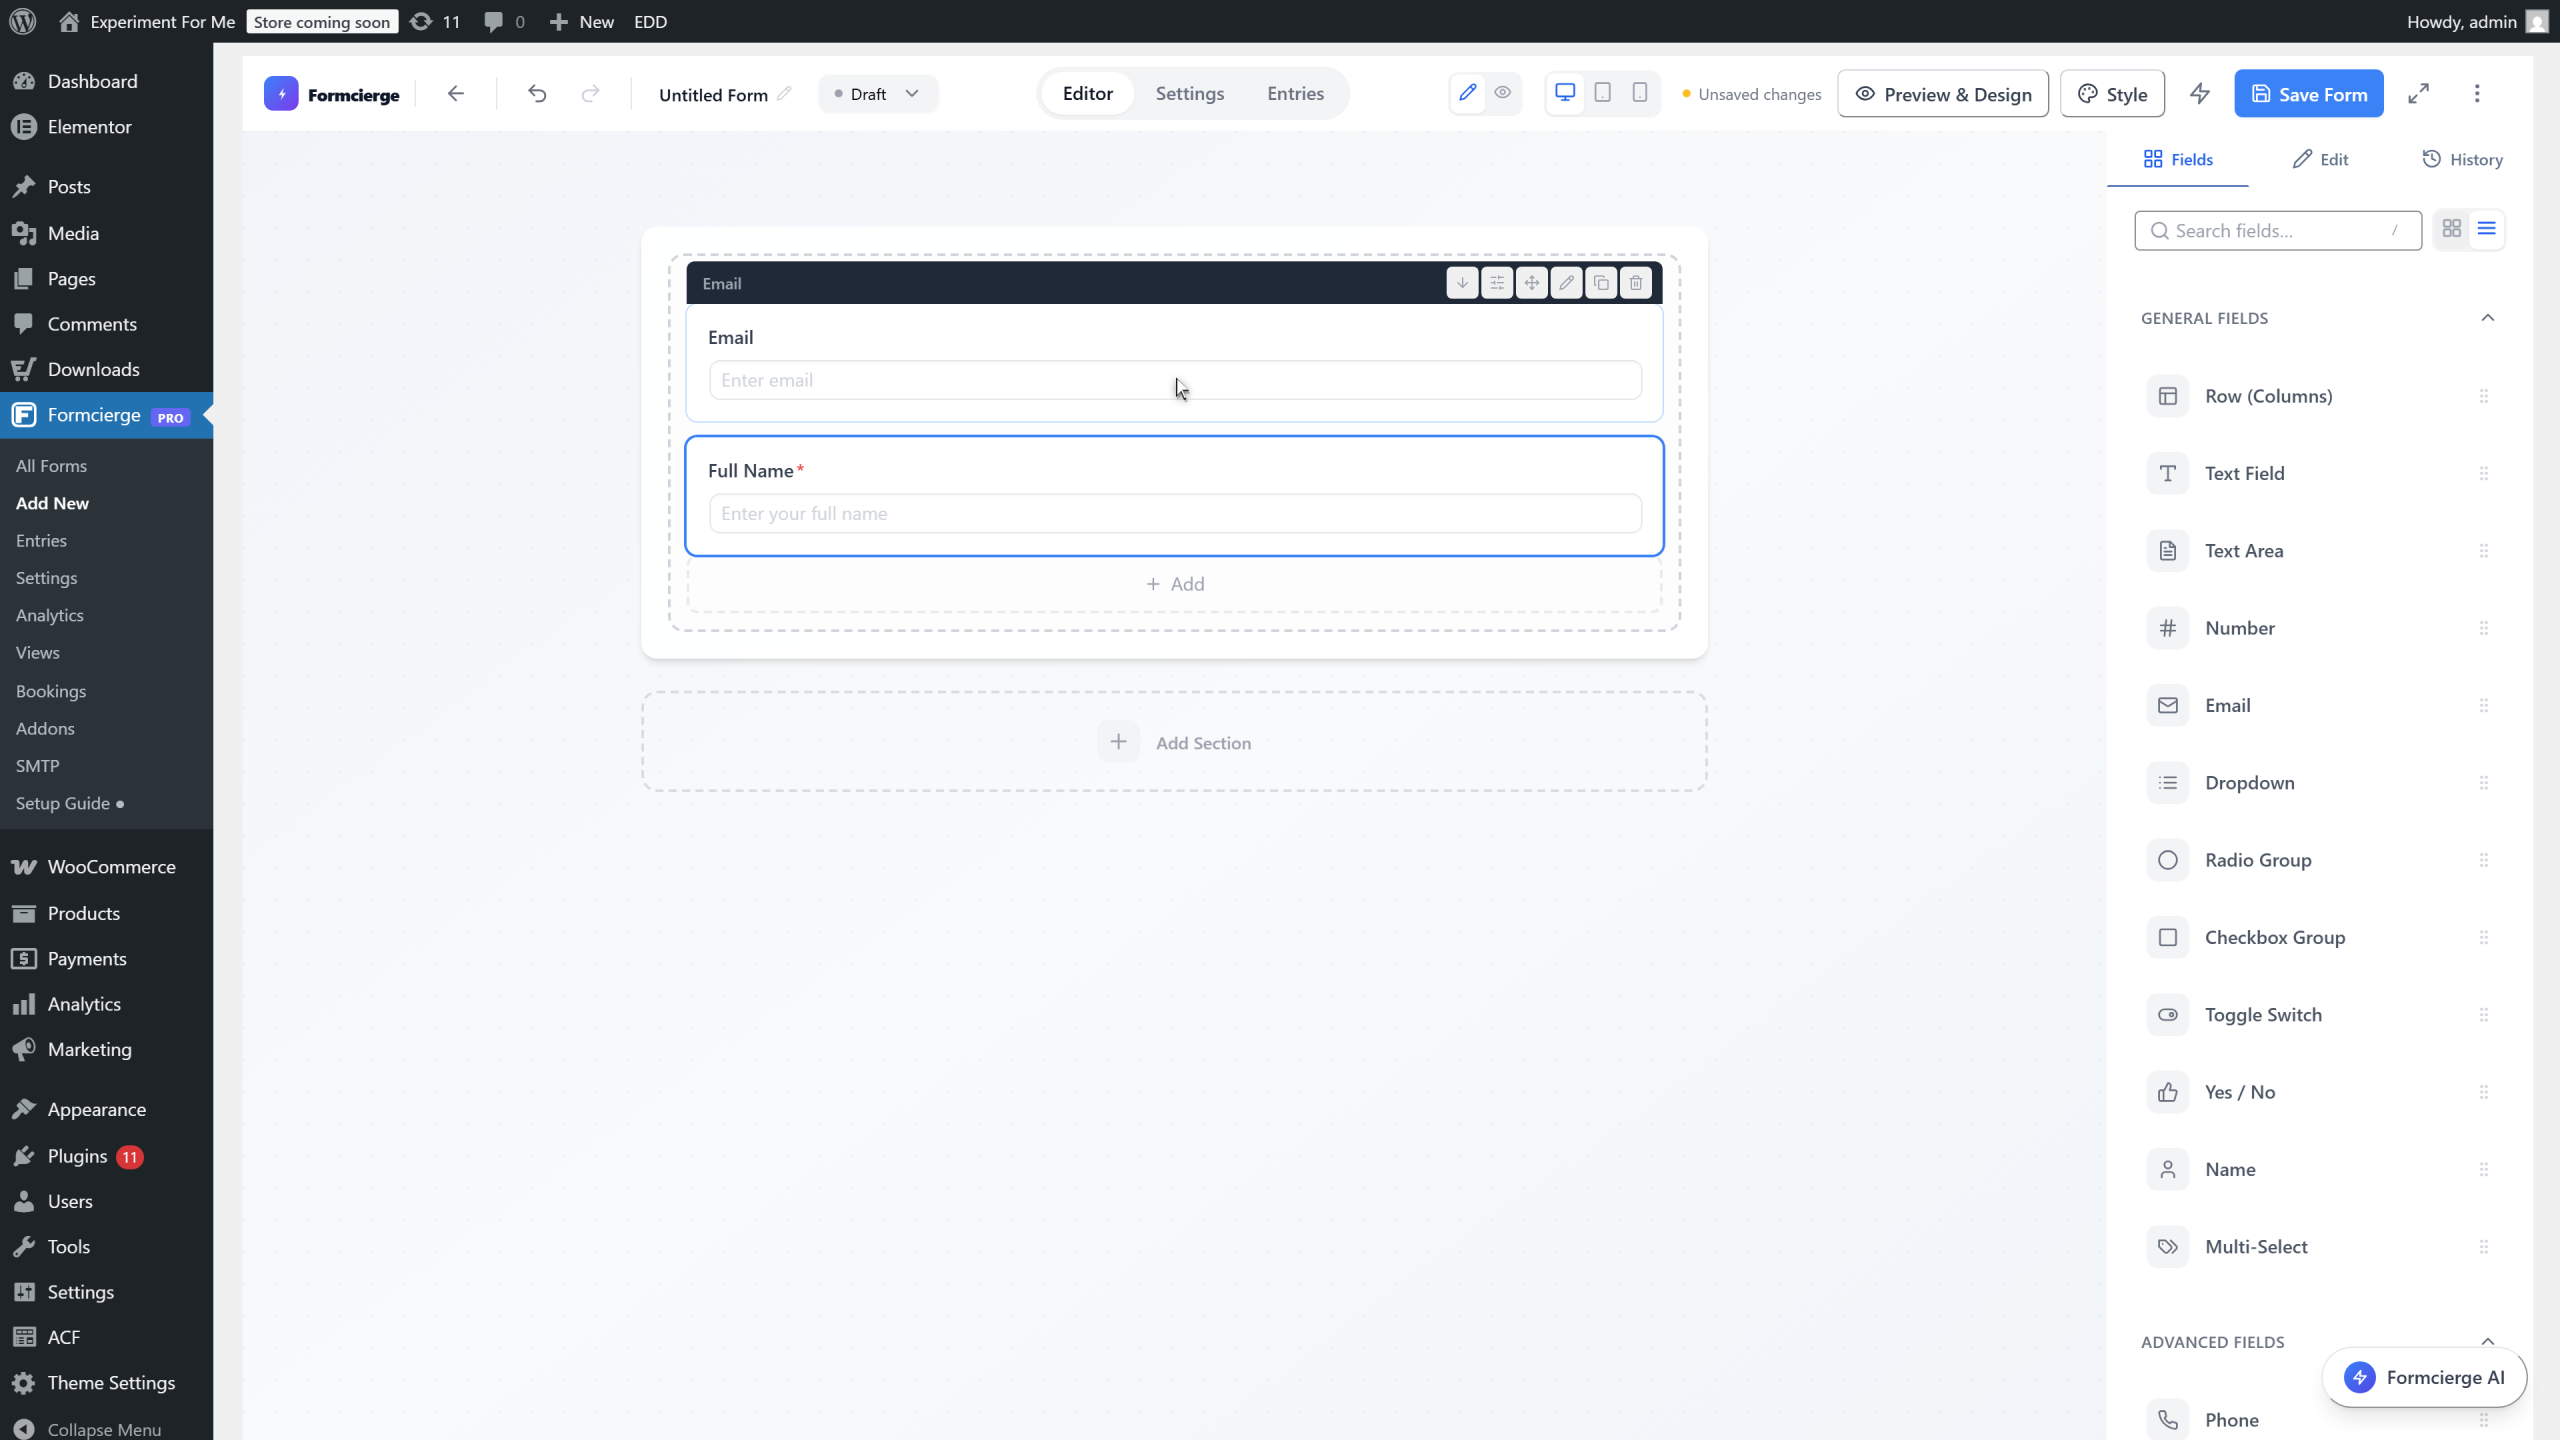
Click the **Email** field on the canvas to select it. The right panel updates to show the email field's settings.
Click the **Label** input and type **Email Address**. This makes the field's purpose immediately clear to every visitor filling in the form.
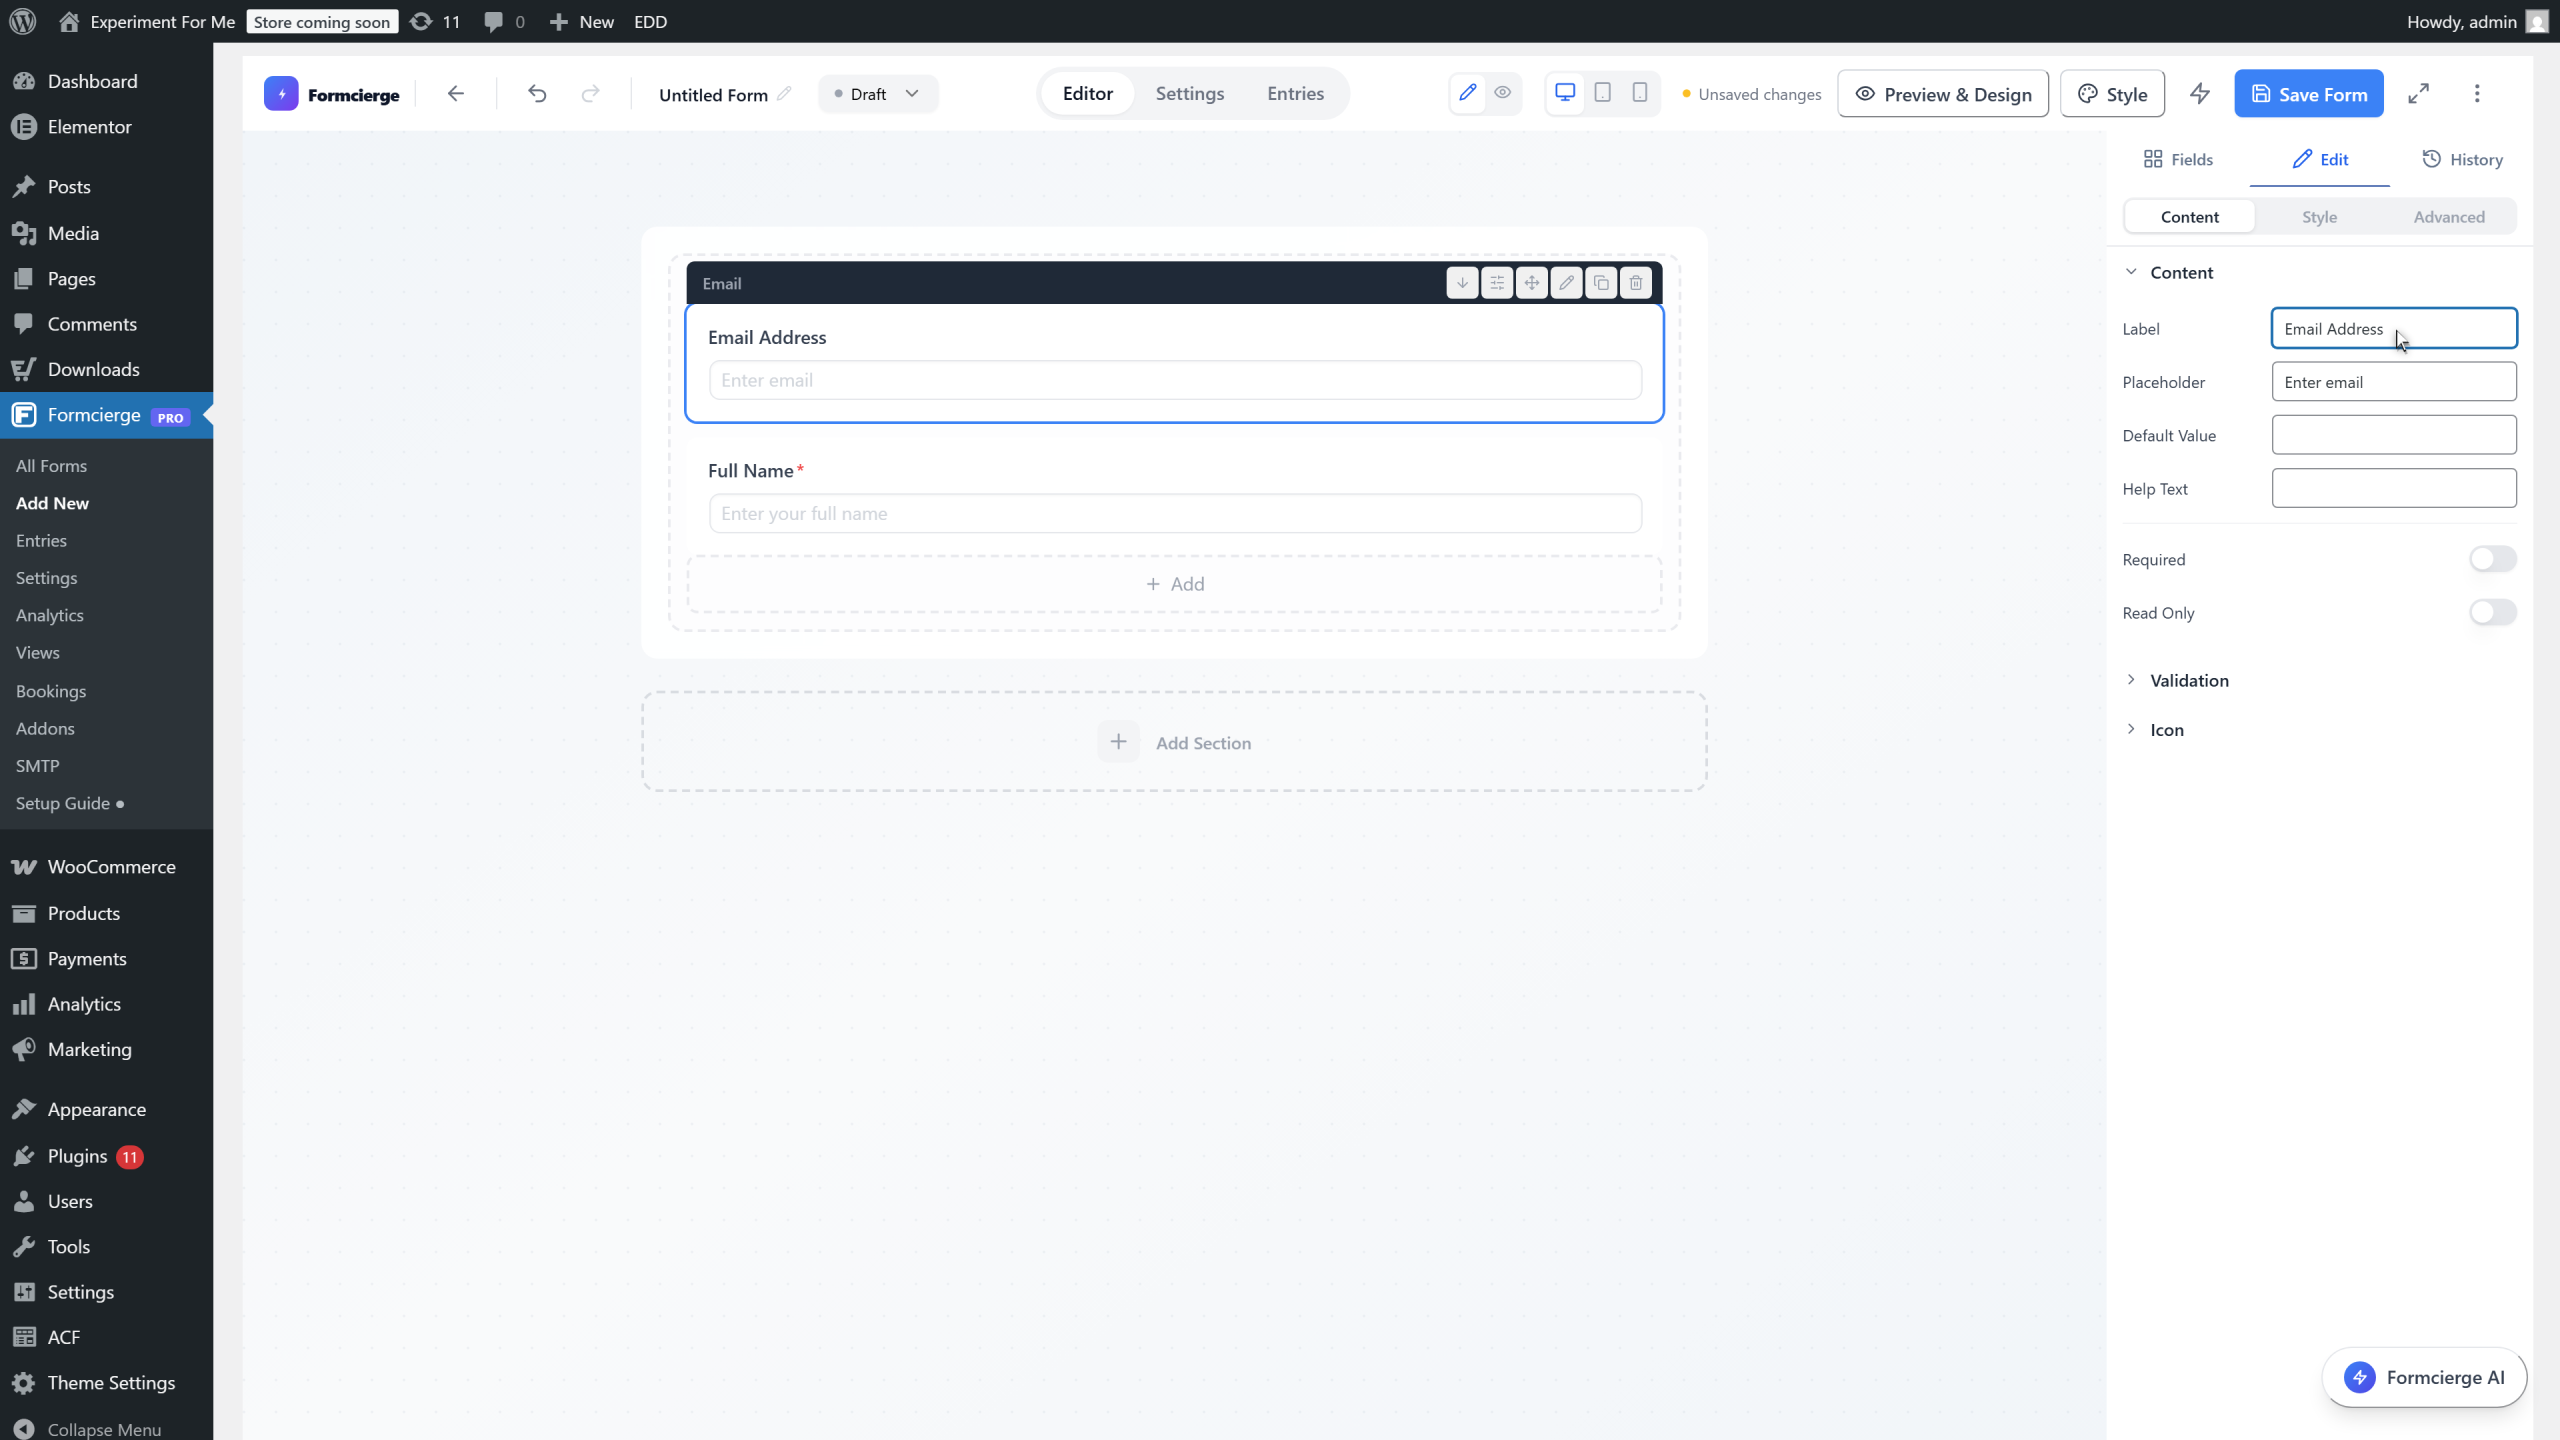
Click the **Placeholder** input and type **you@example.com** to show visitors the expected format. Then toggle **Required** on. You need a valid email address so you can reply to every enquiry.

From the left panel, drag the **Text Area** field onto the canvas below the Email field. A textarea gives visitors a large multi-line box to write a detailed message — perfect for describing their enquiry.
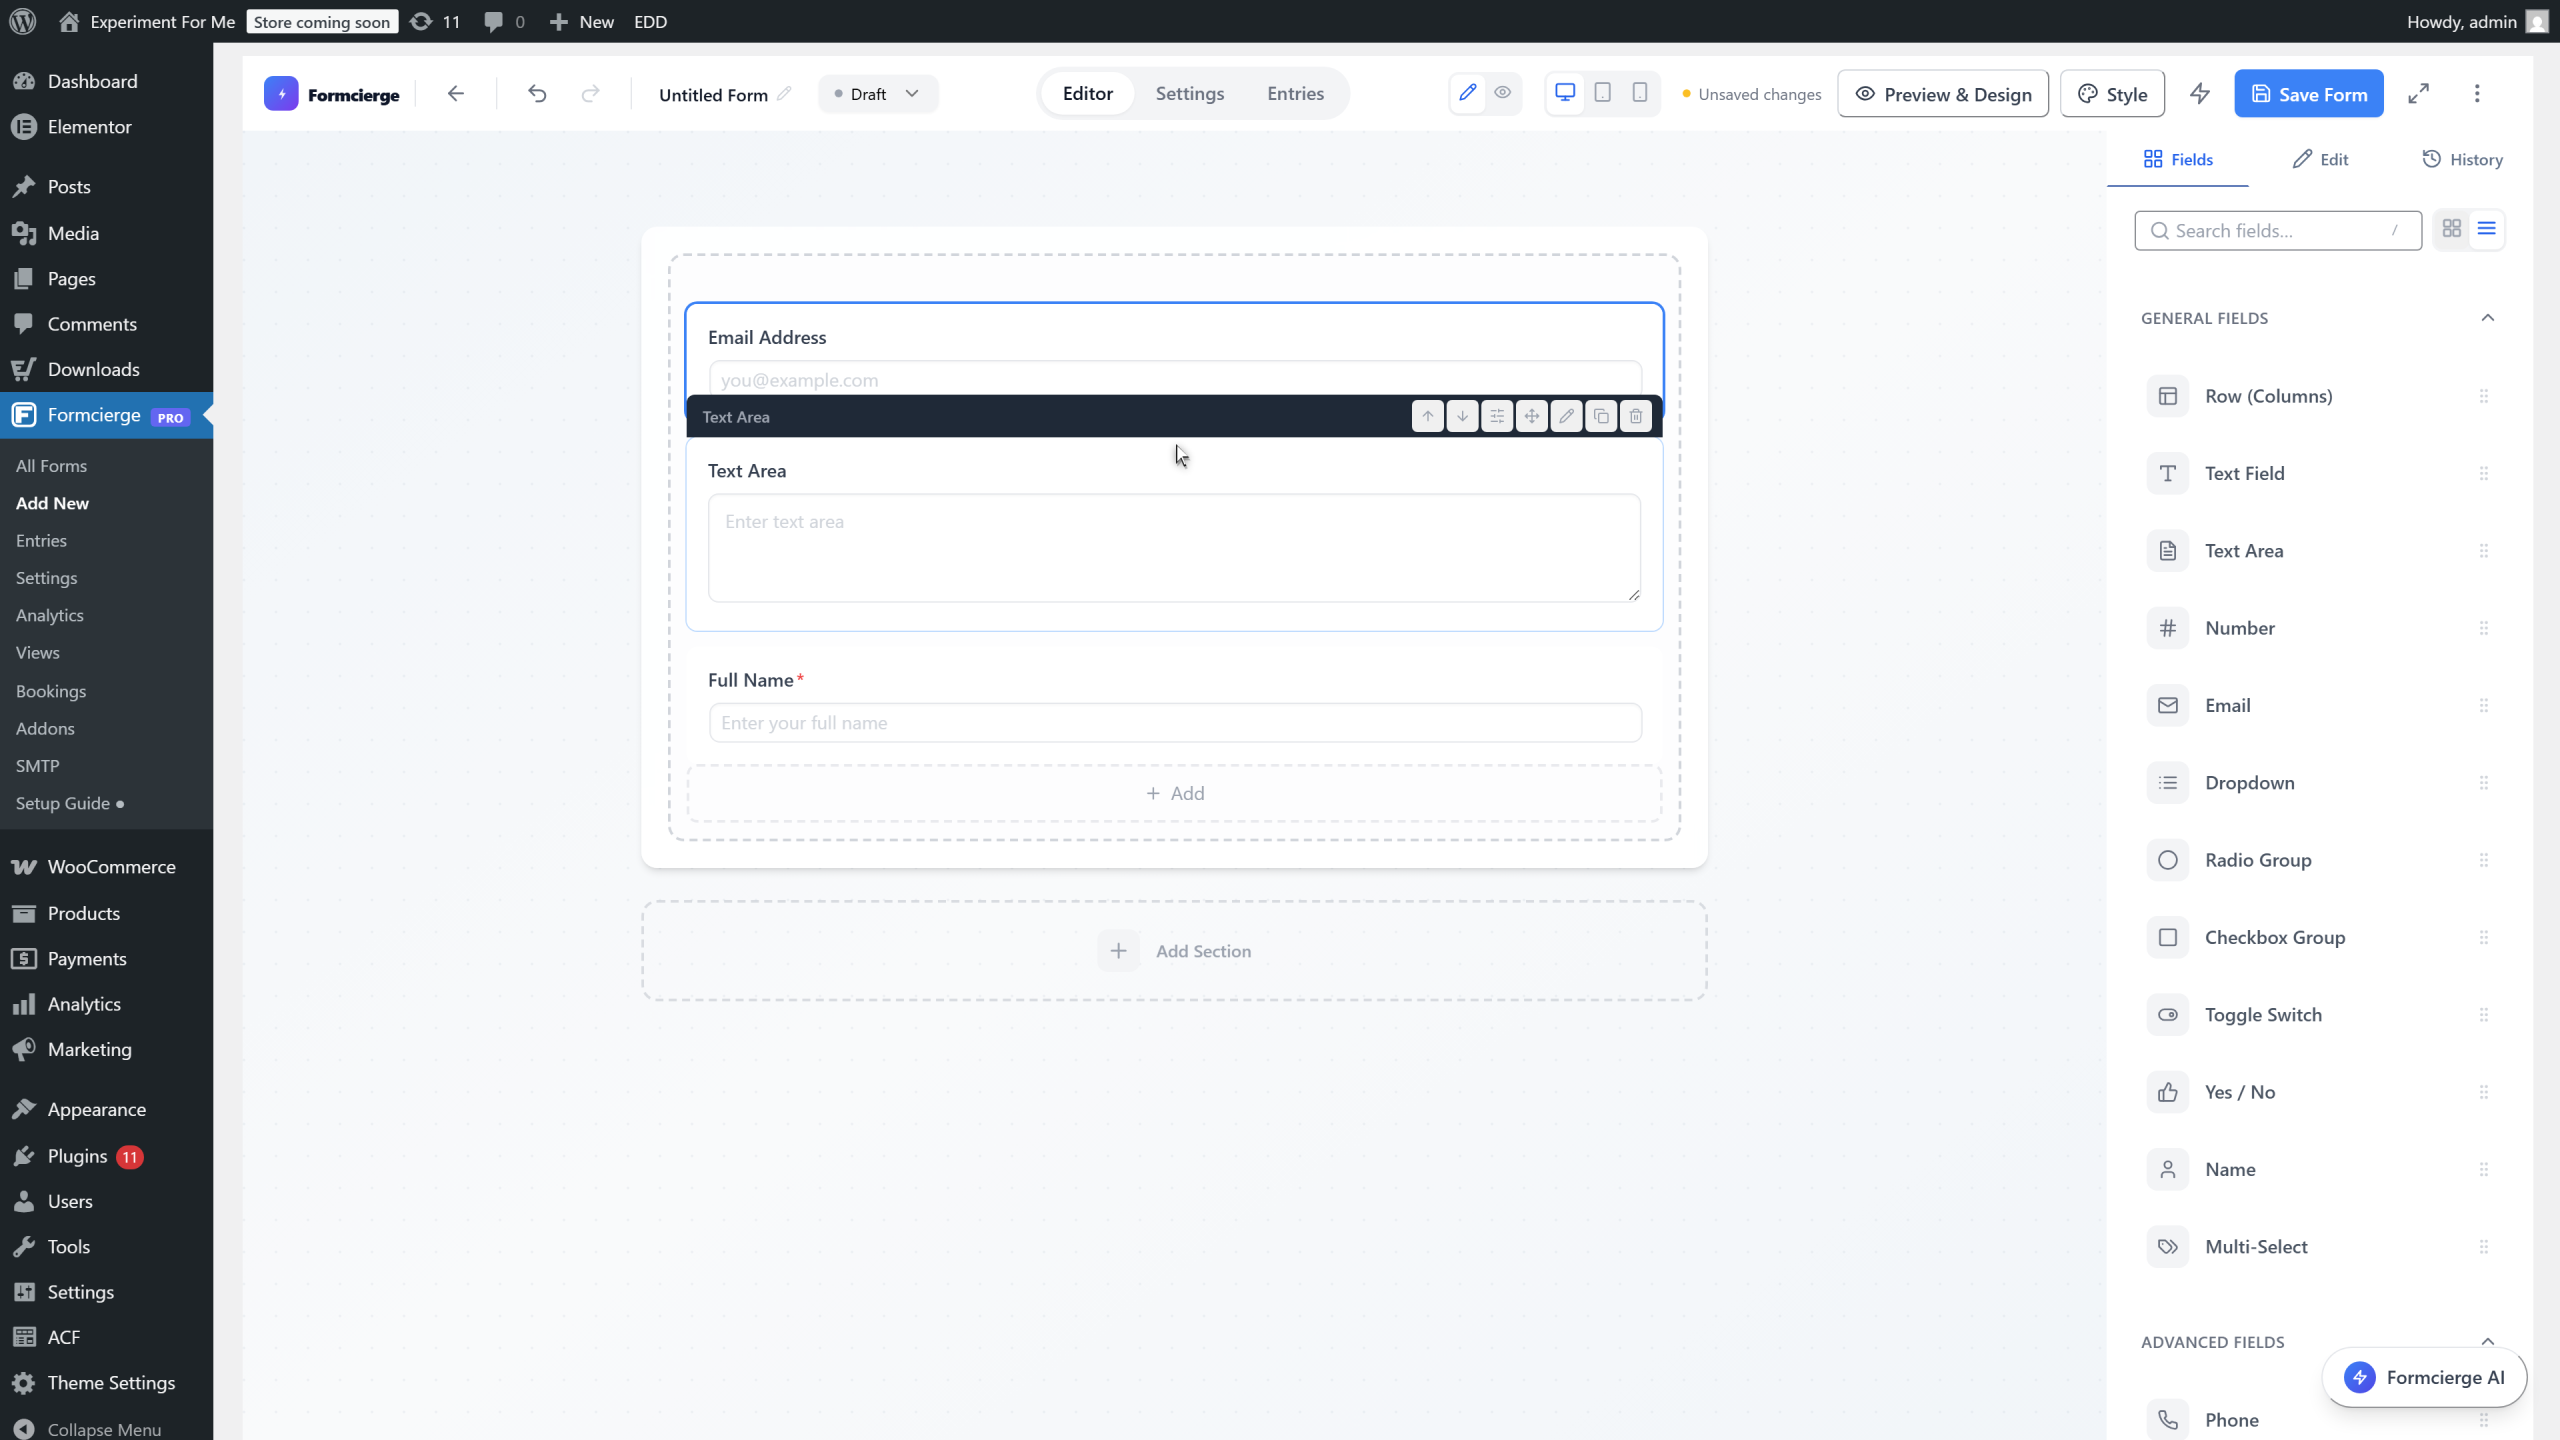
Click the **Text Area** field on the canvas to select it and open its settings in the right panel.

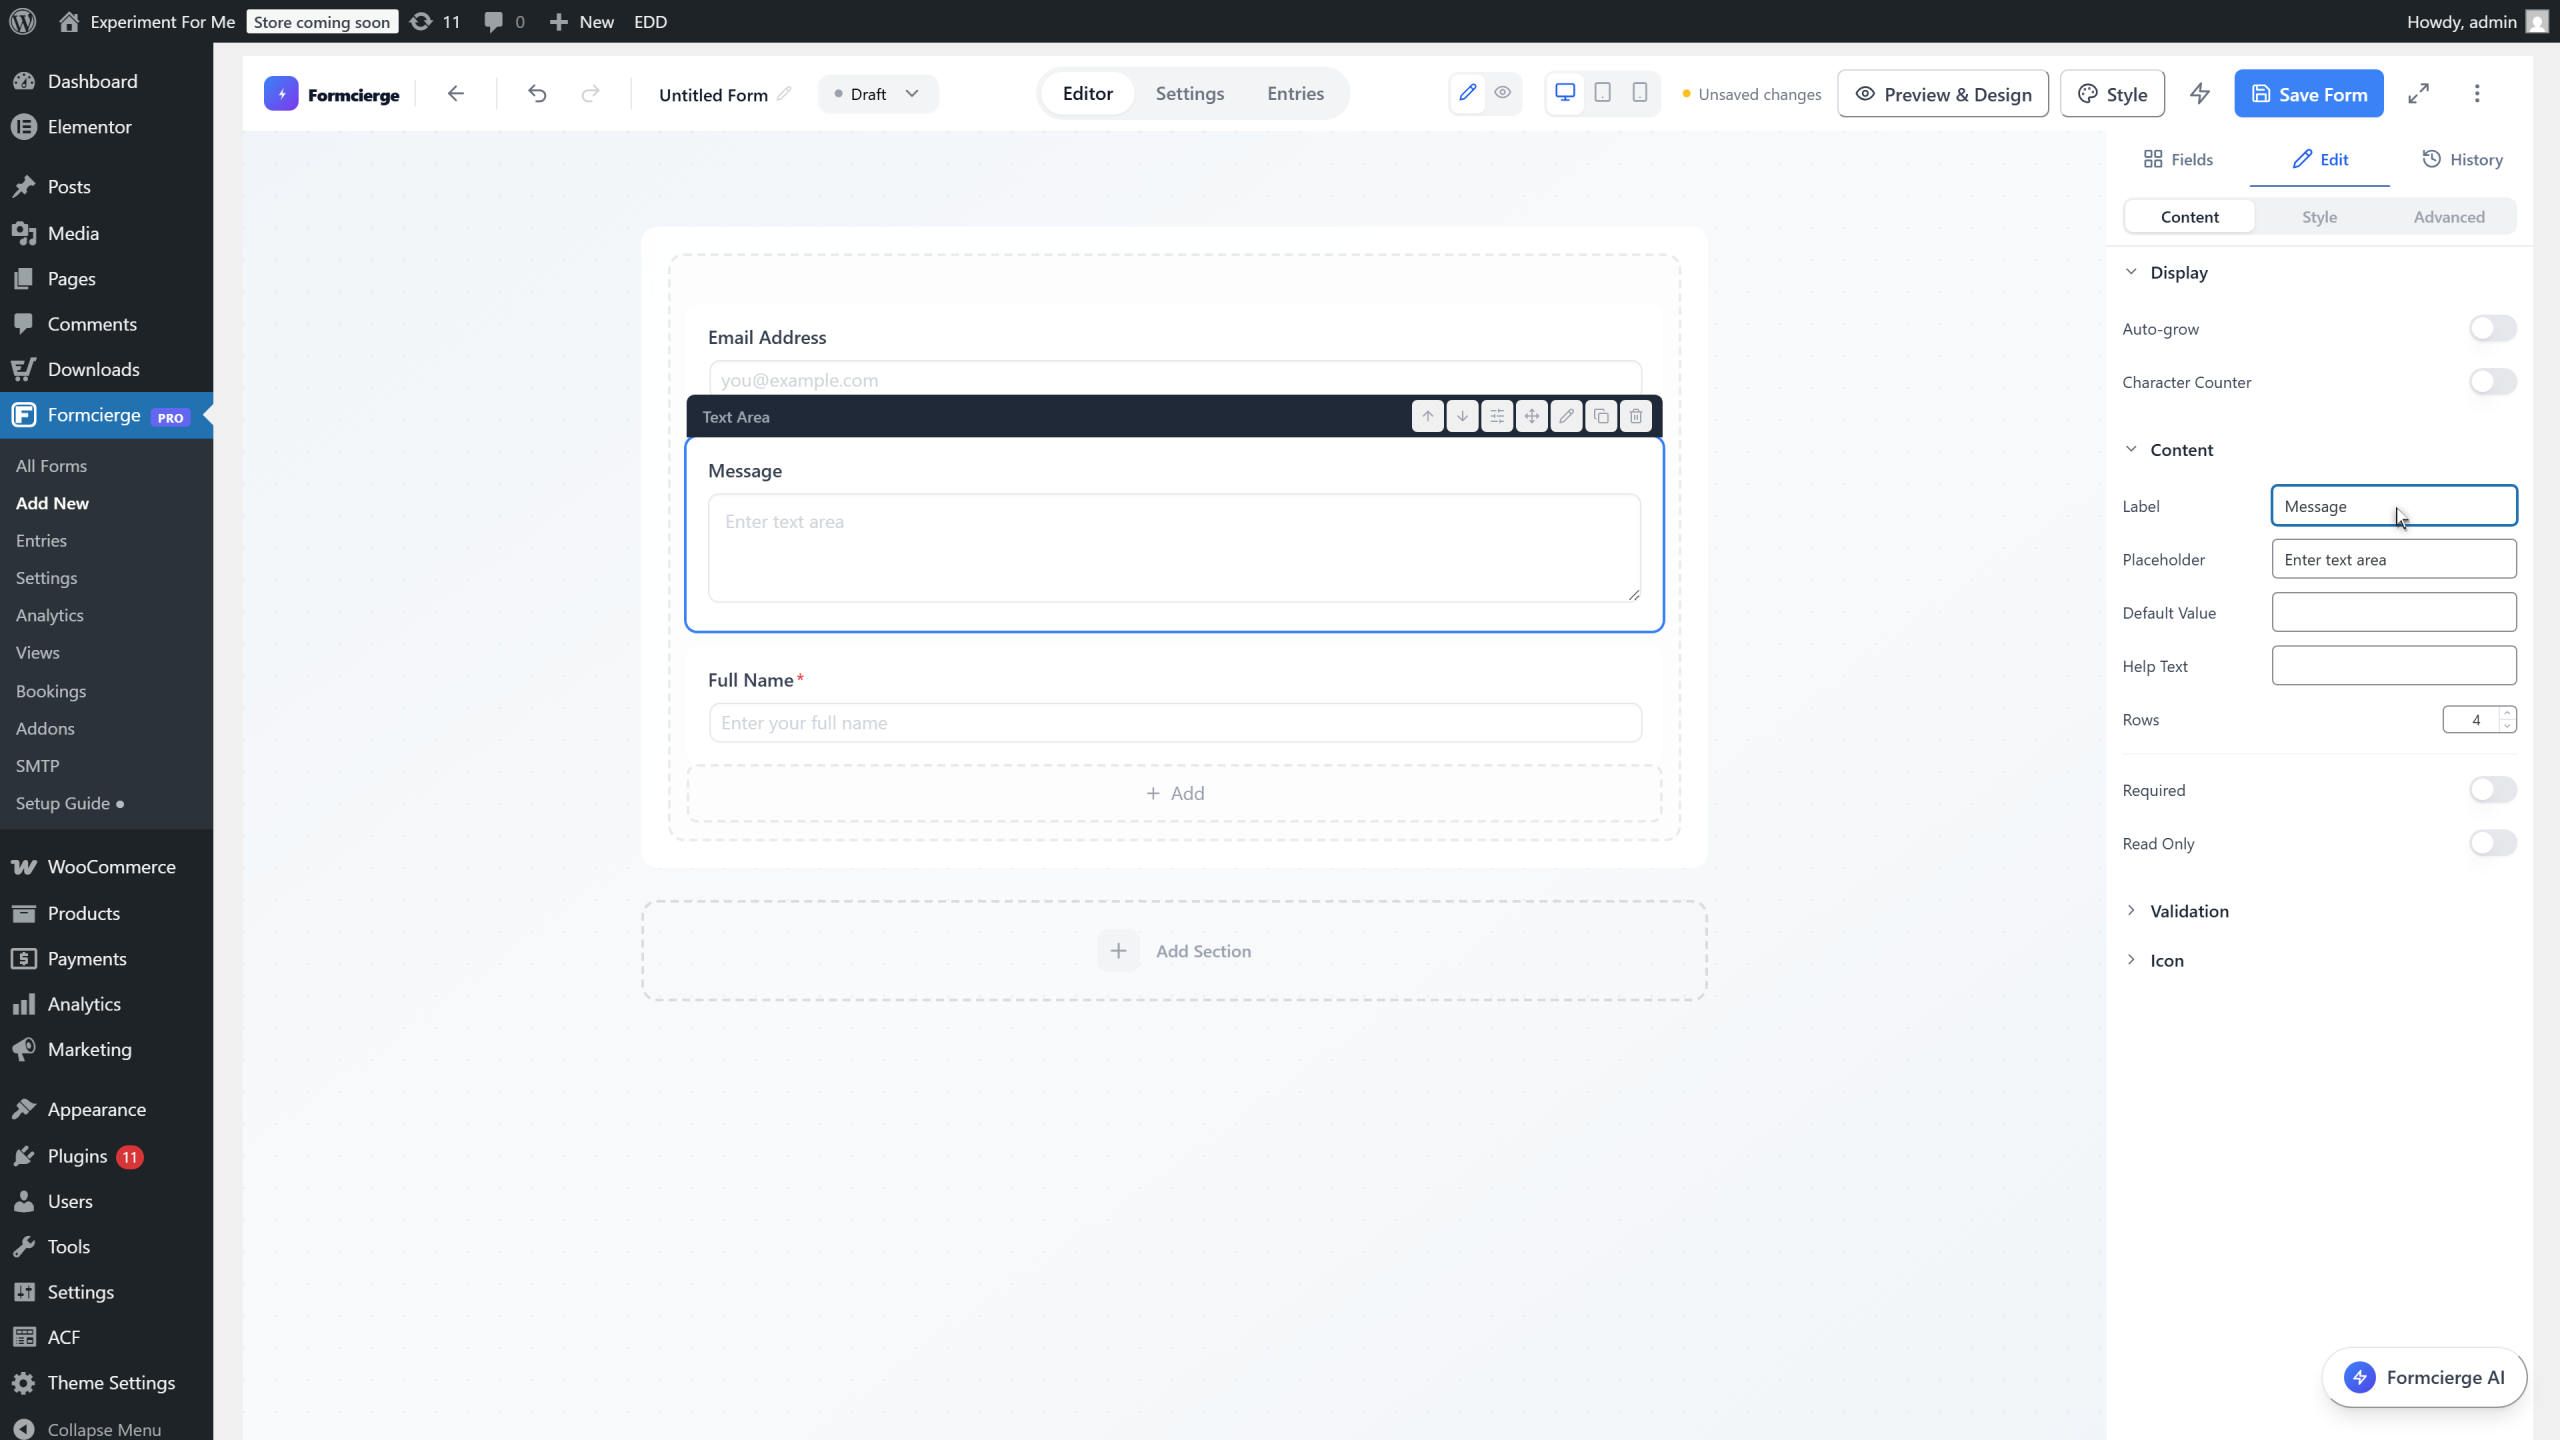
Click the **Label** input and type **Message**. Then click **Placeholder** and type **Tell us how we can help…**. Visitors will see this hint inside the text area before they start writing.
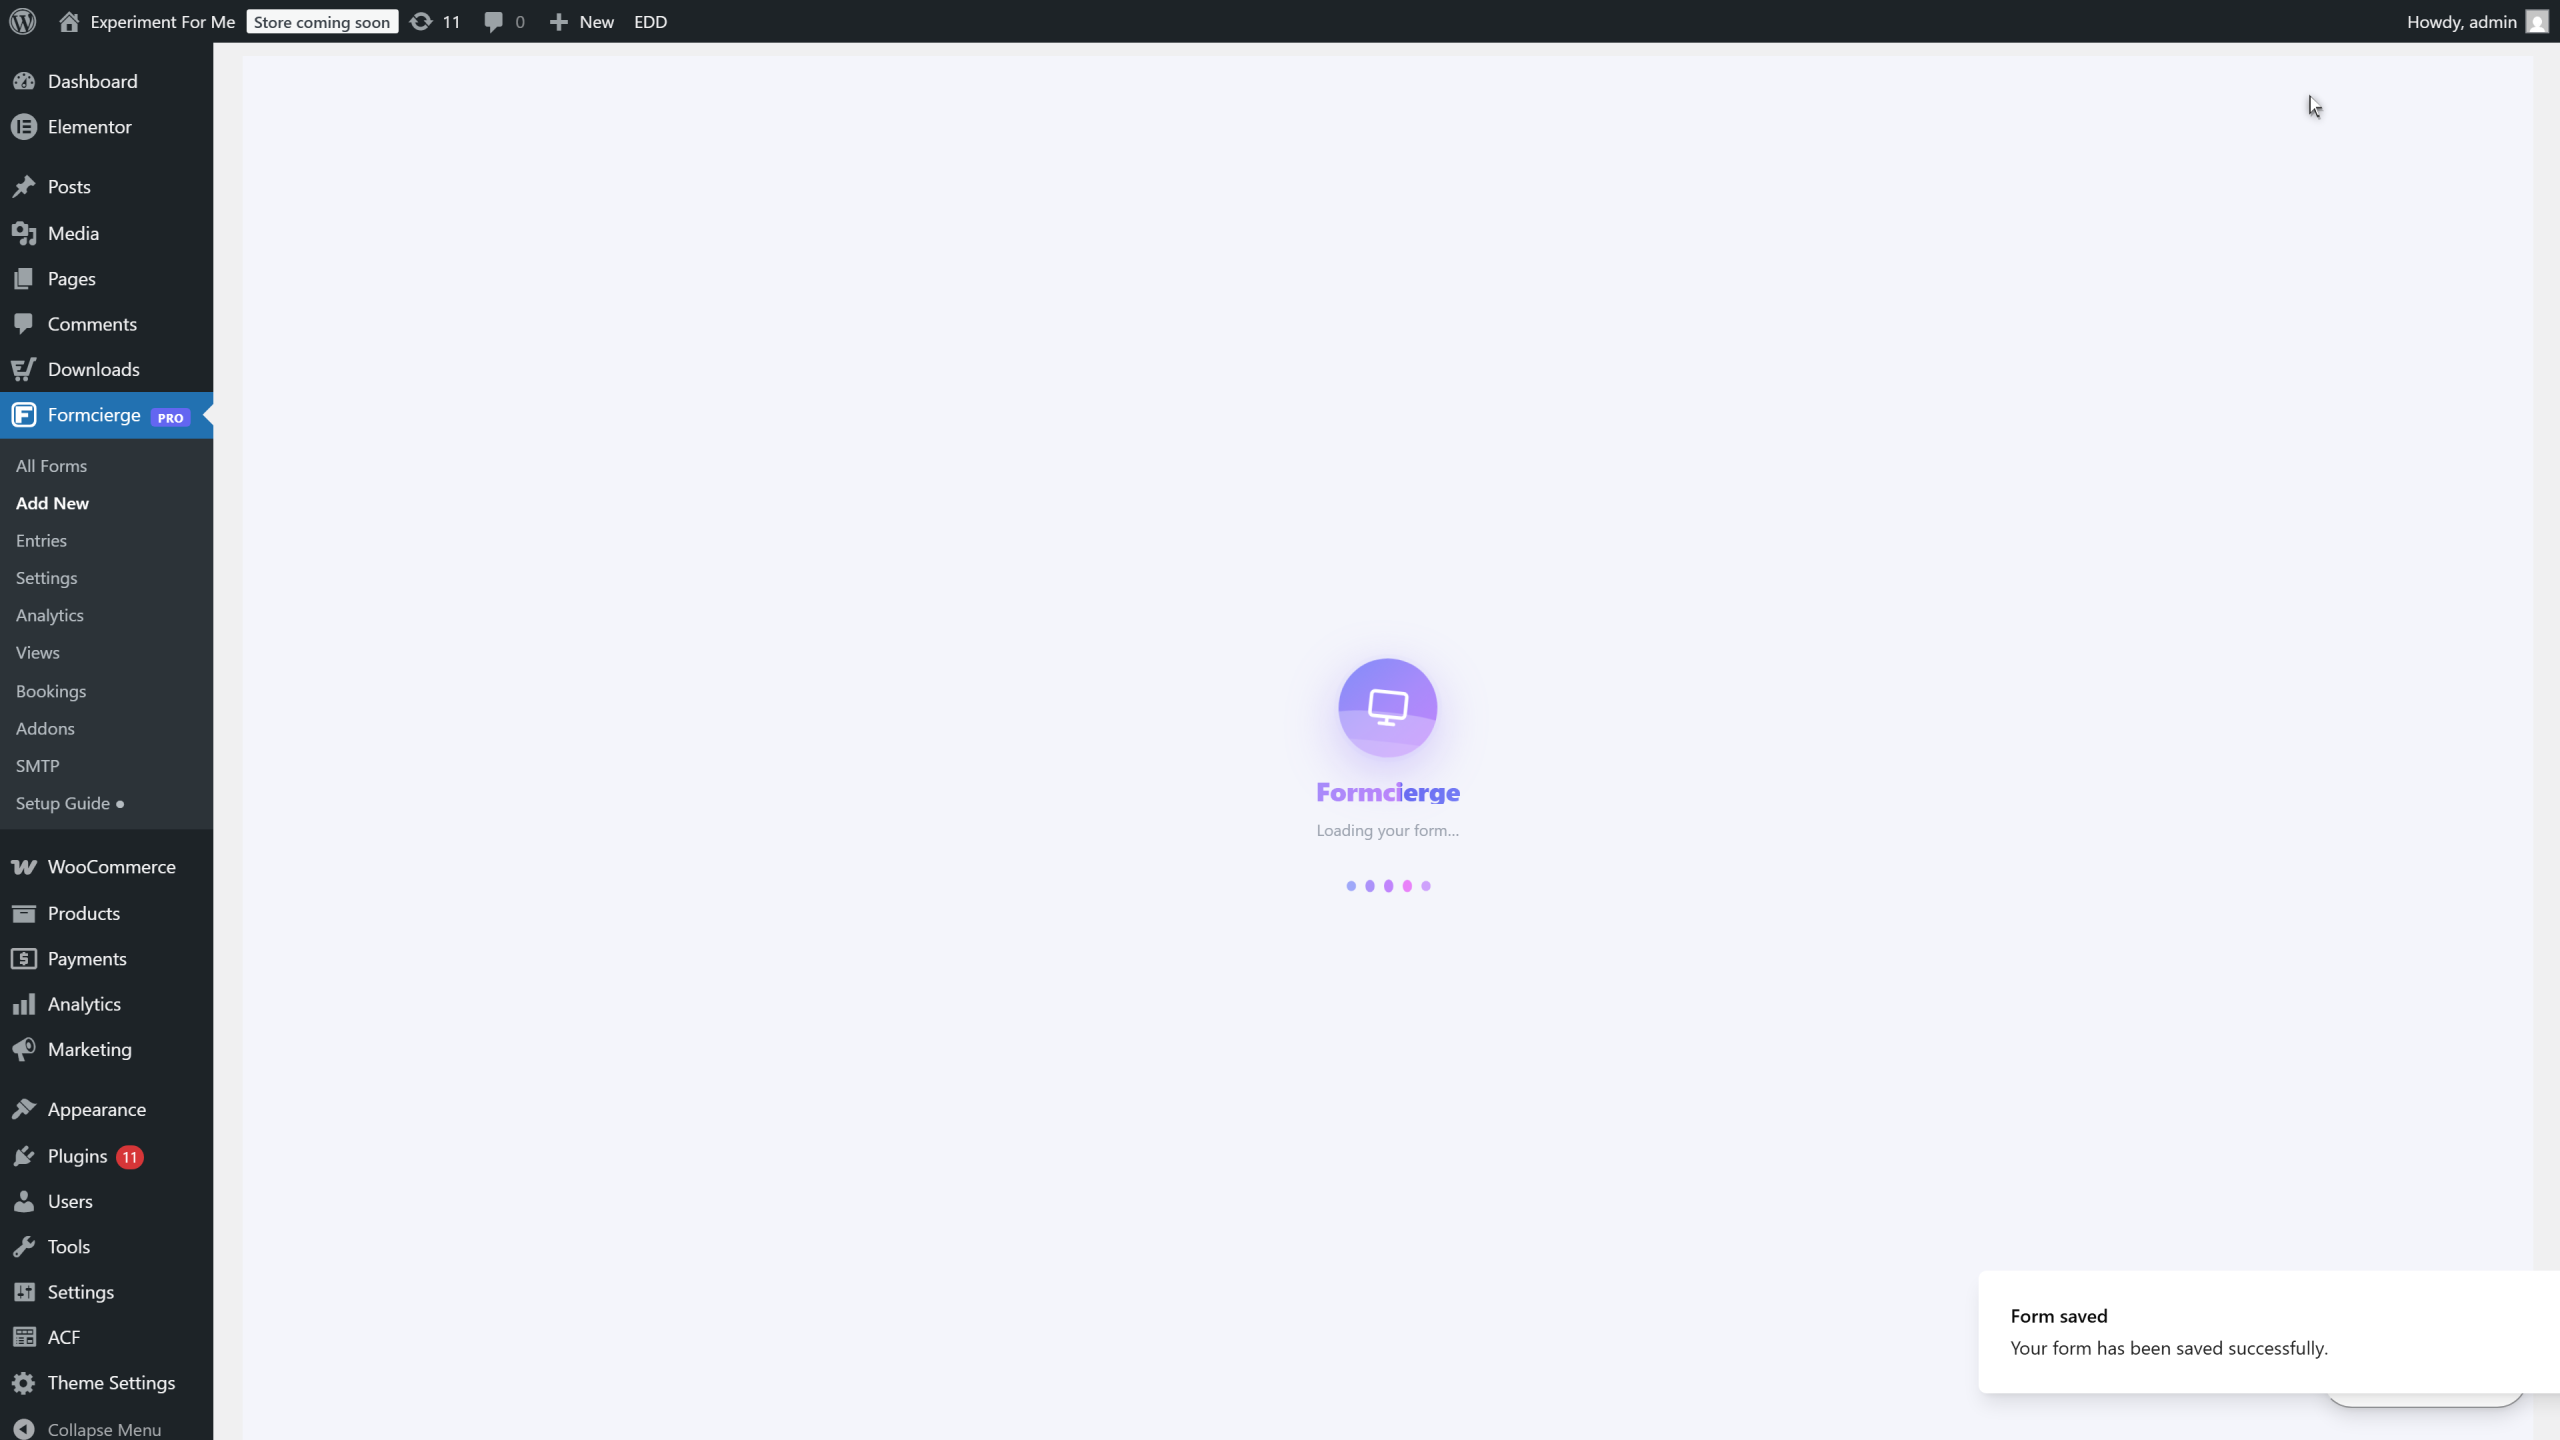
Click the **Save Form** button in the top bar. Formcierge saves the form, assigns it a unique ID number, and shows a green success notification. Once saved, a shortcode like `[formcierge id="5"]` is ready to embed this form anywhere on your WordPress site.
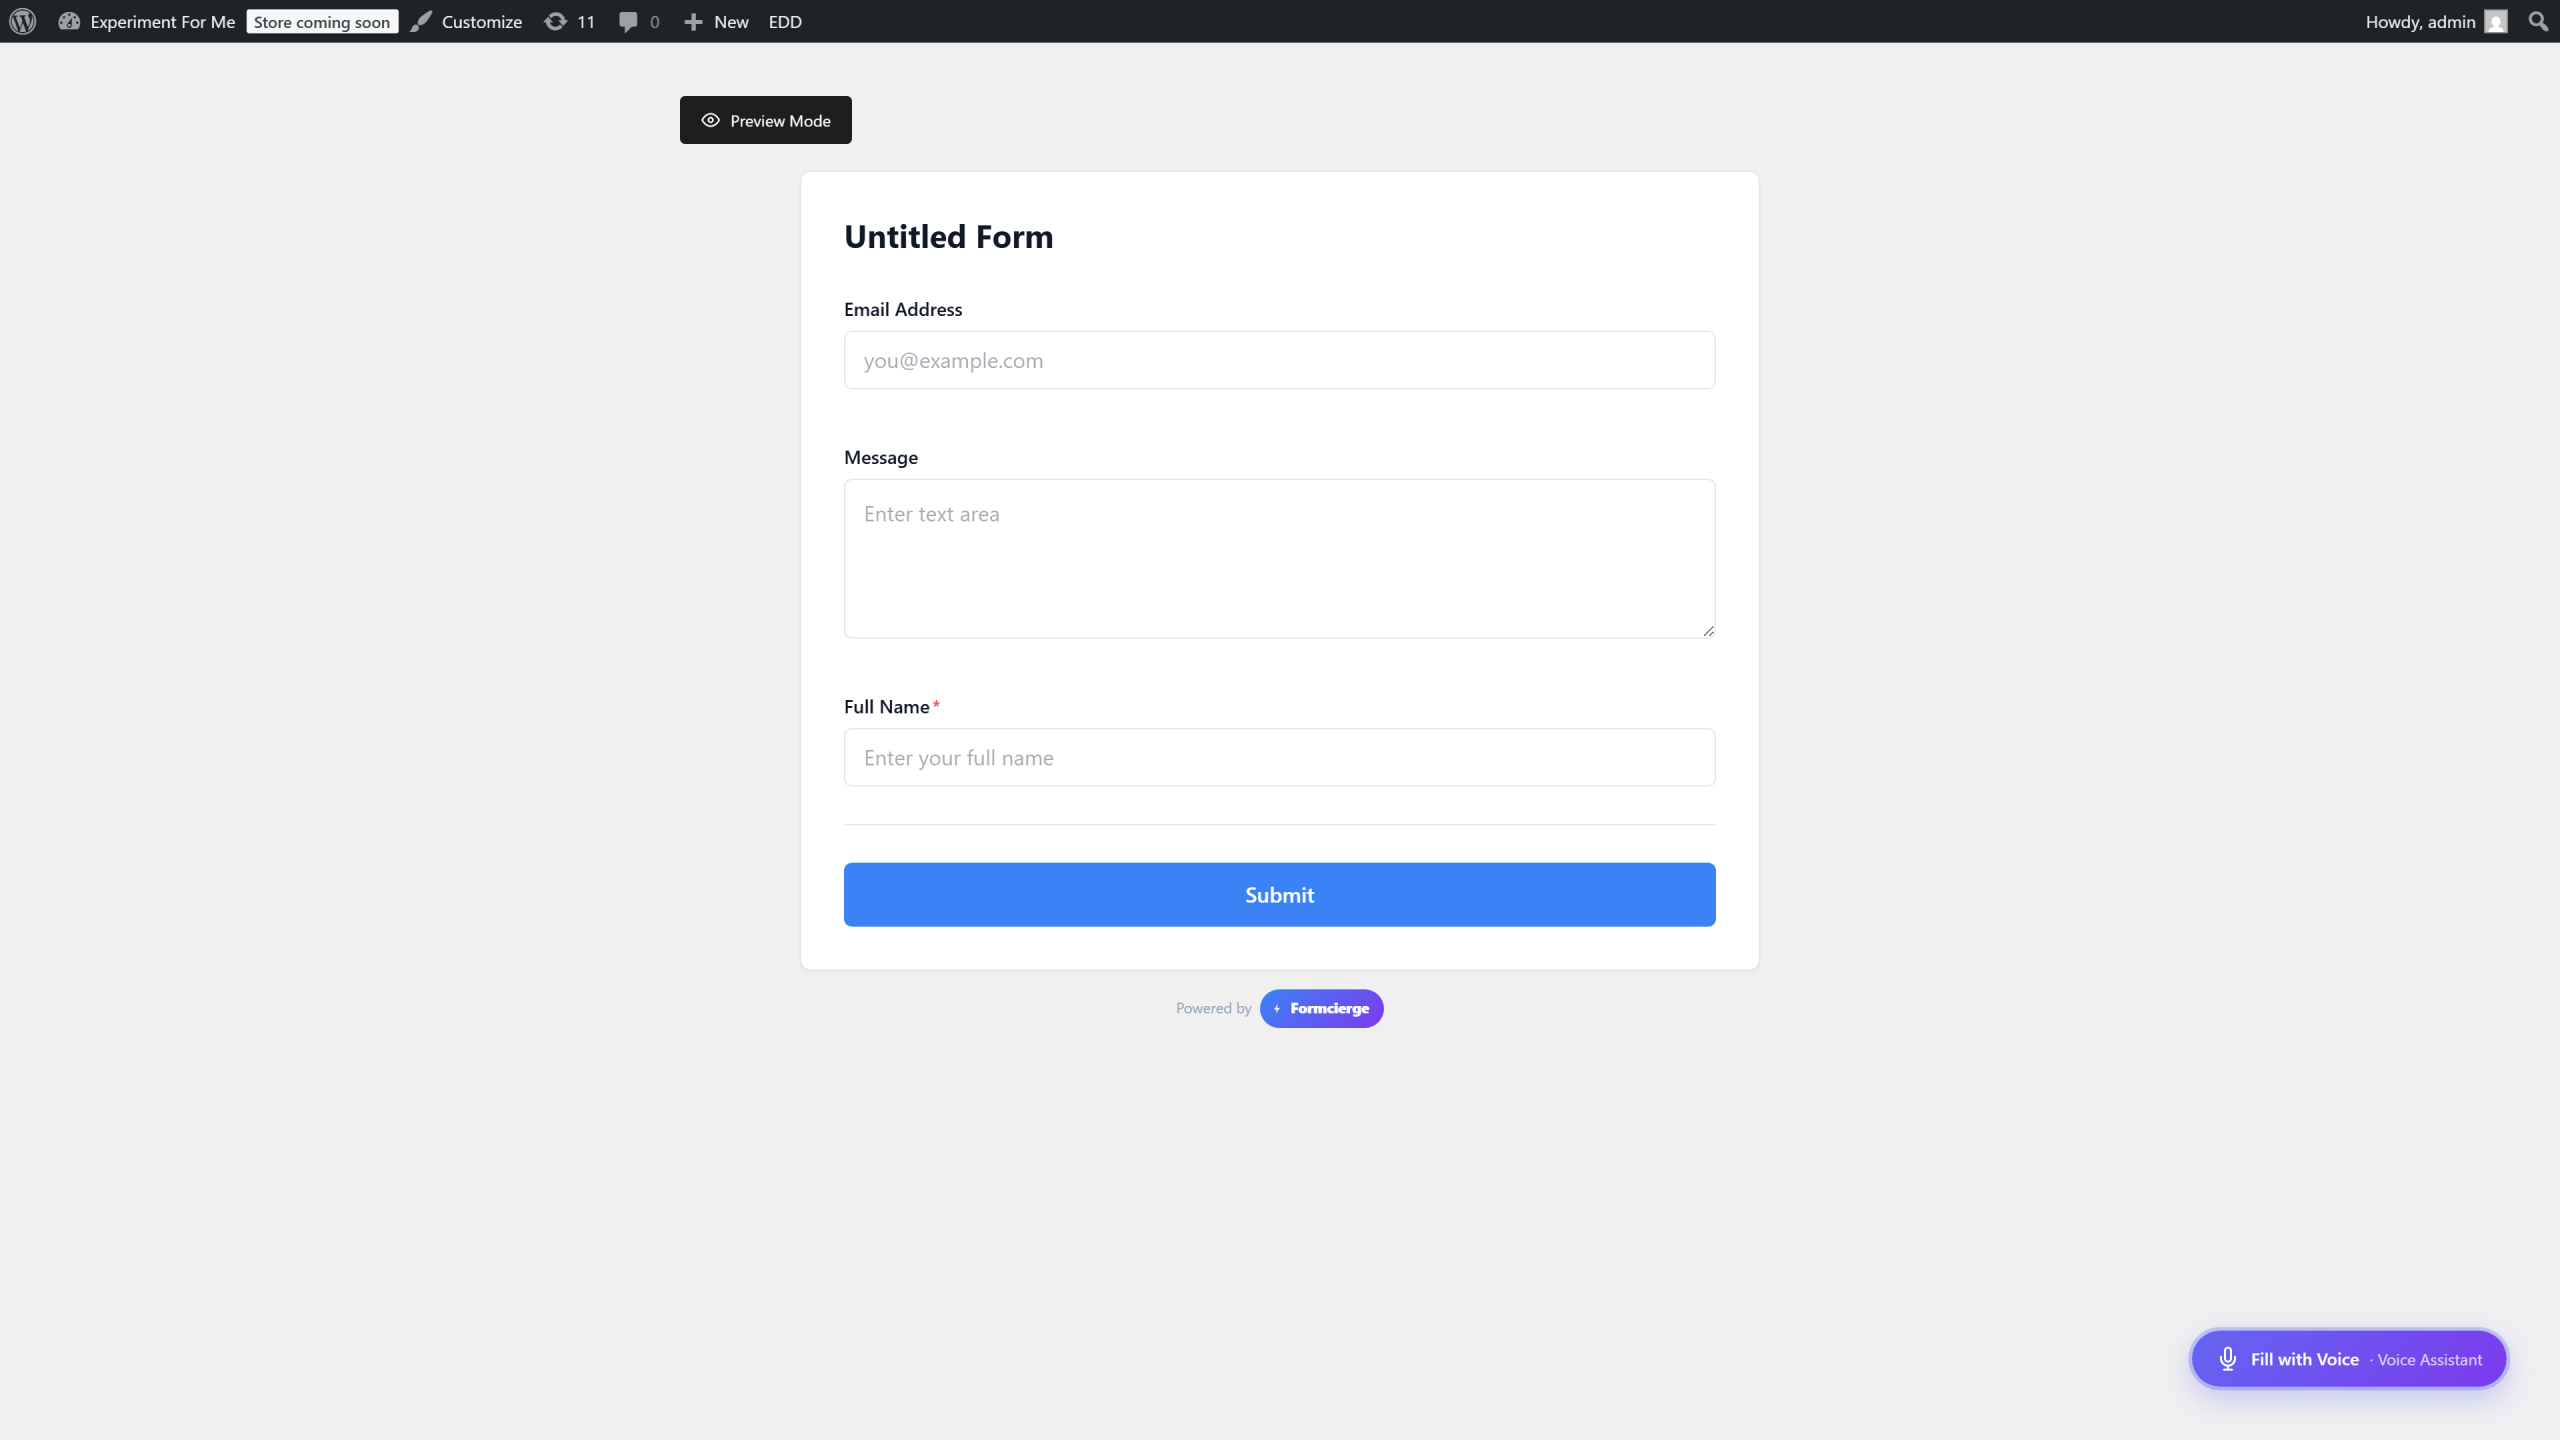
Click the **Preview** button in the top bar (the eye icon or *Preview* link). The builder opens a live preview of your form in a clean, standalone page — this is exactly what your visitors will see. Check that all three fields appear with the correct labels and placeholder text.
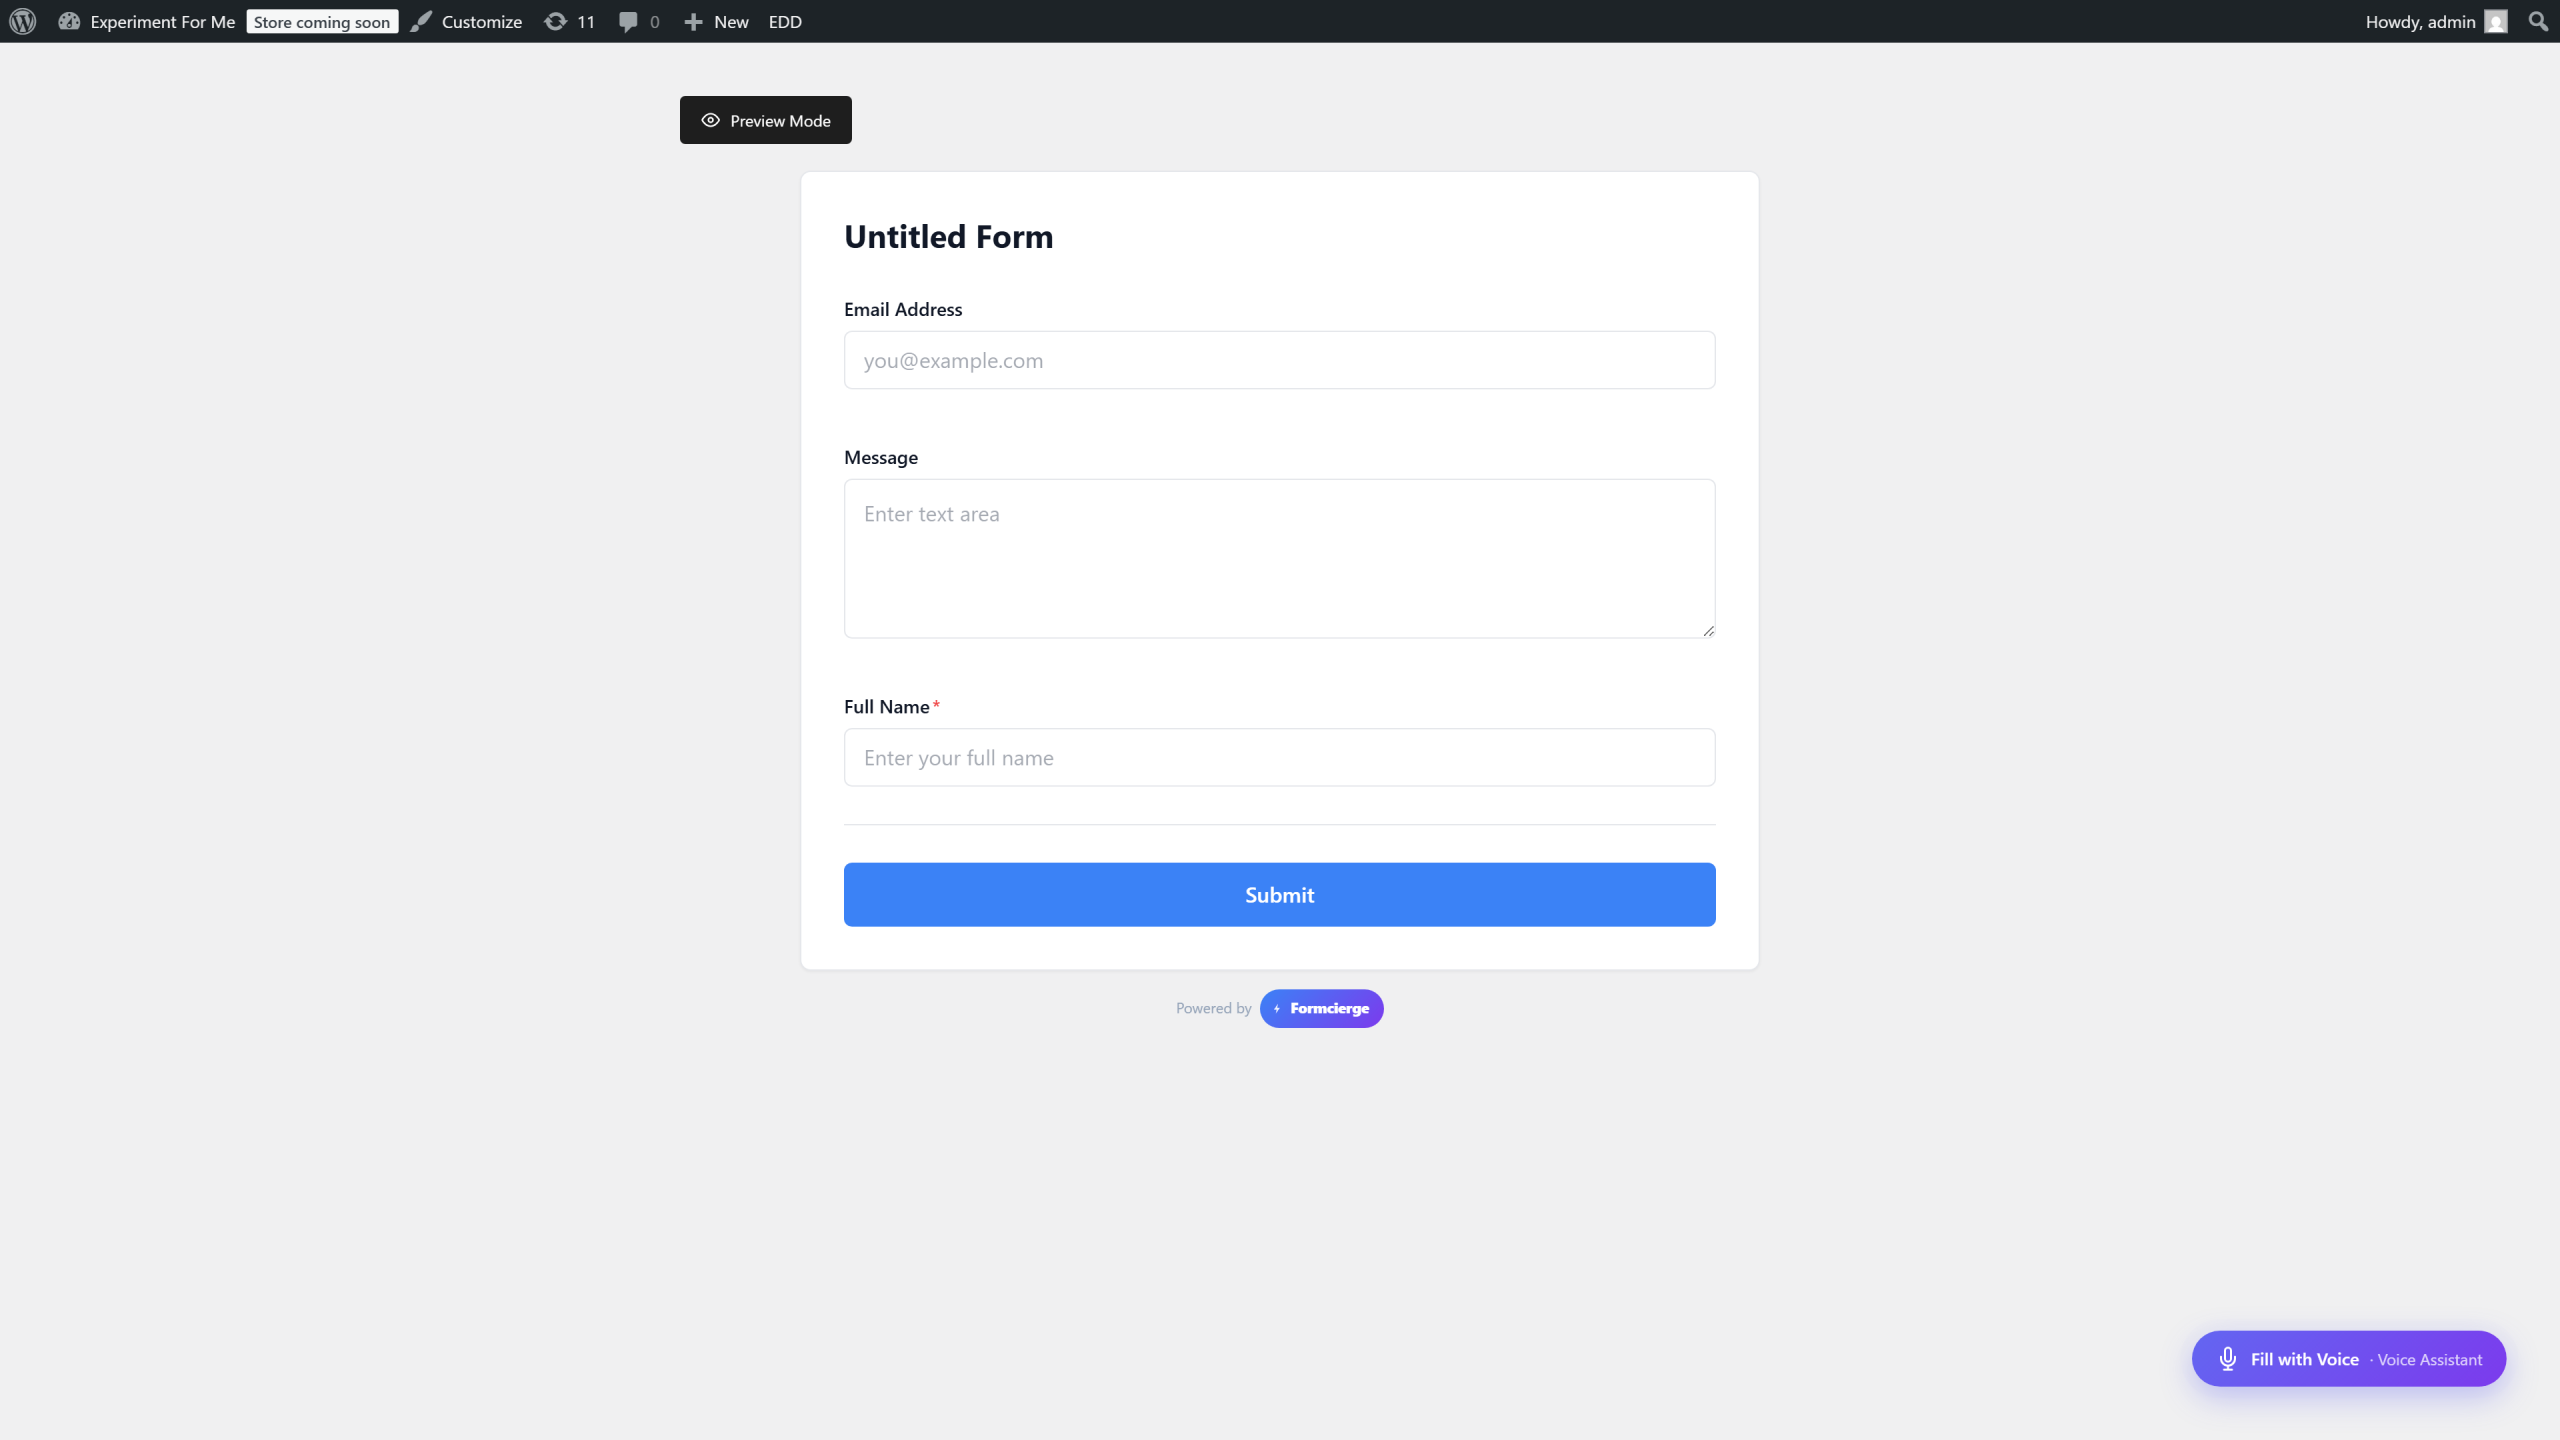
On the preview page, click the **Submit** button without filling in any fields. Formcierge will highlight the required fields in red and display a validation message — this protects you from receiving empty or incomplete submissions.
Click the **← Back to Builder** link at the top of the preview page to return to the editor. Your form is now saved and fully functional. In the next tutorials you will learn how to embed it on a page and set up email notifications when someone submits the form.
Video Walkthrough
Watch the full step-by-step tutorial