Installing Formcierge (Free & Pro)
This tutorial walks you through every step of getting Formcierge running on a WordPress site — from downloading the plugin to activating a Pro license. There are two editions: a free version available on WordPress.org and a Pro version with advanced fields, AI form generation, booking calendar, and workflow automation. You only need the free version to follow along, but the Pro steps are included so you can upgrade at any time.
You will need: a WordPress site (version 5.8 or later) with admin access, and a user account with the **Administrator** role. If you are installing the Pro version you will also need your **license key** — find it in your account dashboard at formcierge.com after purchasing. Keep that page open in another browser tab.
Log into your WordPress admin and go to **Plugins → Add New**. In the search box in the top-right corner, type **Formcierge** and press Enter. The Formcierge plugin card will appear in the results. Click **Install Now**, then click **Activate** once the installation finishes. The plugin is now active on your site.

If you purchased the Pro license, log into formcierge.com and download the **formcierge.zip** file from your account → Downloads. In your WordPress admin, go to **Plugins → Add New → Upload Plugin**. Click **Choose File**, select the downloaded ZIP, then click **Install Now**. After installation completes, click **Activate Plugin**.

Go to **Plugins → Installed Plugins** and scroll until you see **Formcierge** in the list. Its row will be highlighted and an **Active** badge (or blue row) will indicate it is running. You will also see a new **Formcierge** menu item in the left sidebar of your WordPress admin.

In the WordPress admin sidebar, hover over **Formcierge** and click **Settings** (or go to Formcierge → Settings). This is the global configuration page for the plugin. The **License** section at the top is where you enter your Pro key — Free users can skip the next step.

In the **License** section, paste your license key into the **License Key** field — it looks like a long string of letters and numbers (e.g. `xxxxxxxx-xxxx-xxxx-xxxx-xxxxxxxxxxxx`). Click **Save & Activate**. Formcierge connects to the licensing server and, within a few seconds, the status badge changes from *Inactive* to **Active** in green. Pro features are now unlocked.

The Settings page has several tabs across the top. **General** controls the form submission table and date formats. **Email** sets the default sender name and address for notification emails. **AI** is where you add an OpenAI or Google Gemini API key to enable AI-powered form generation. **SMTP** lets you send emails through a custom mail server instead of the default WordPress mailer.

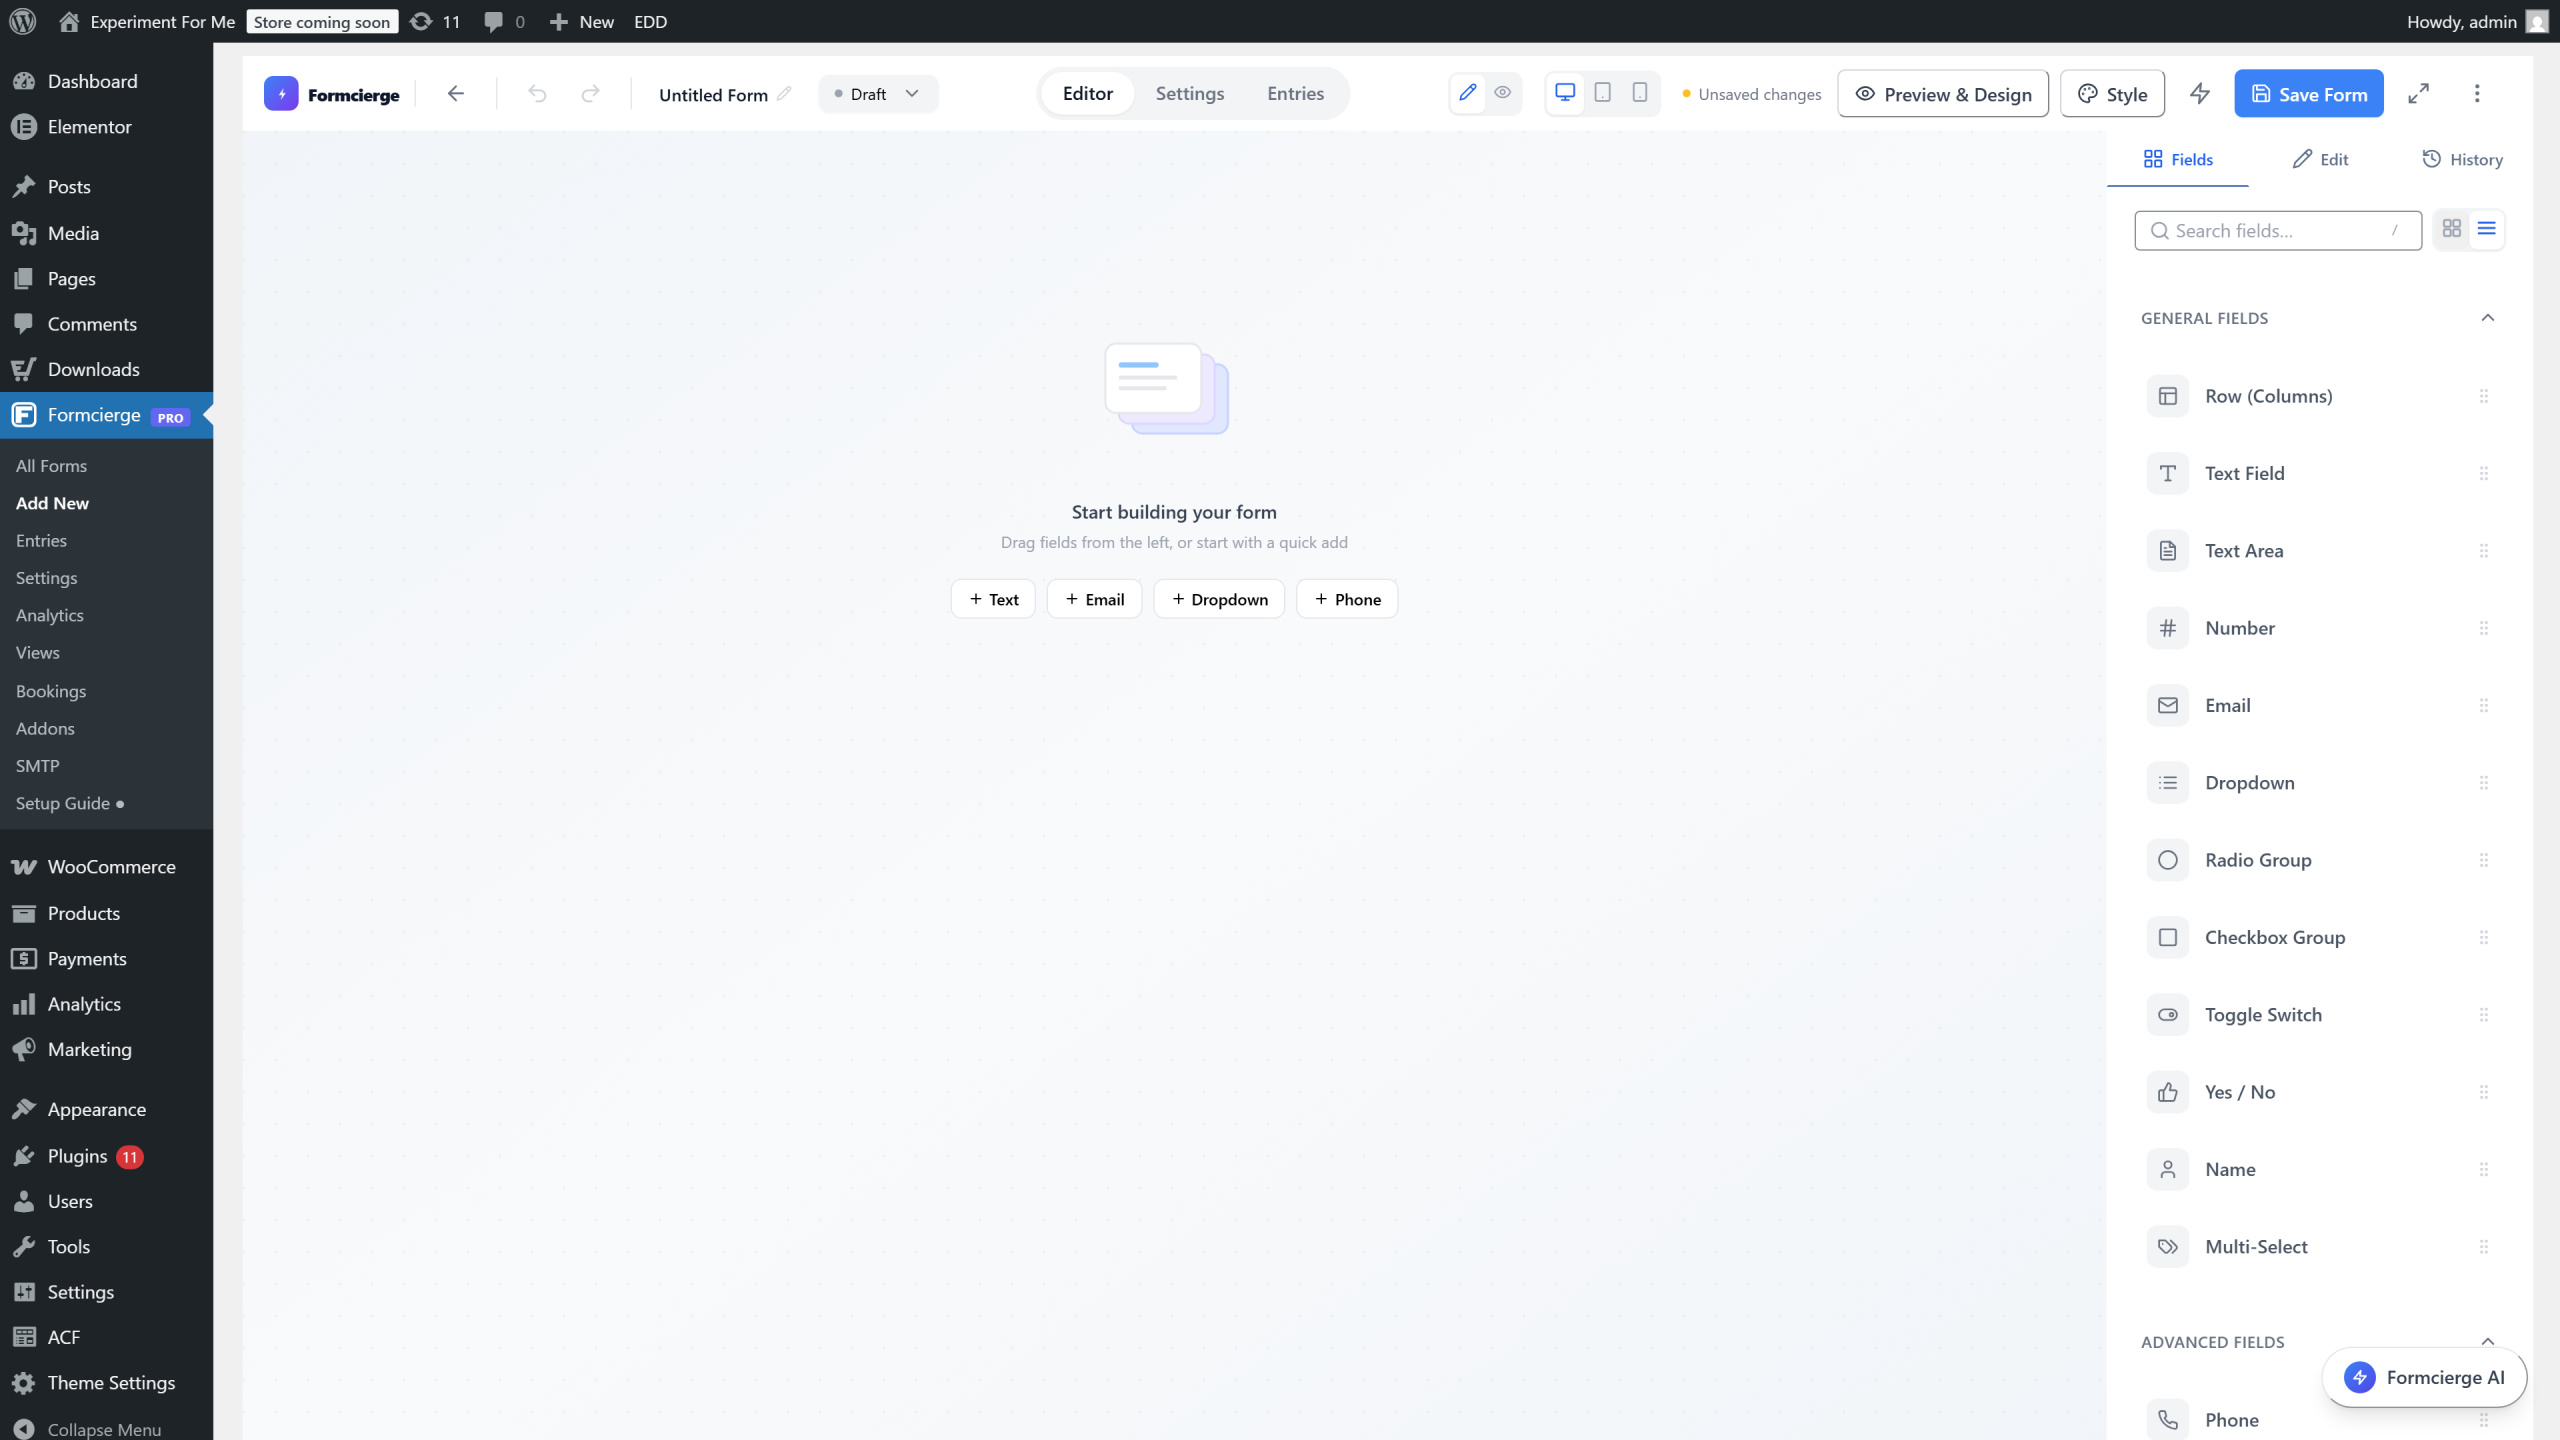
Installation is complete. Click **Formcierge → Add New** in the left sidebar to open the form builder and start creating your first form. The builder opens with a blank canvas — you will learn how to use every part of it in the next tutorials.

Video Walkthrough
Watch the full step-by-step tutorial