Saving, Previewing, and Publishing a Form
Every form you build in Formcierge goes through three stages before it reaches your visitors: **saving** (stores the form and generates a permanent ID), **previewing** (lets you test the form in isolation before publishing), and **publishing** (embedding the shortcode on a live page). This tutorial walks you through all three stages using a simple newsletter signup form as the example, and shows you the exact flow from builder to live website.
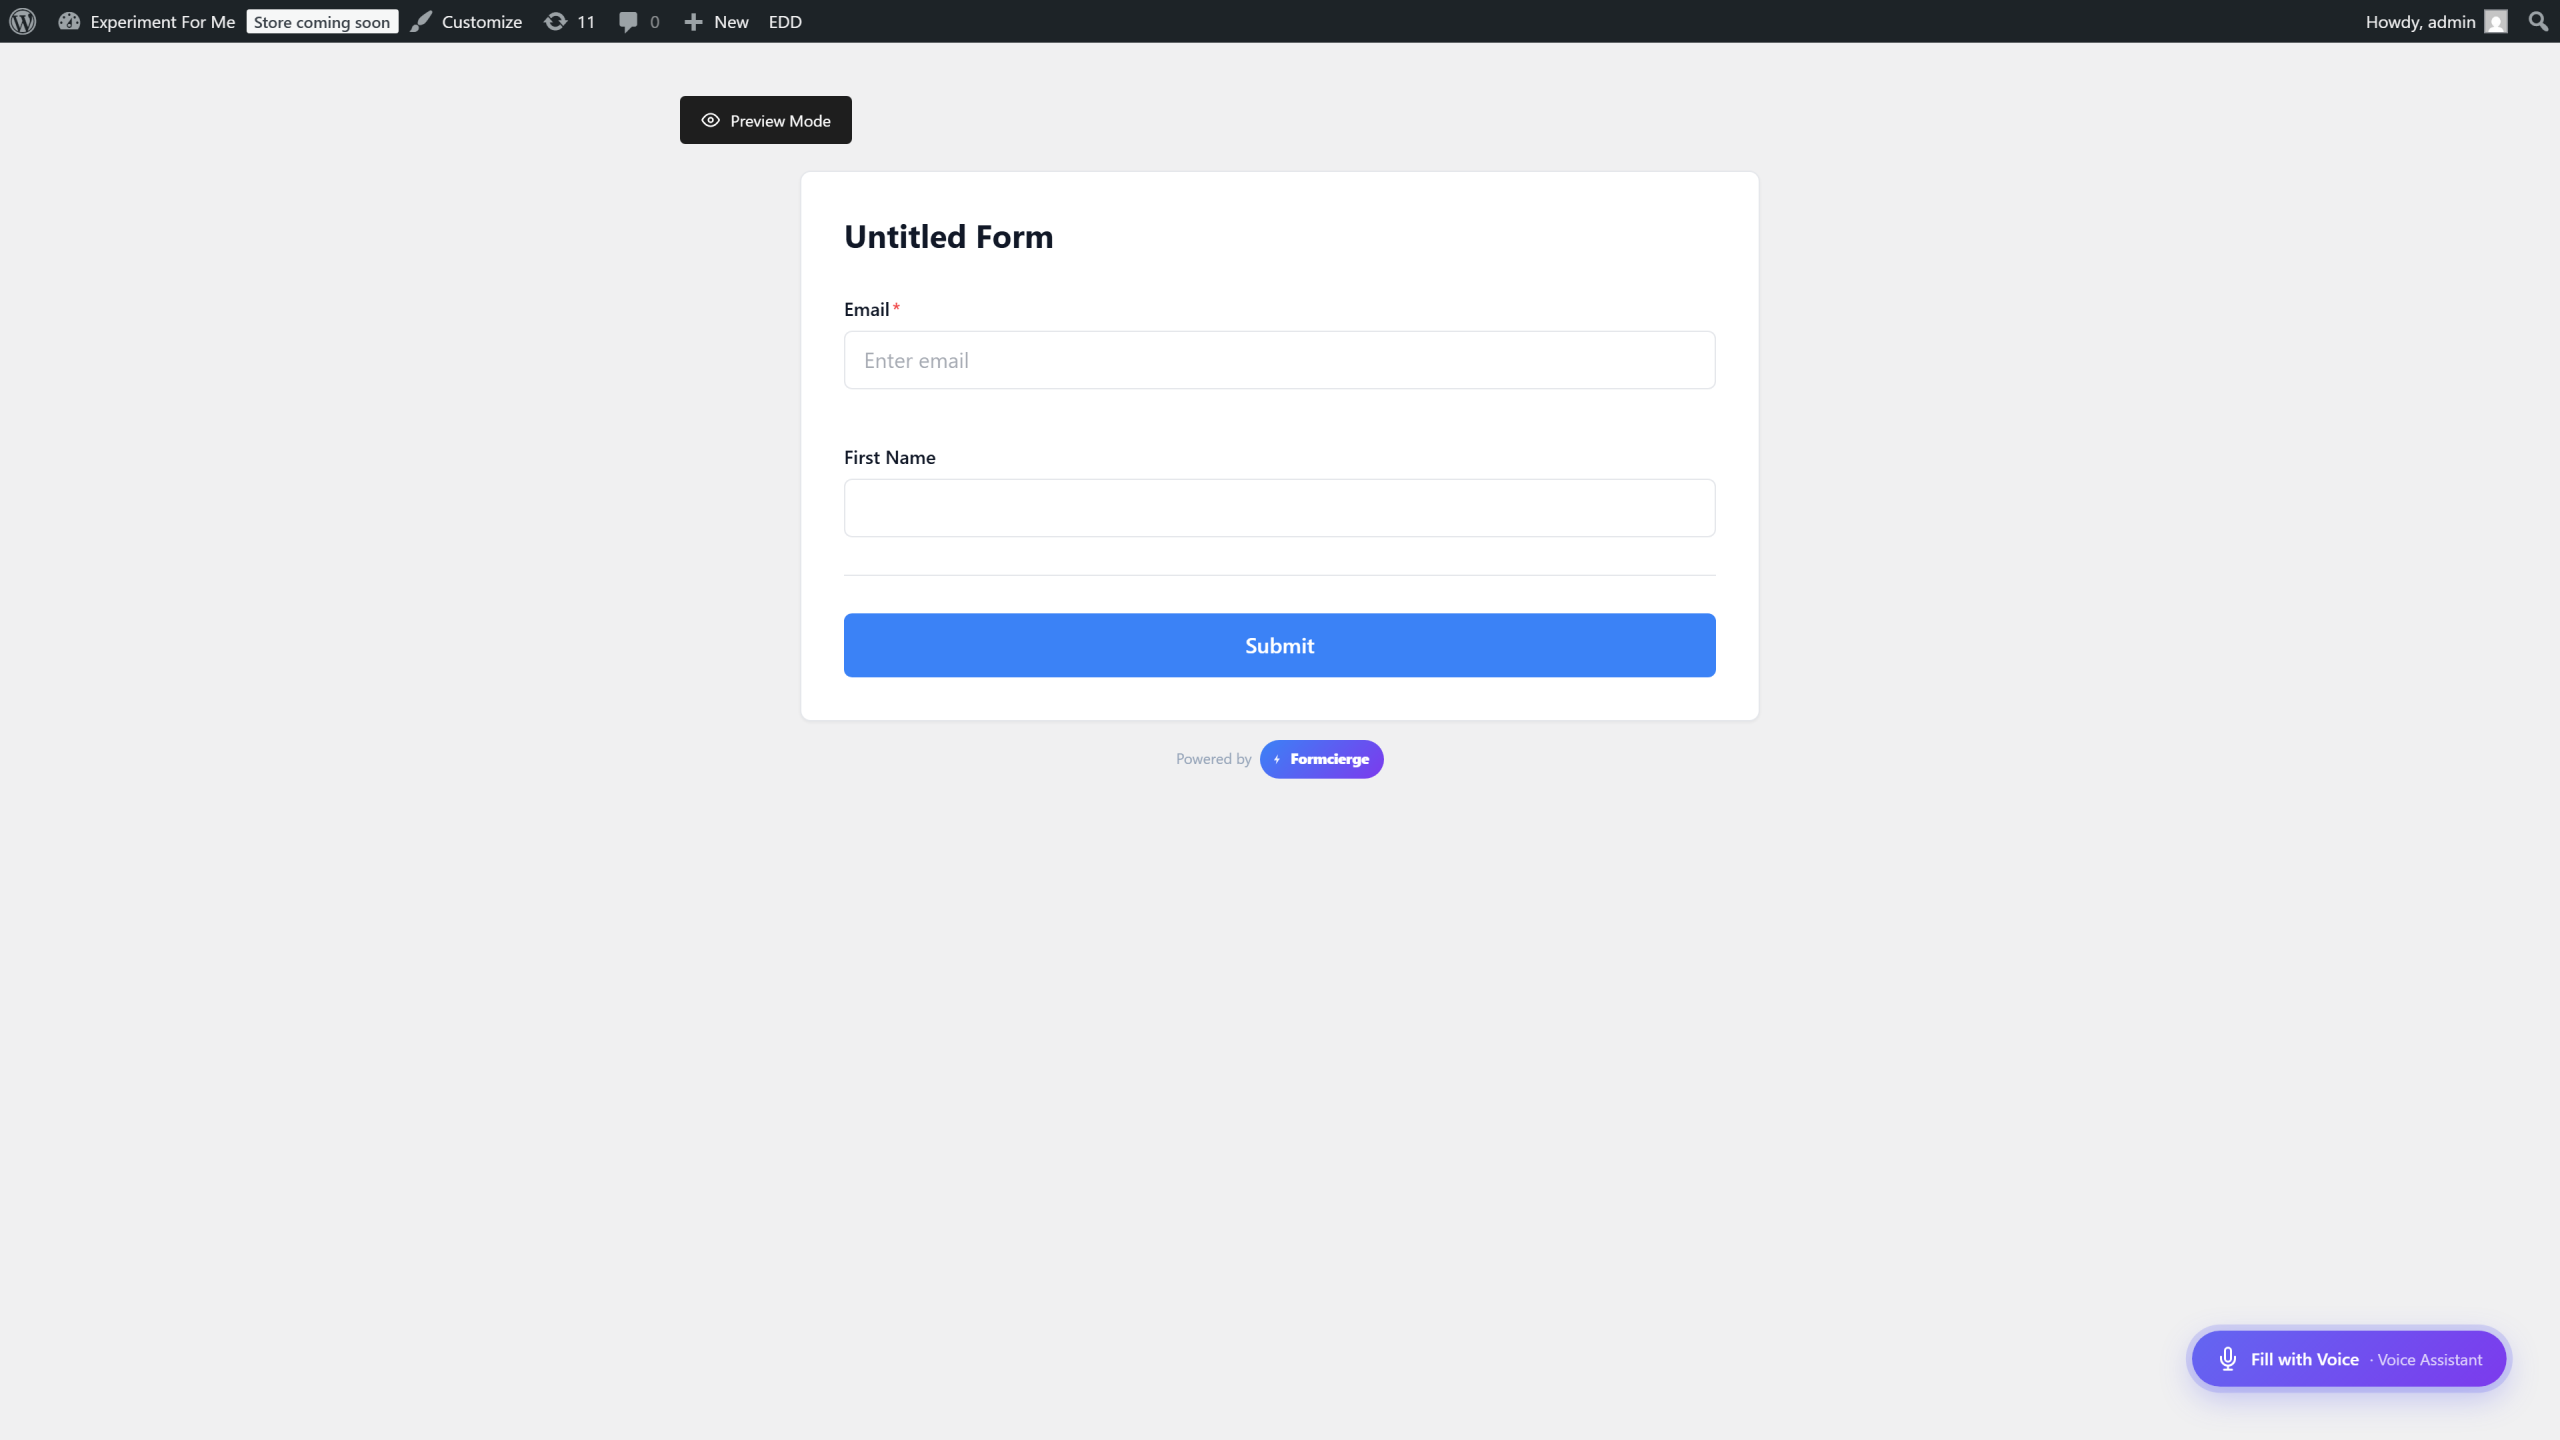
The form builder is open with a blank canvas. You will build a short newsletter signup form — just a name and email — so you can focus on the save, preview, and publish workflow rather than the building process itself.
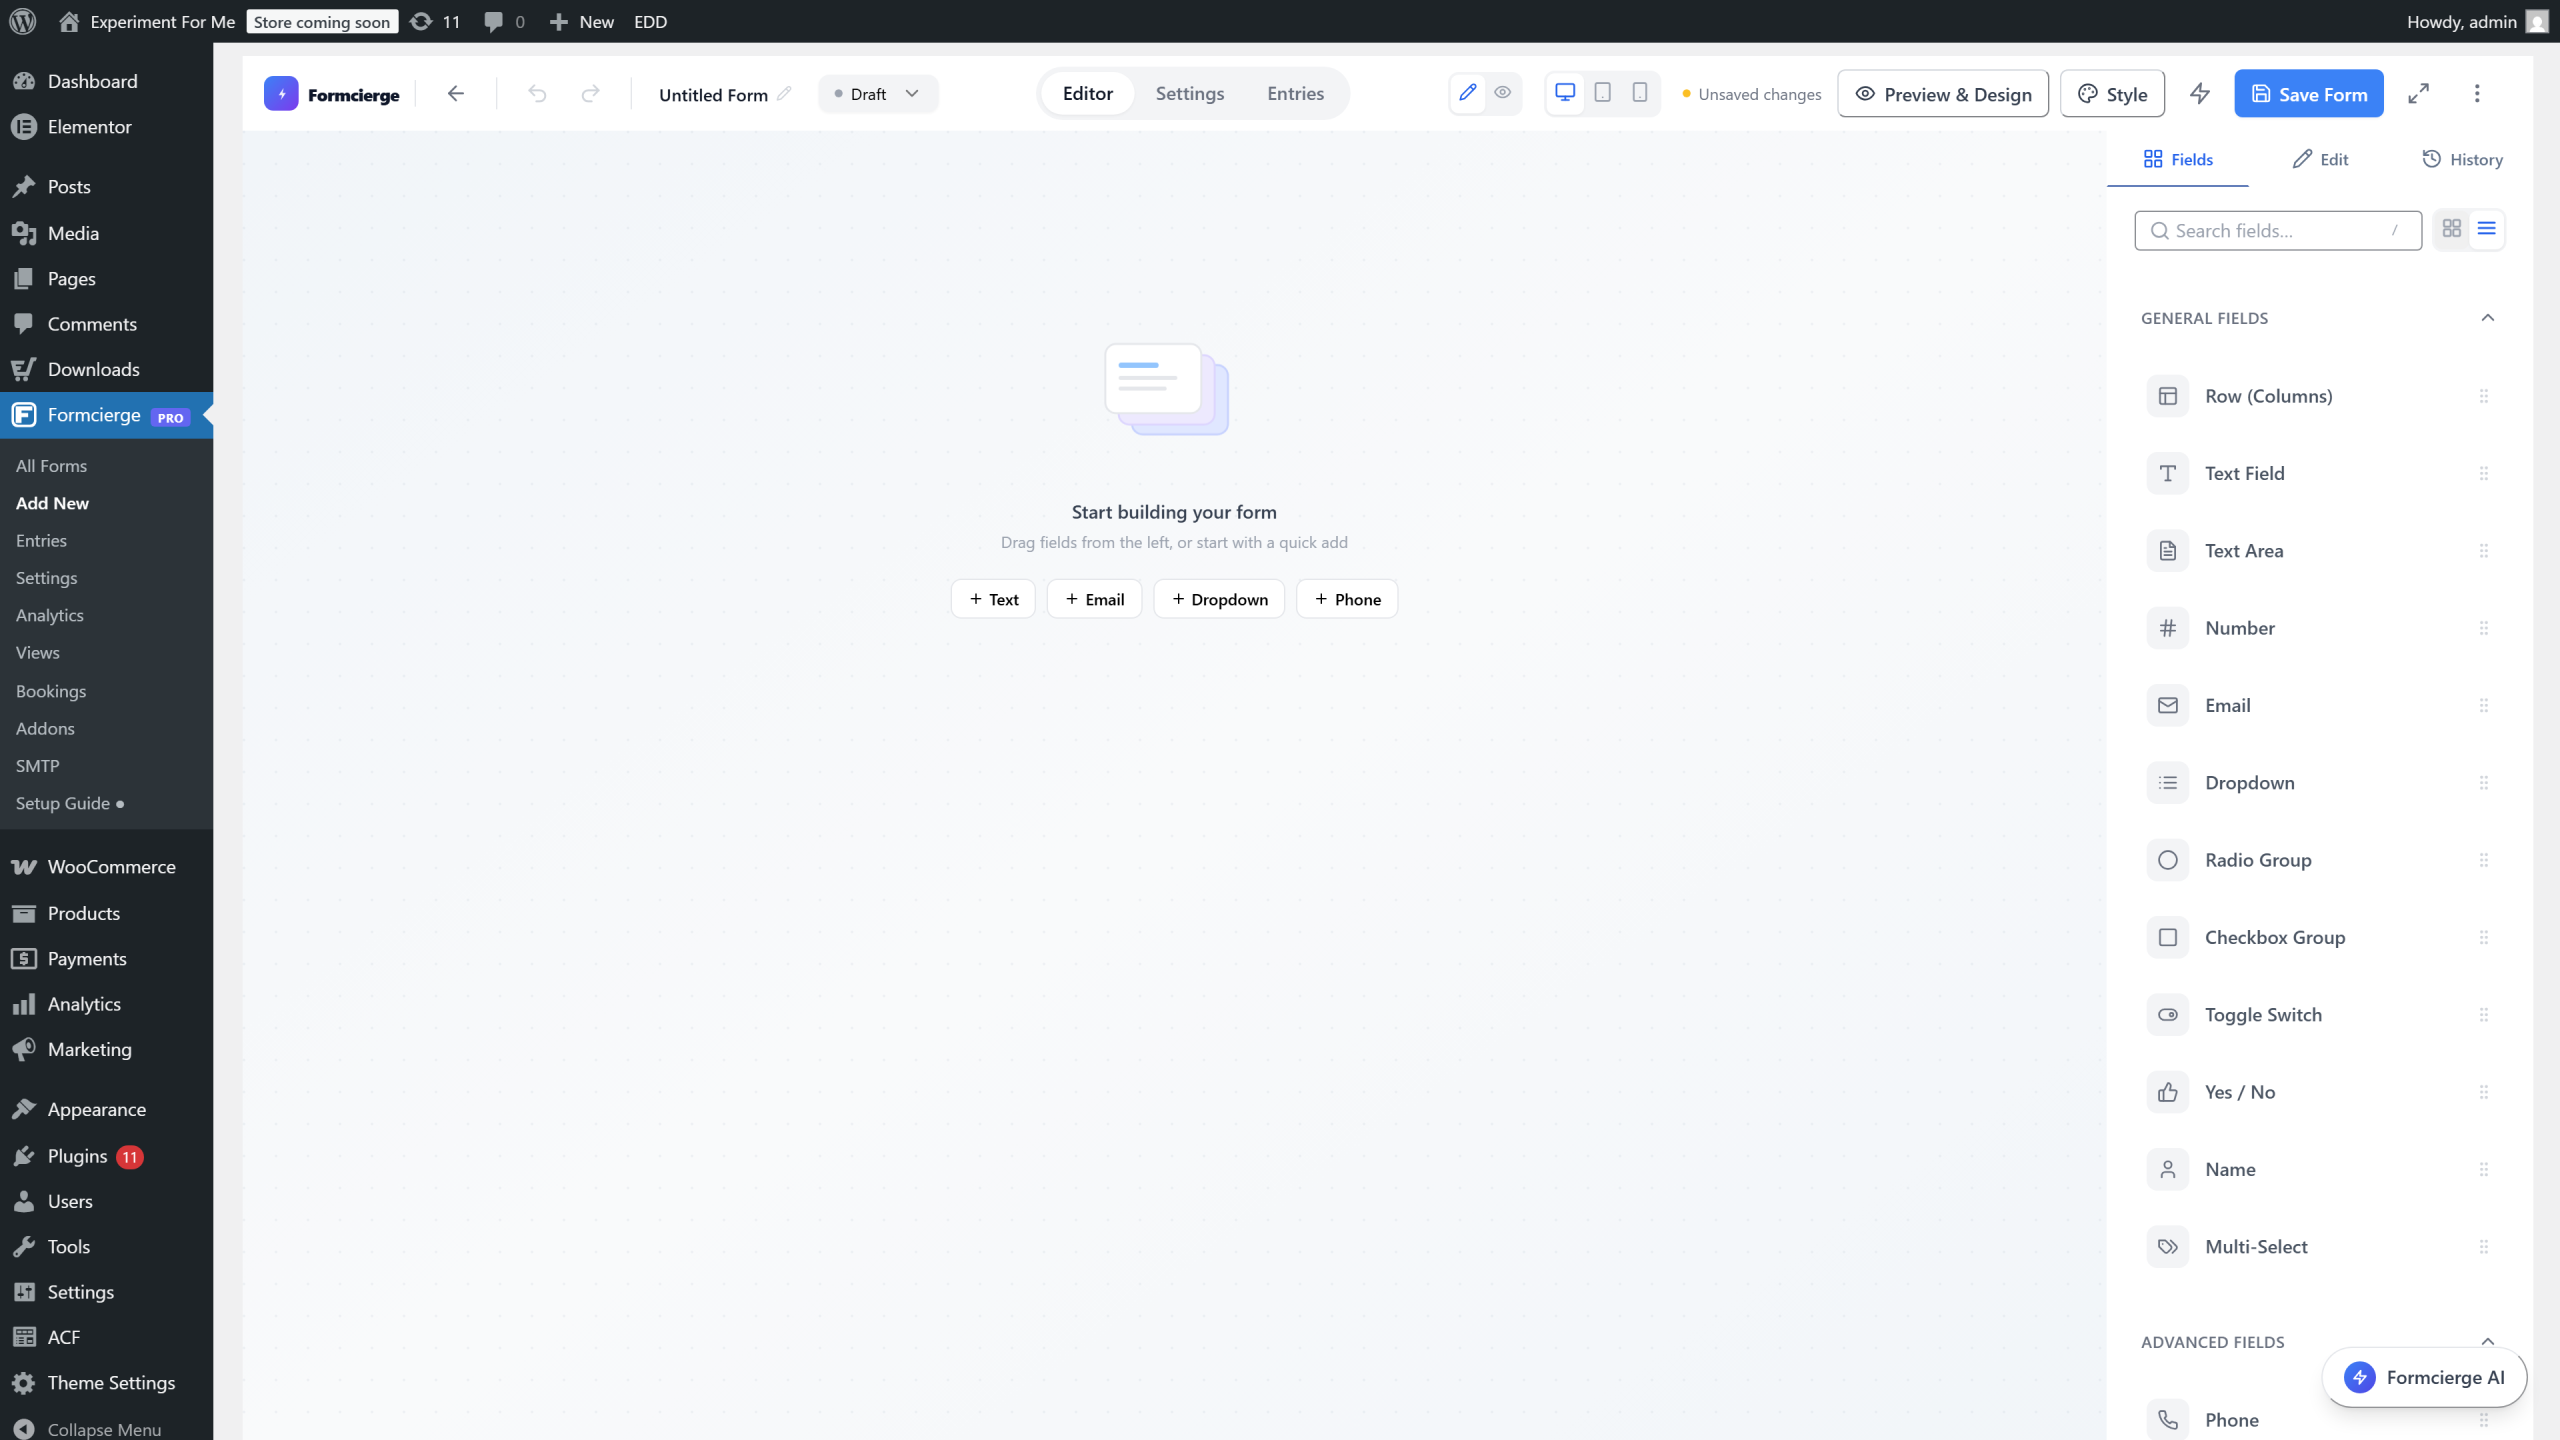
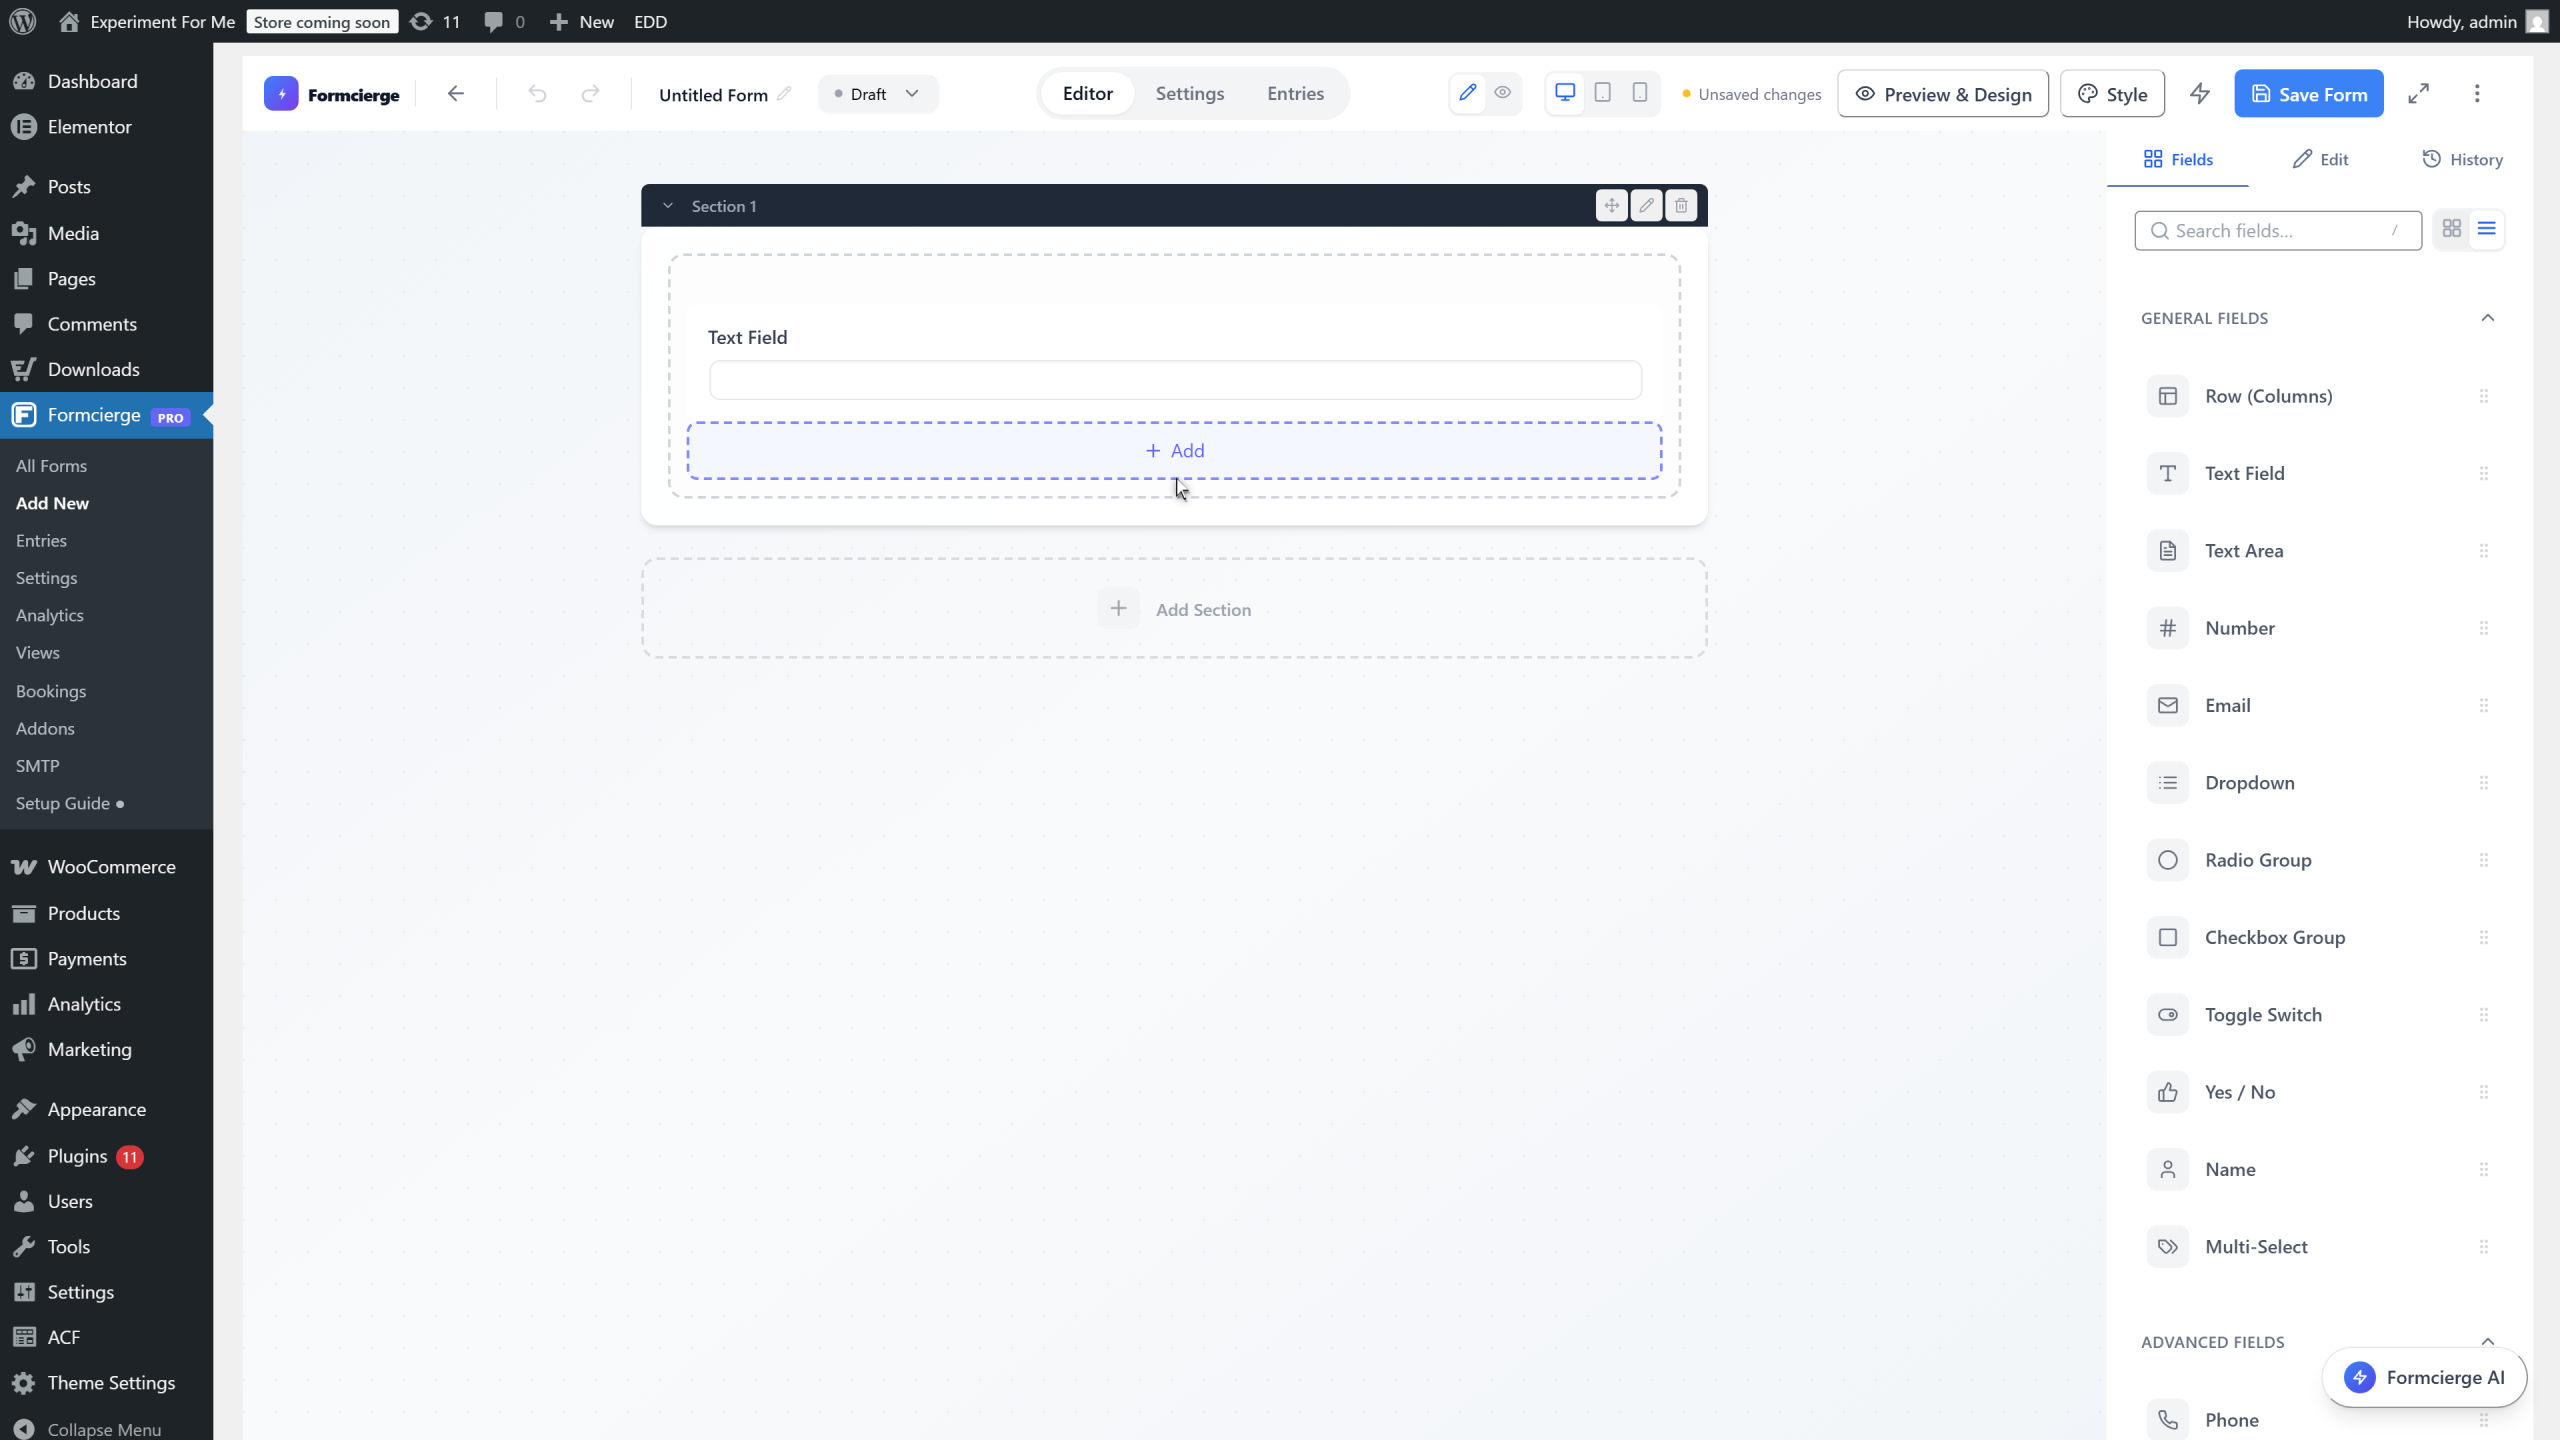
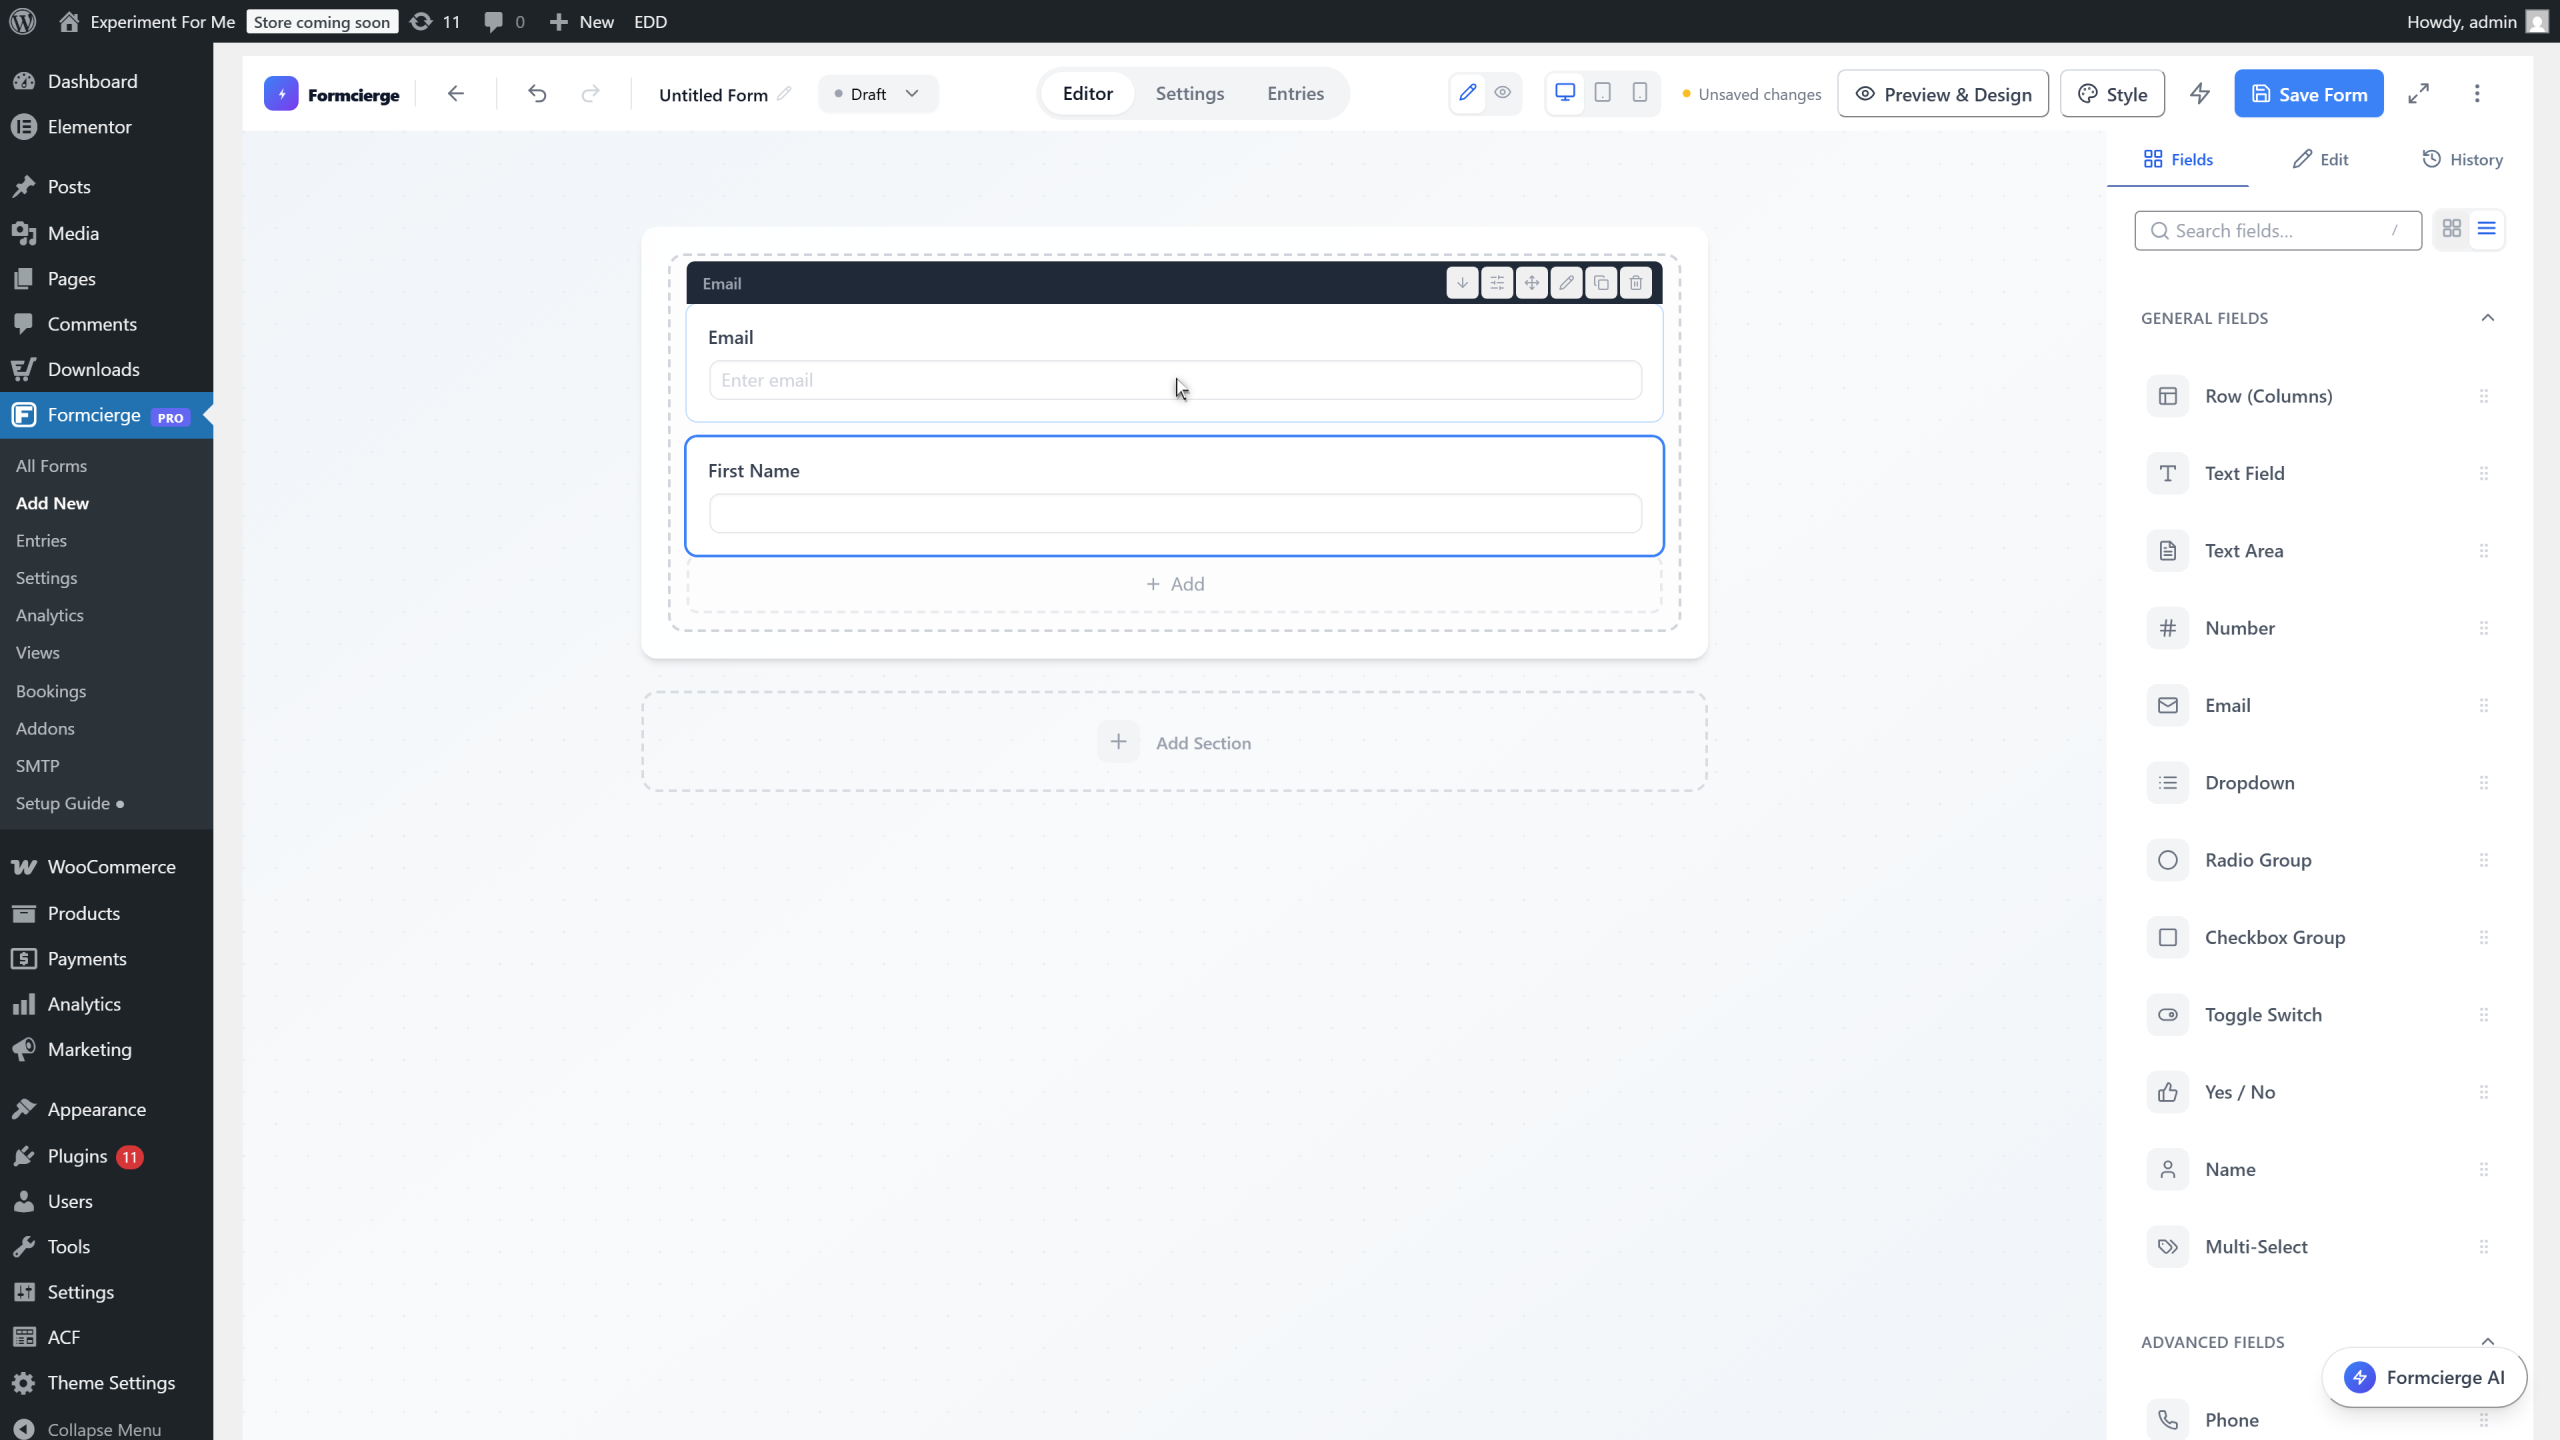
Drag the **Text Field** from the left panel onto the canvas. This will collect the subscriber's first name.
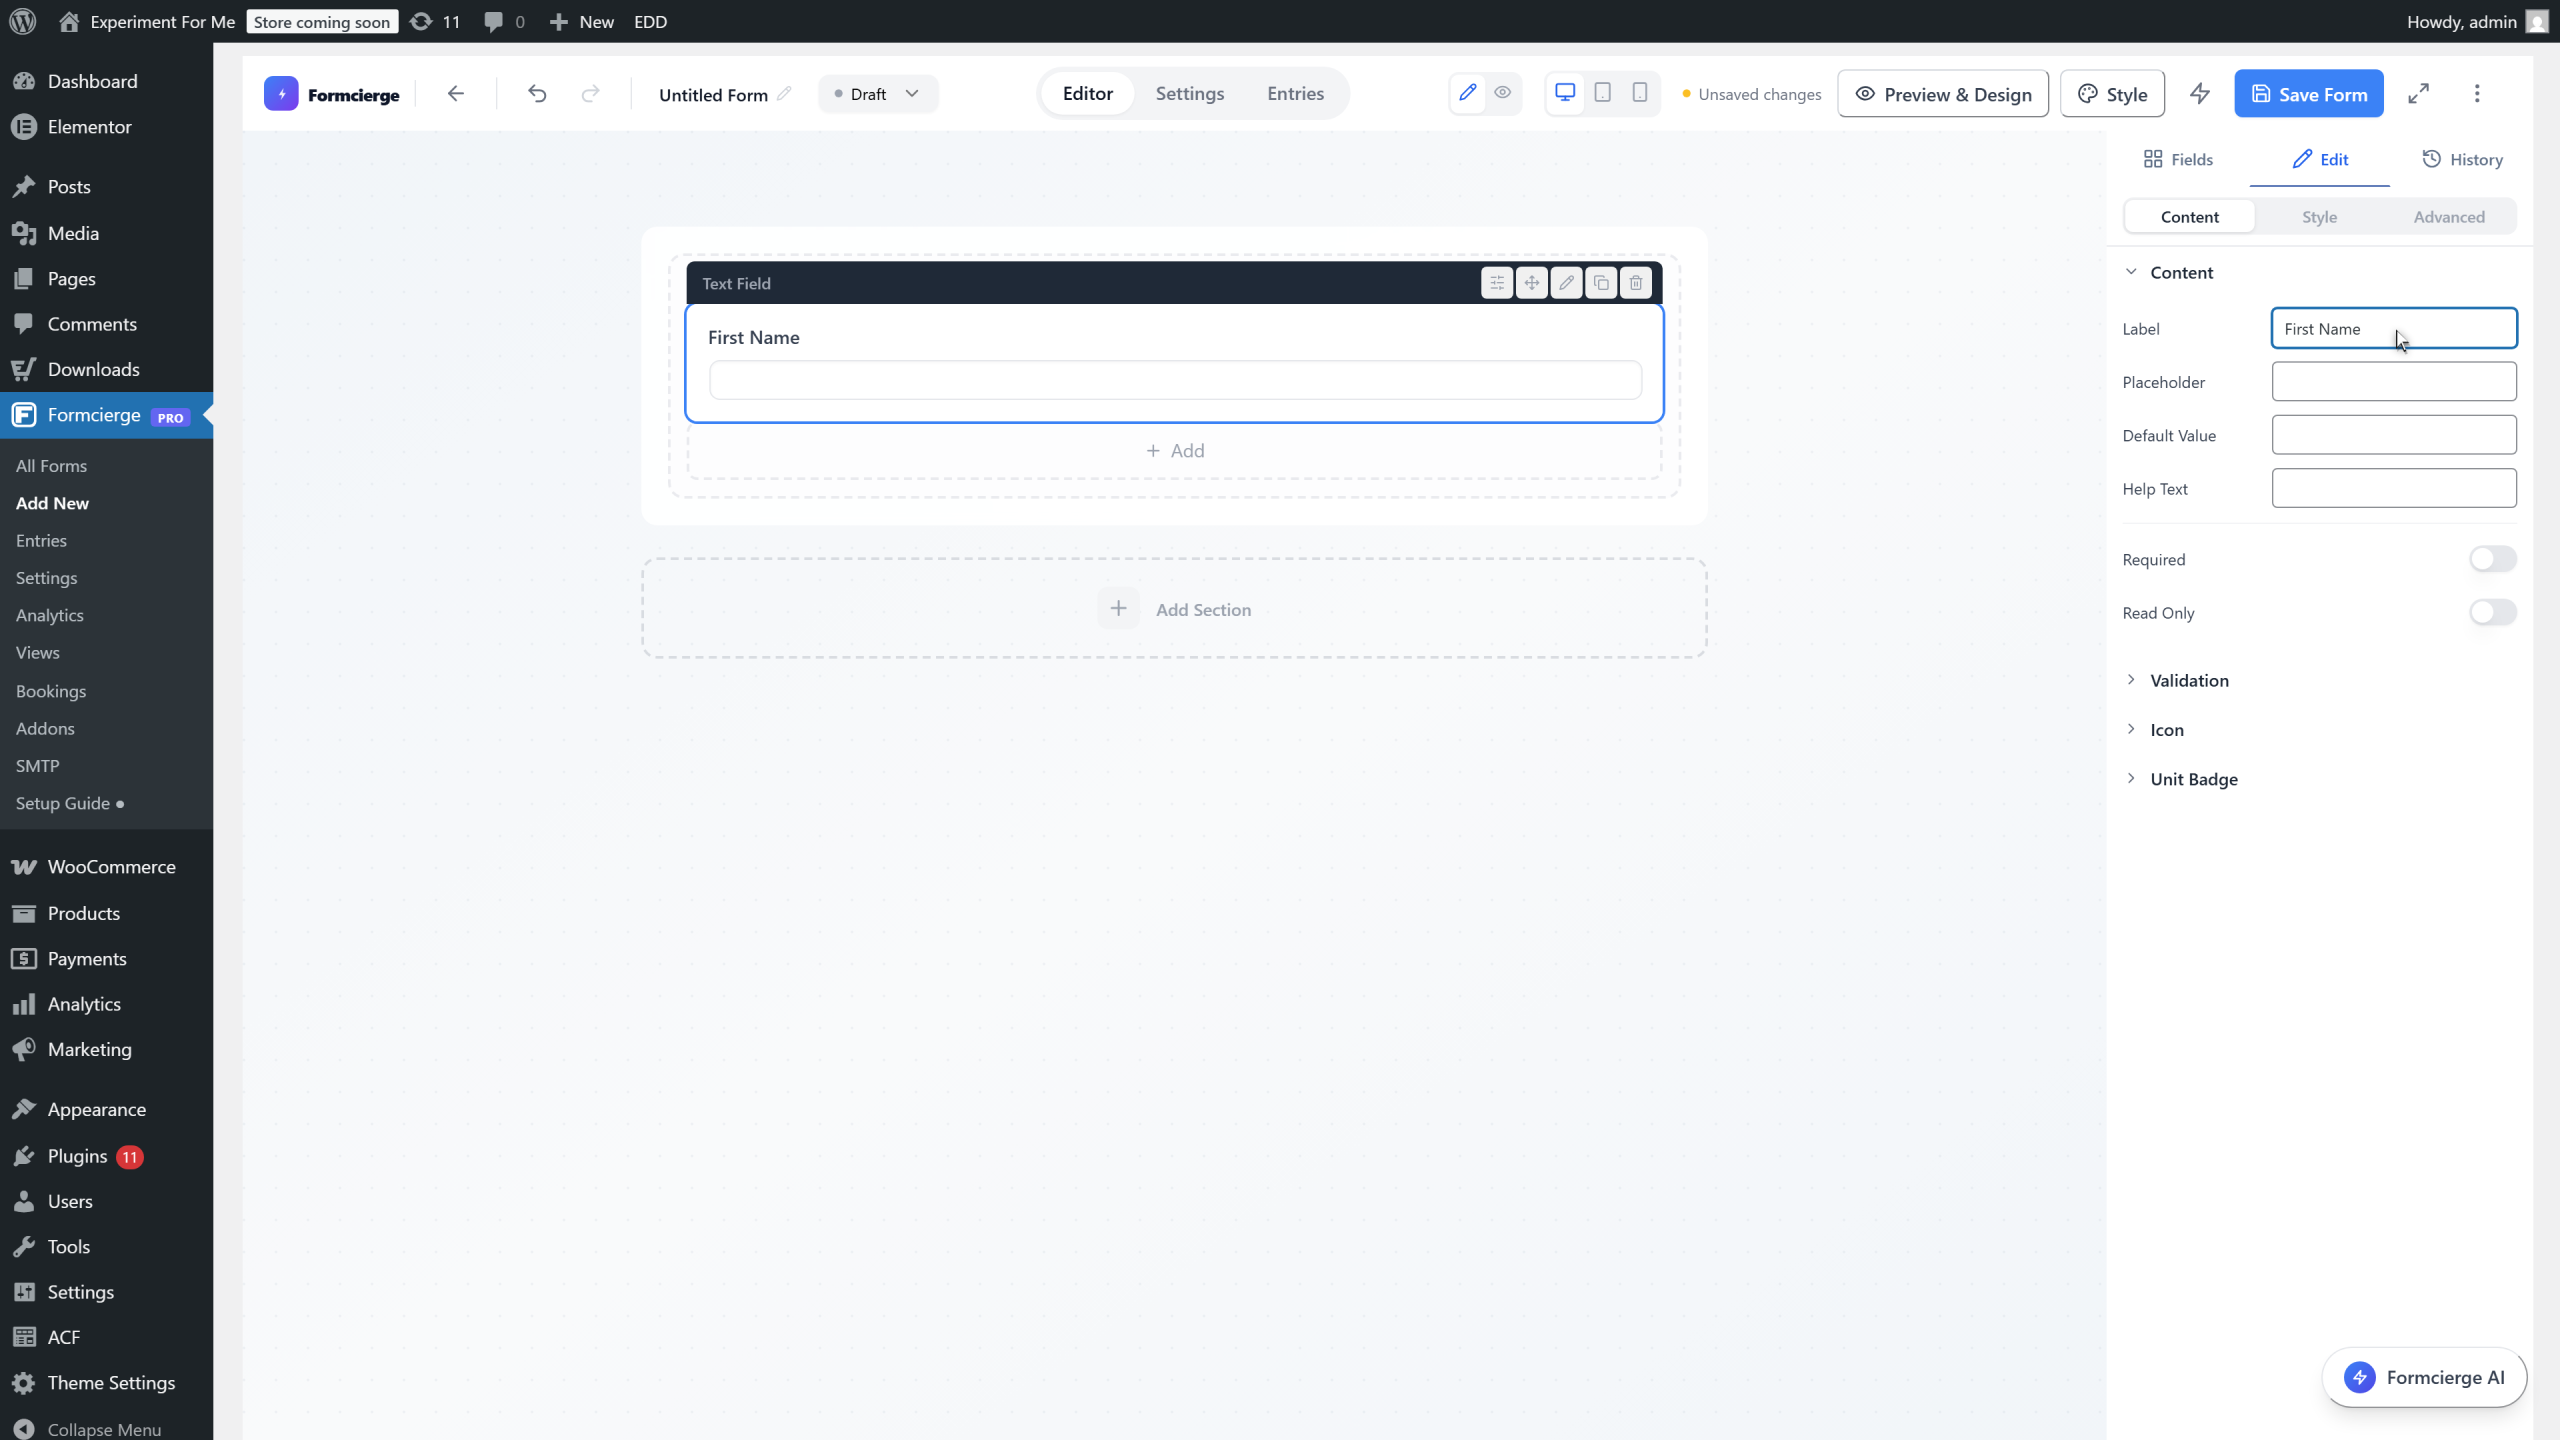
Click the field on the canvas, then set the **Label** to **First Name** and the **Placeholder** to **Your first name**.
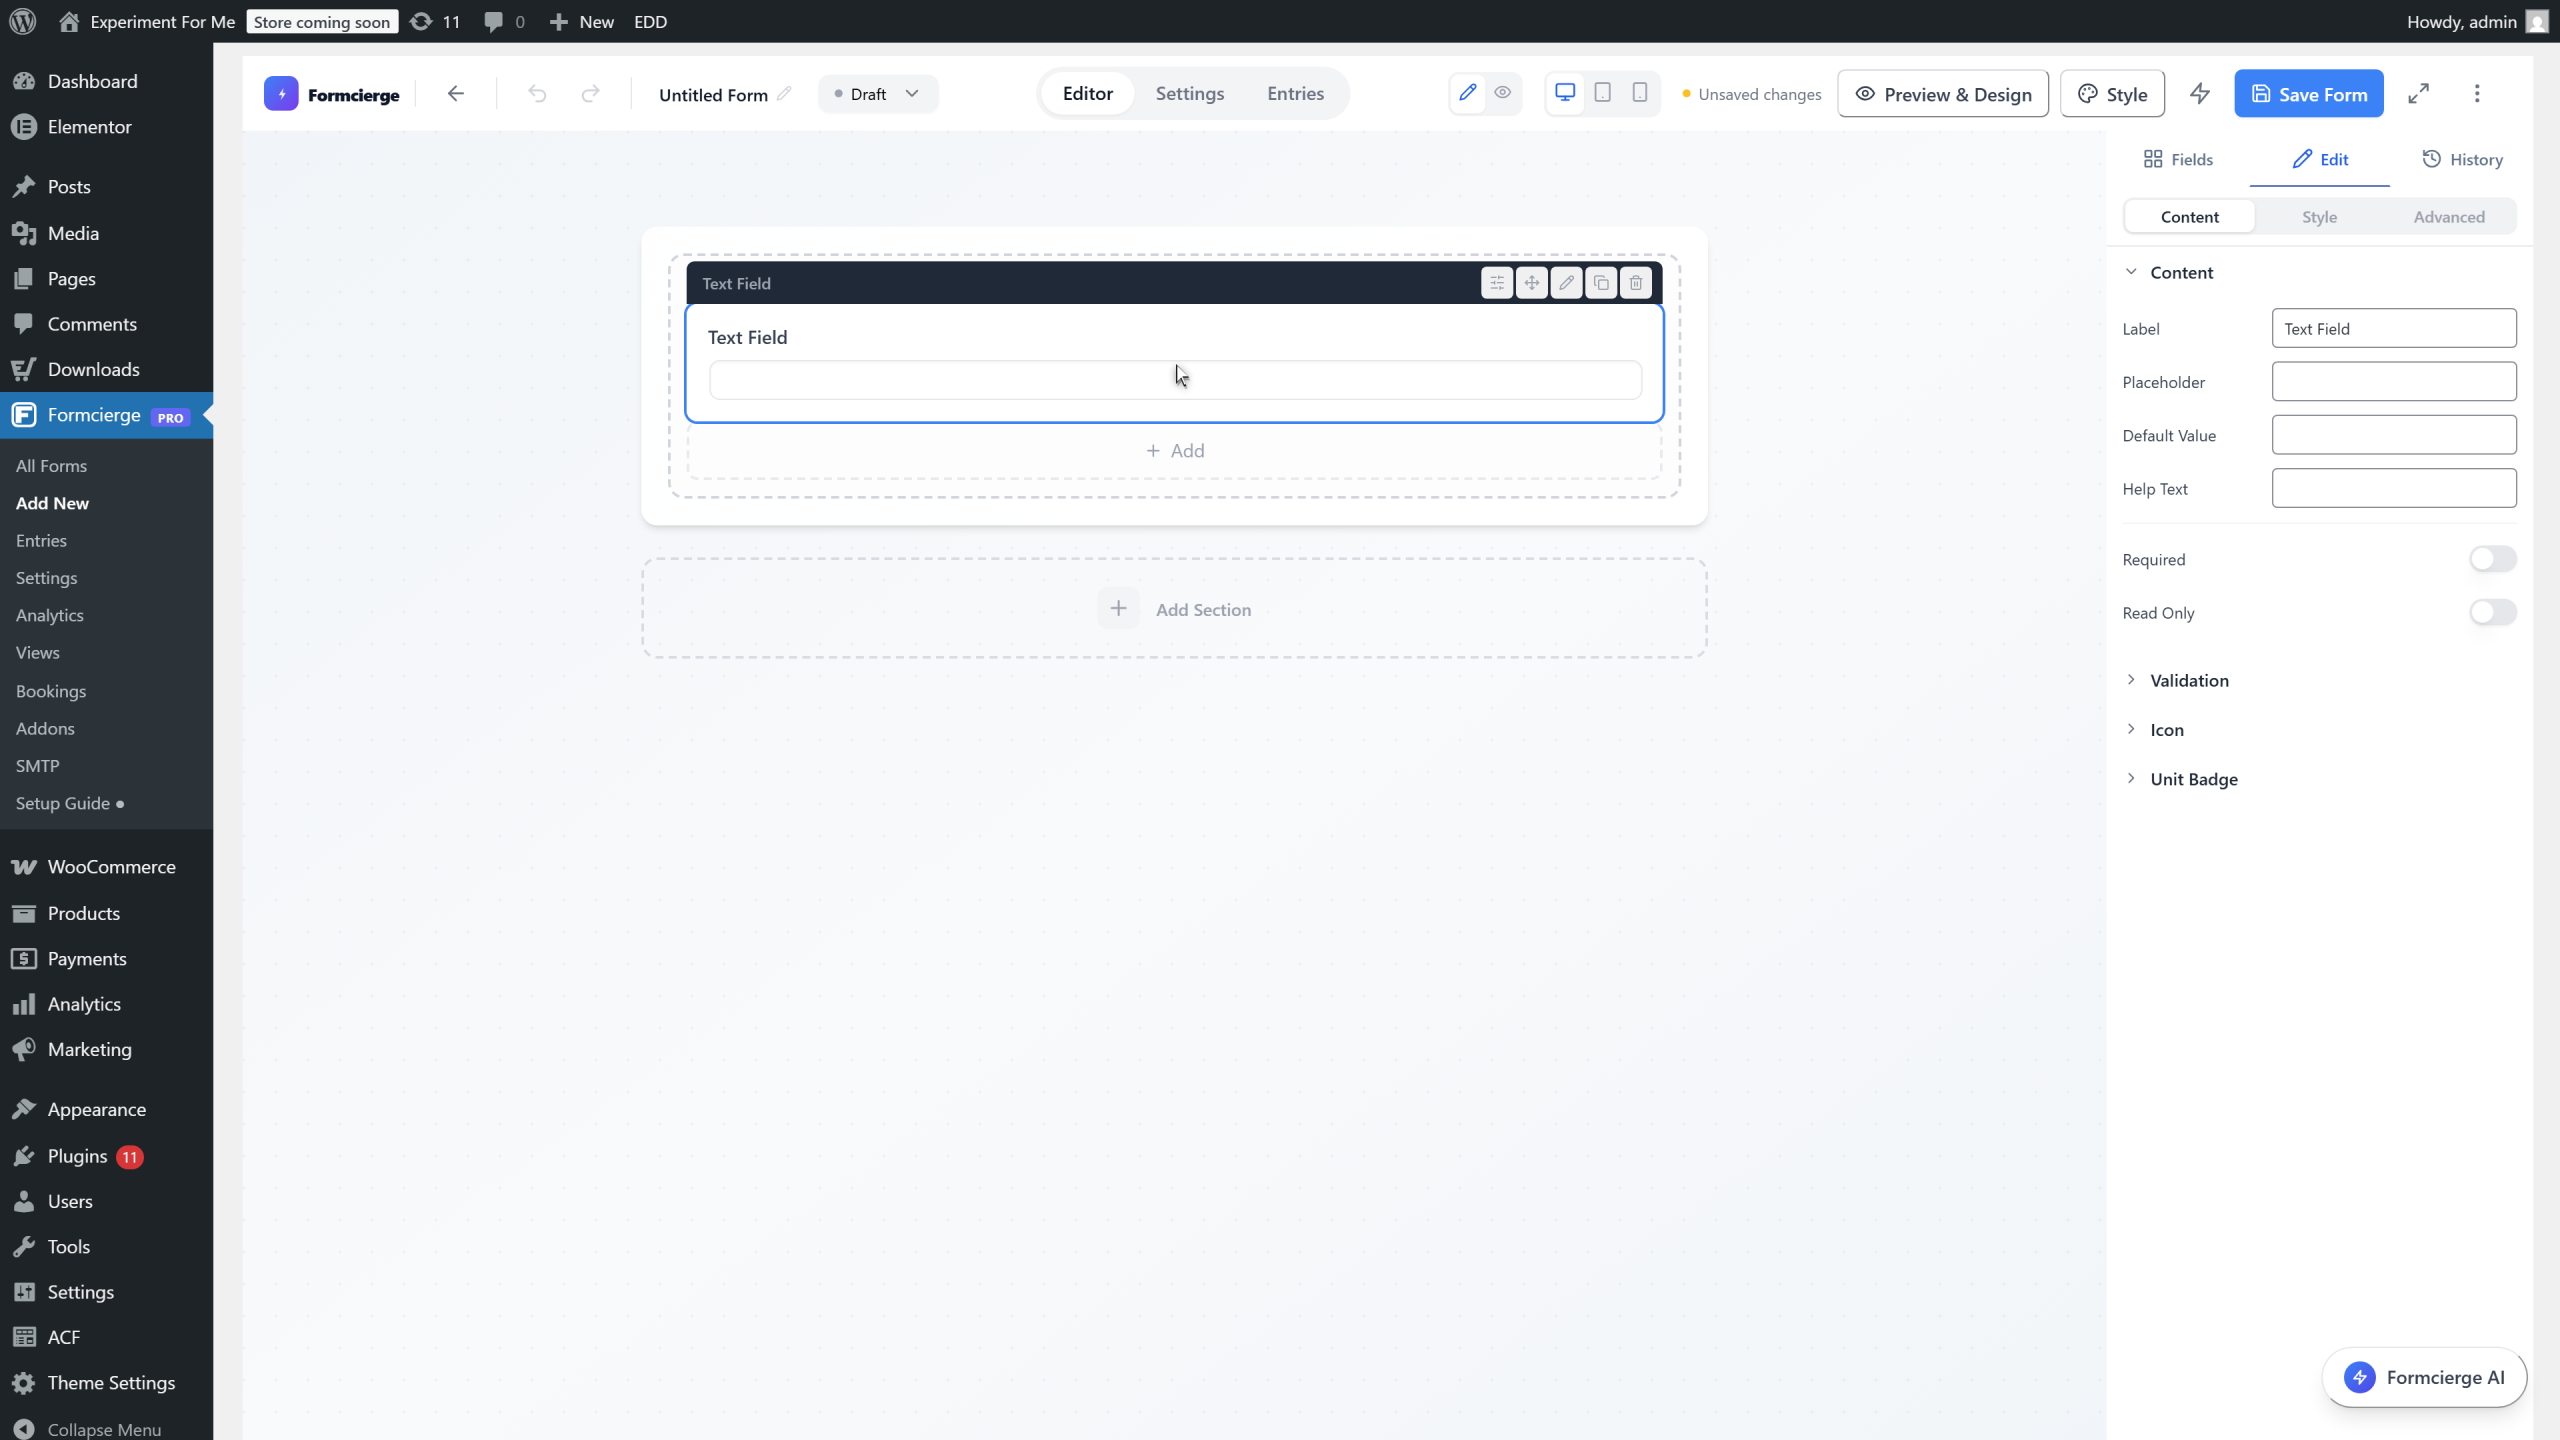
In the right panel, update the **Label** input to **First Name**.
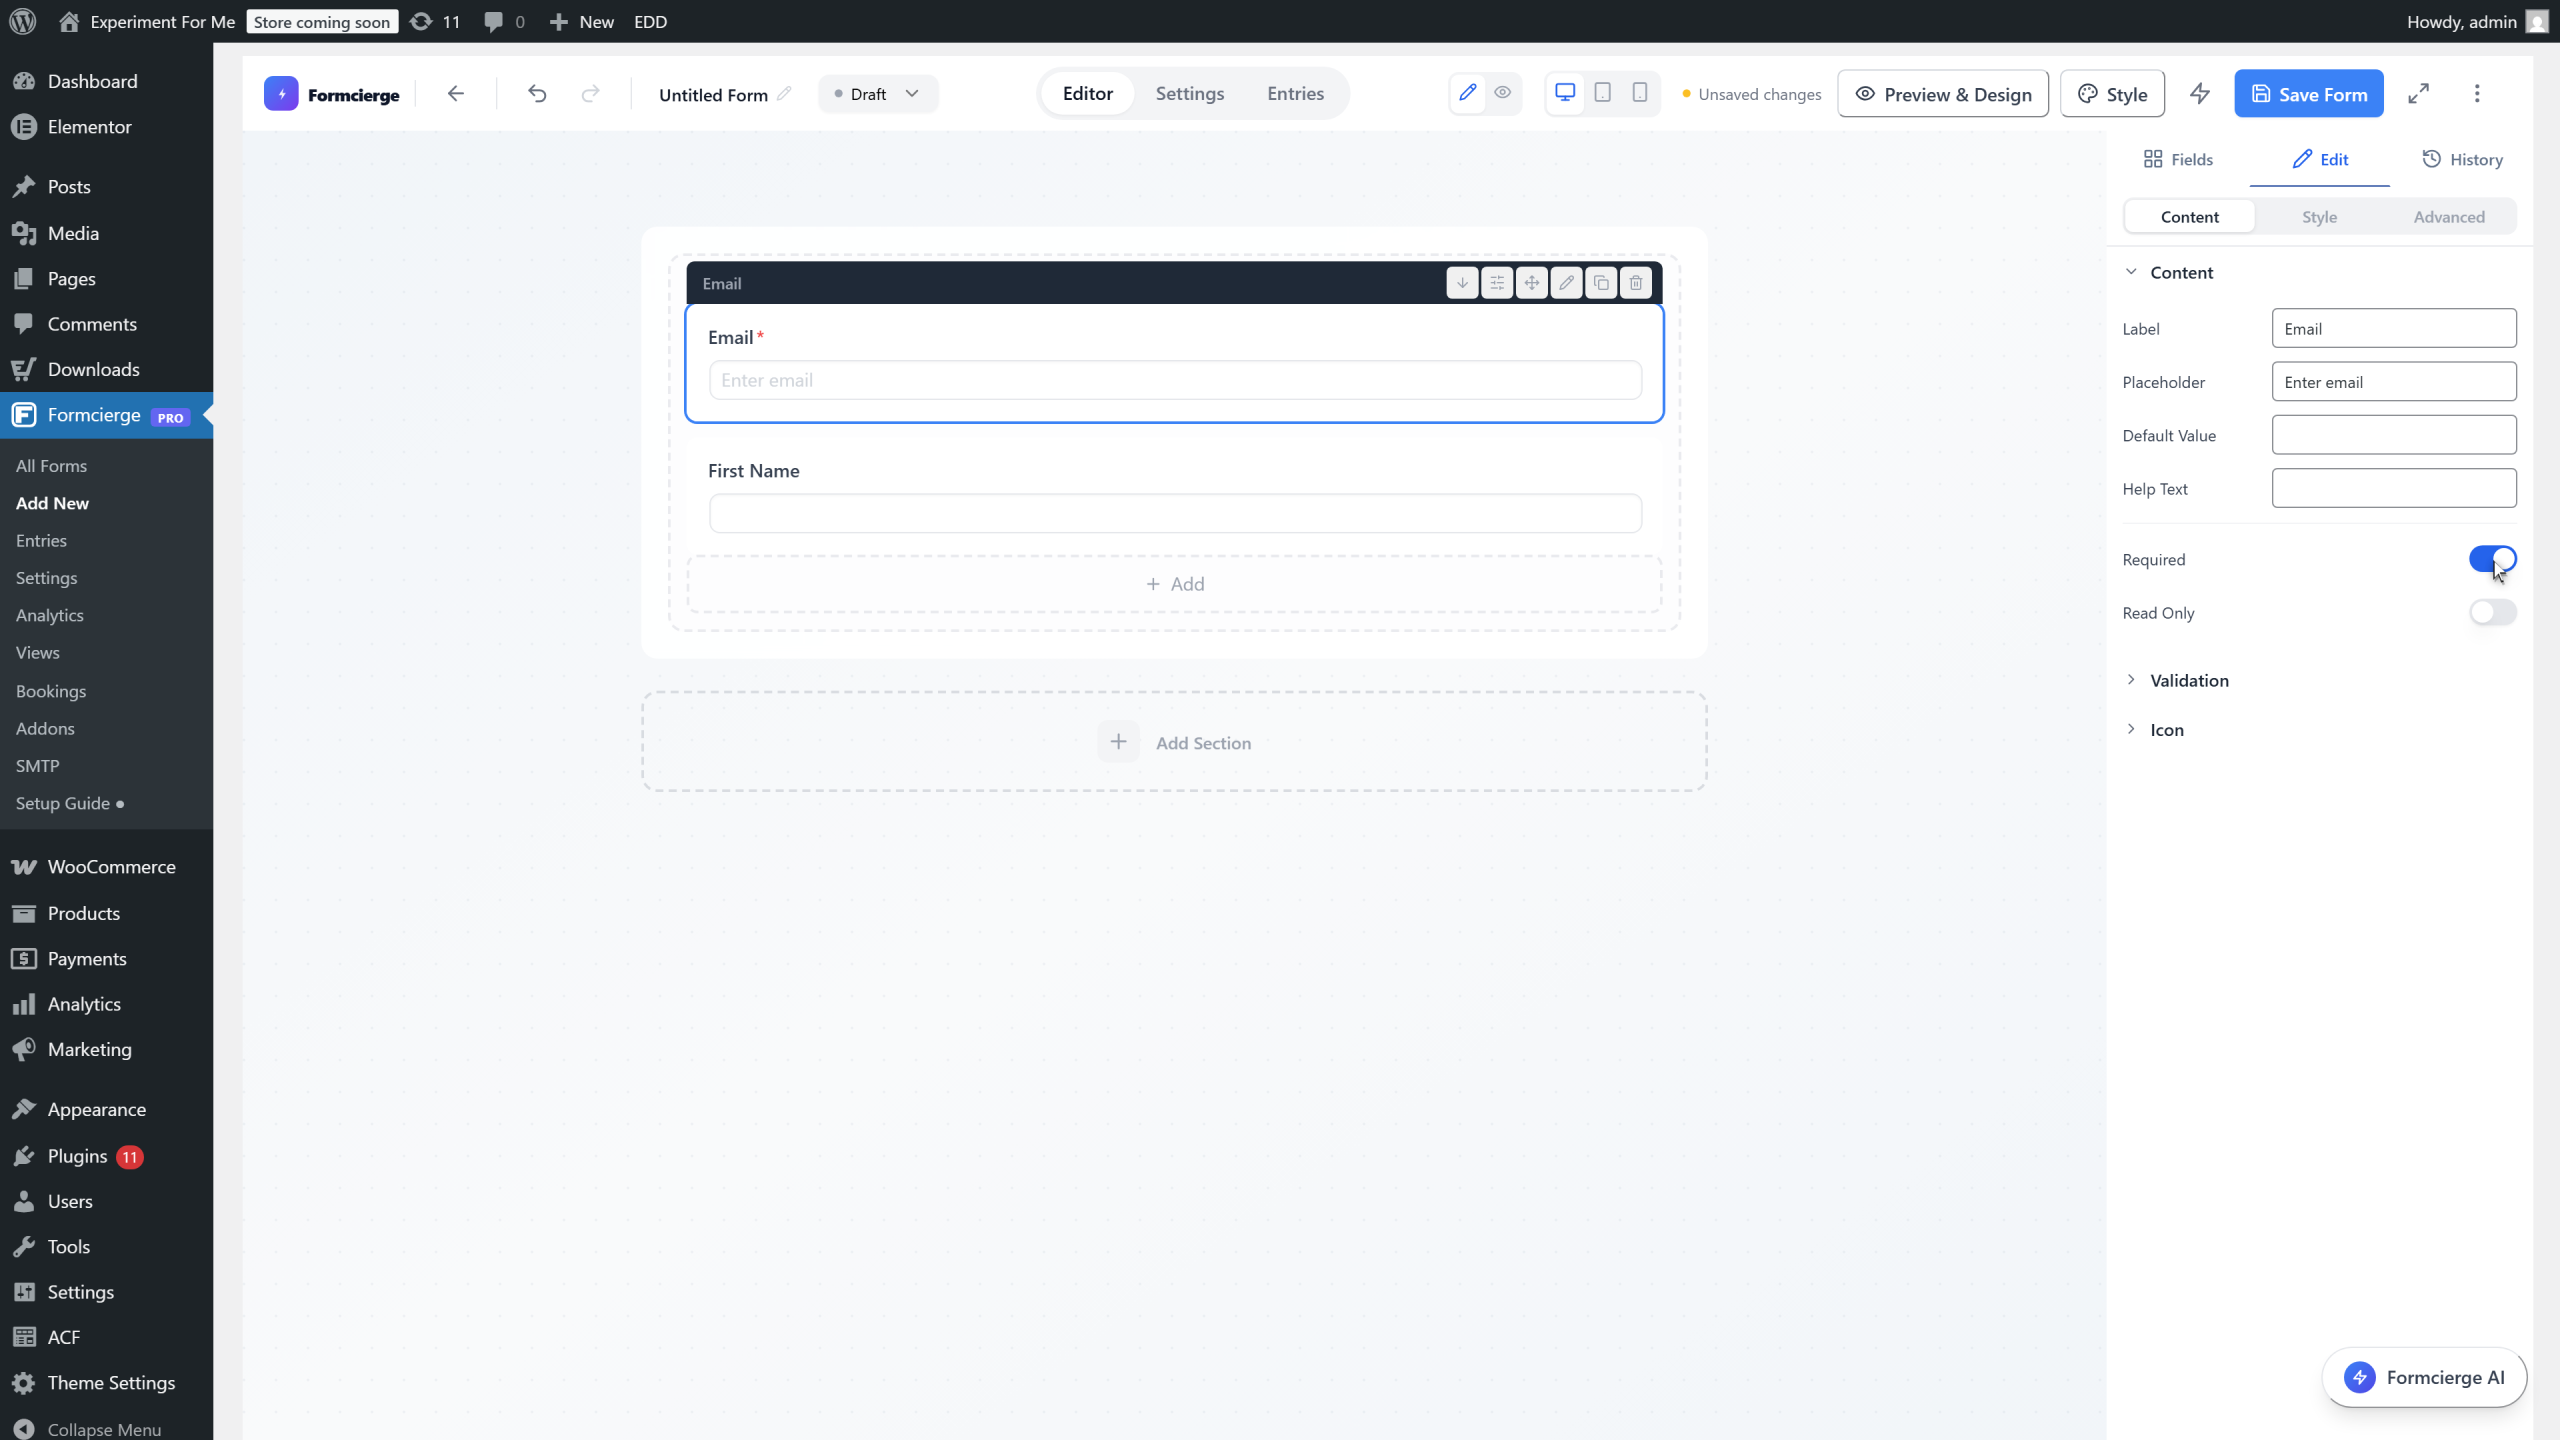
Drag the **Email** field onto the canvas below the First Name field. Toggle **Required** on for the Email field — you always need an email address for a newsletter signup.
Click the Email field to select it, then toggle **Required** on. A red asterisk will appear next to the label on the live form to signal to visitors that this field is mandatory.
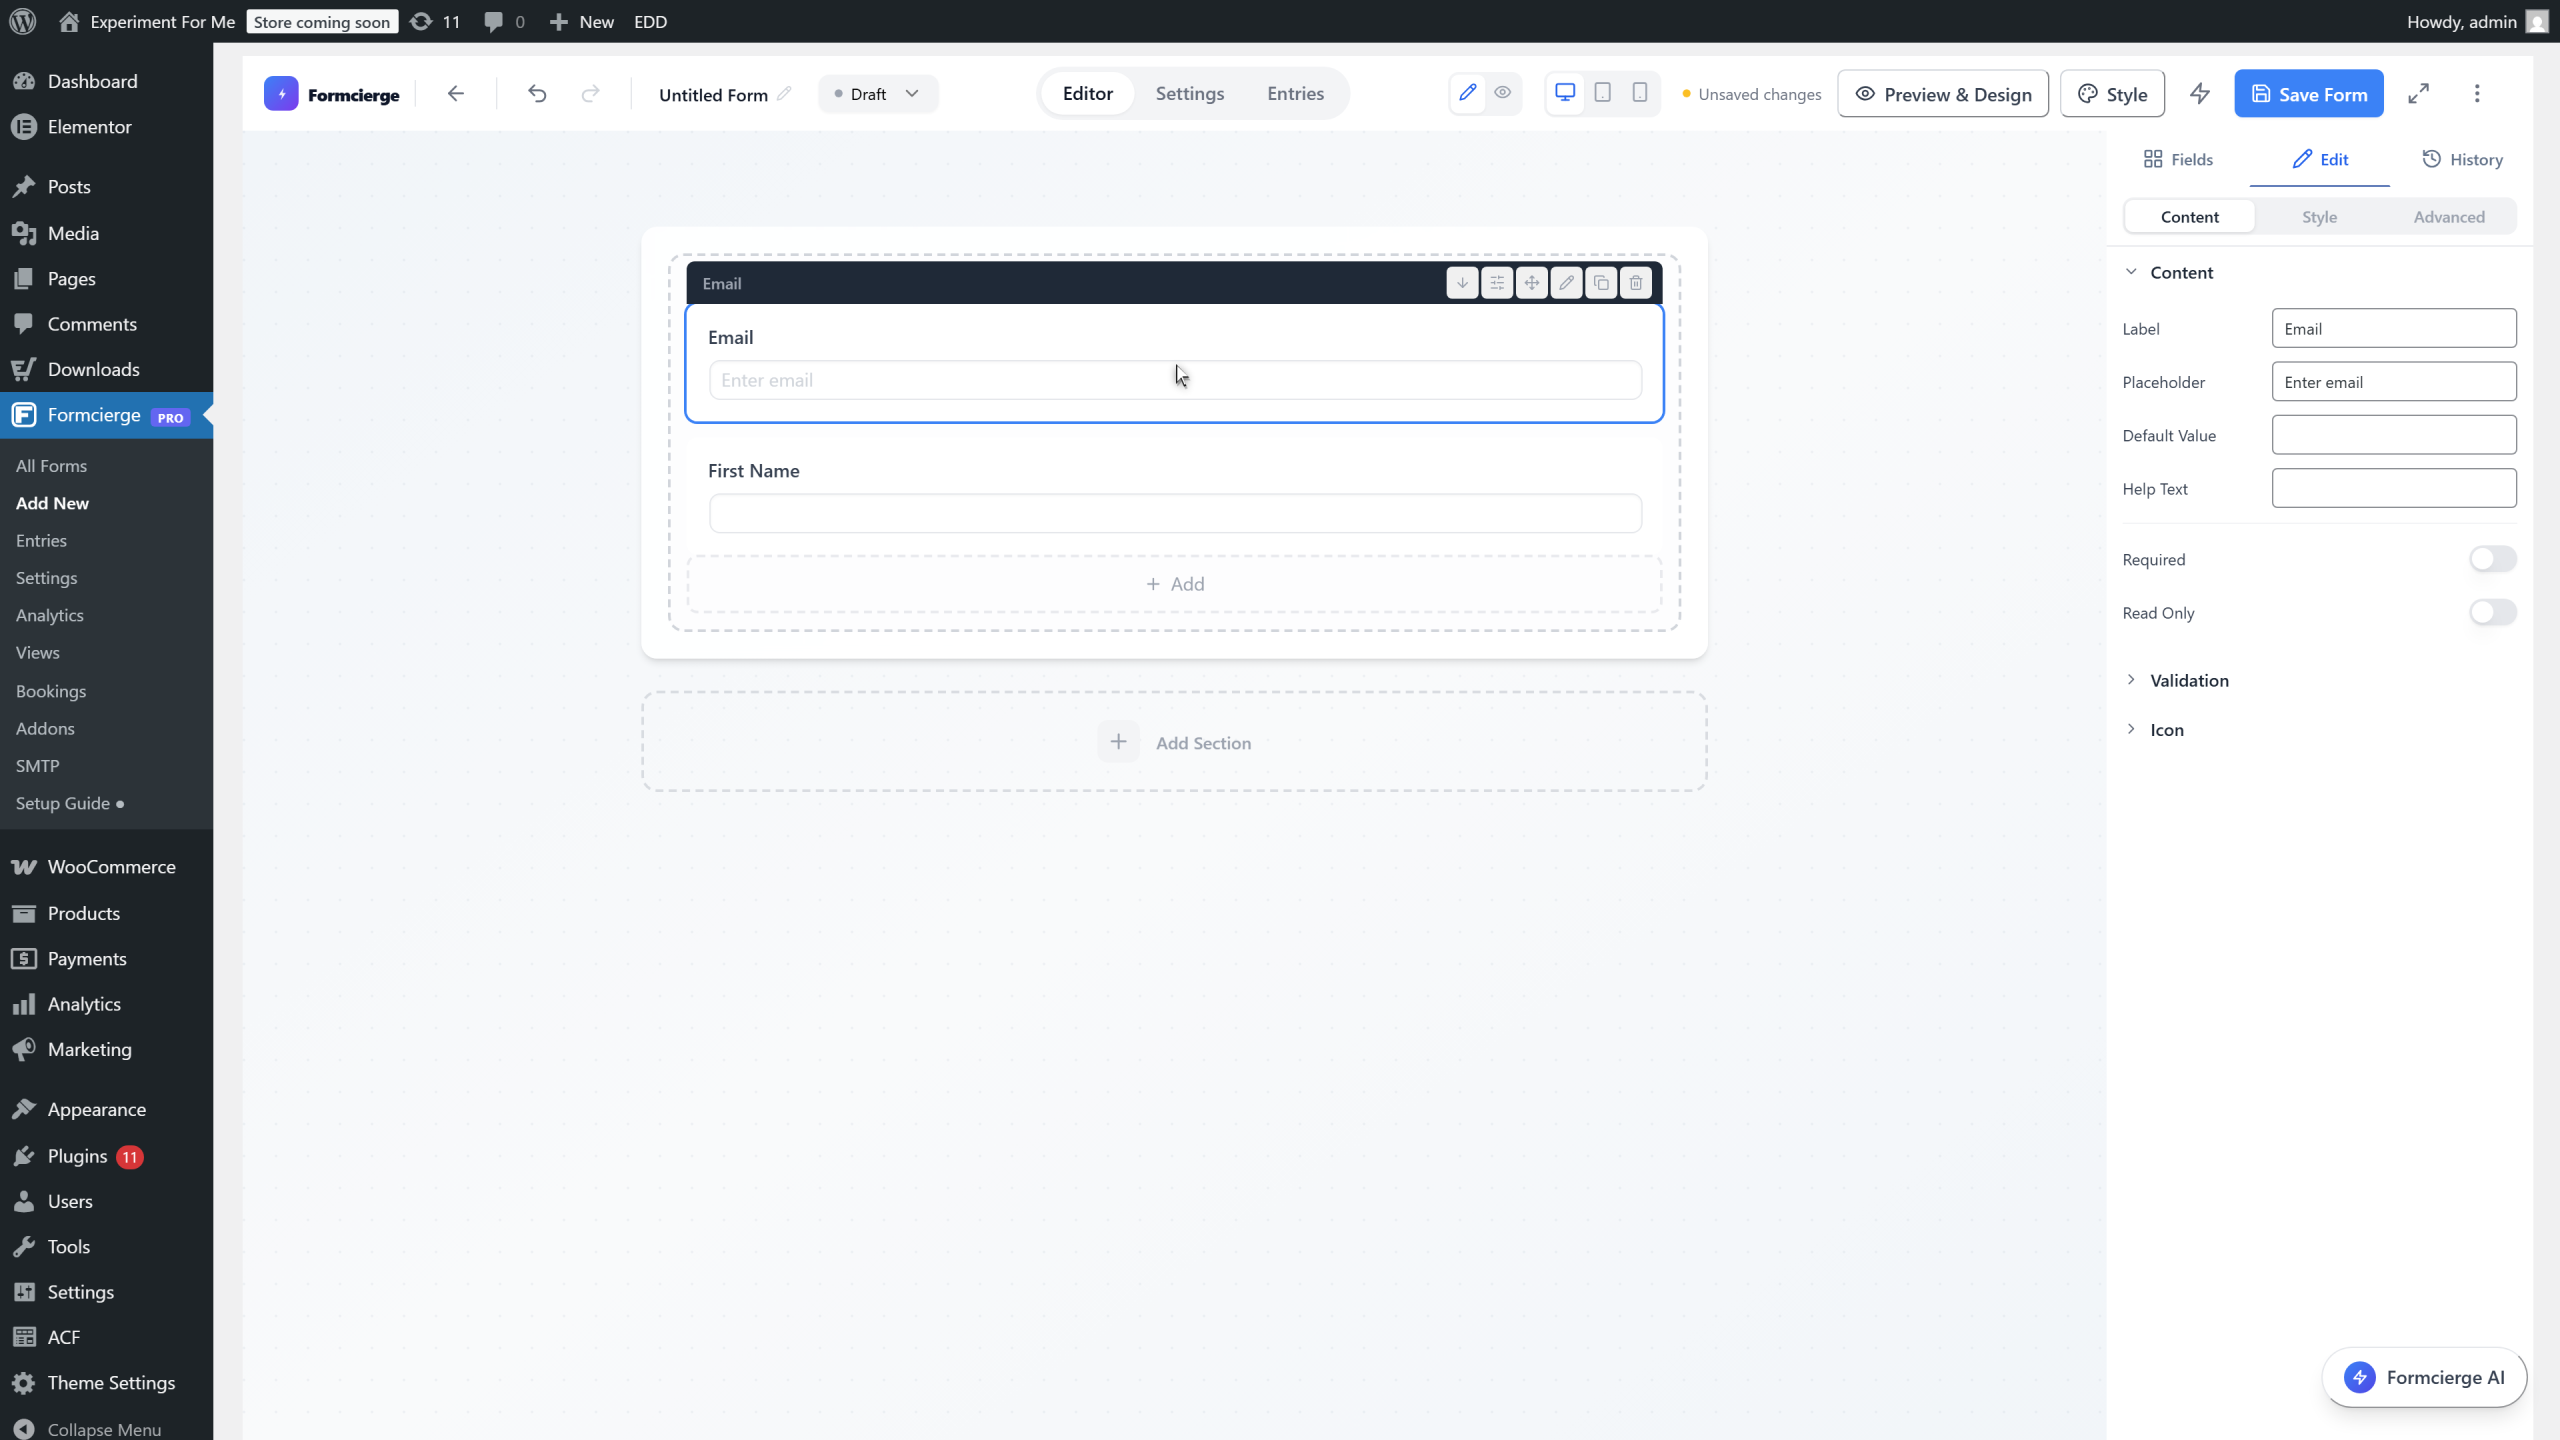
Toggle the **Required** switch to on for the Email field. The form will prevent submission if this field is left empty.
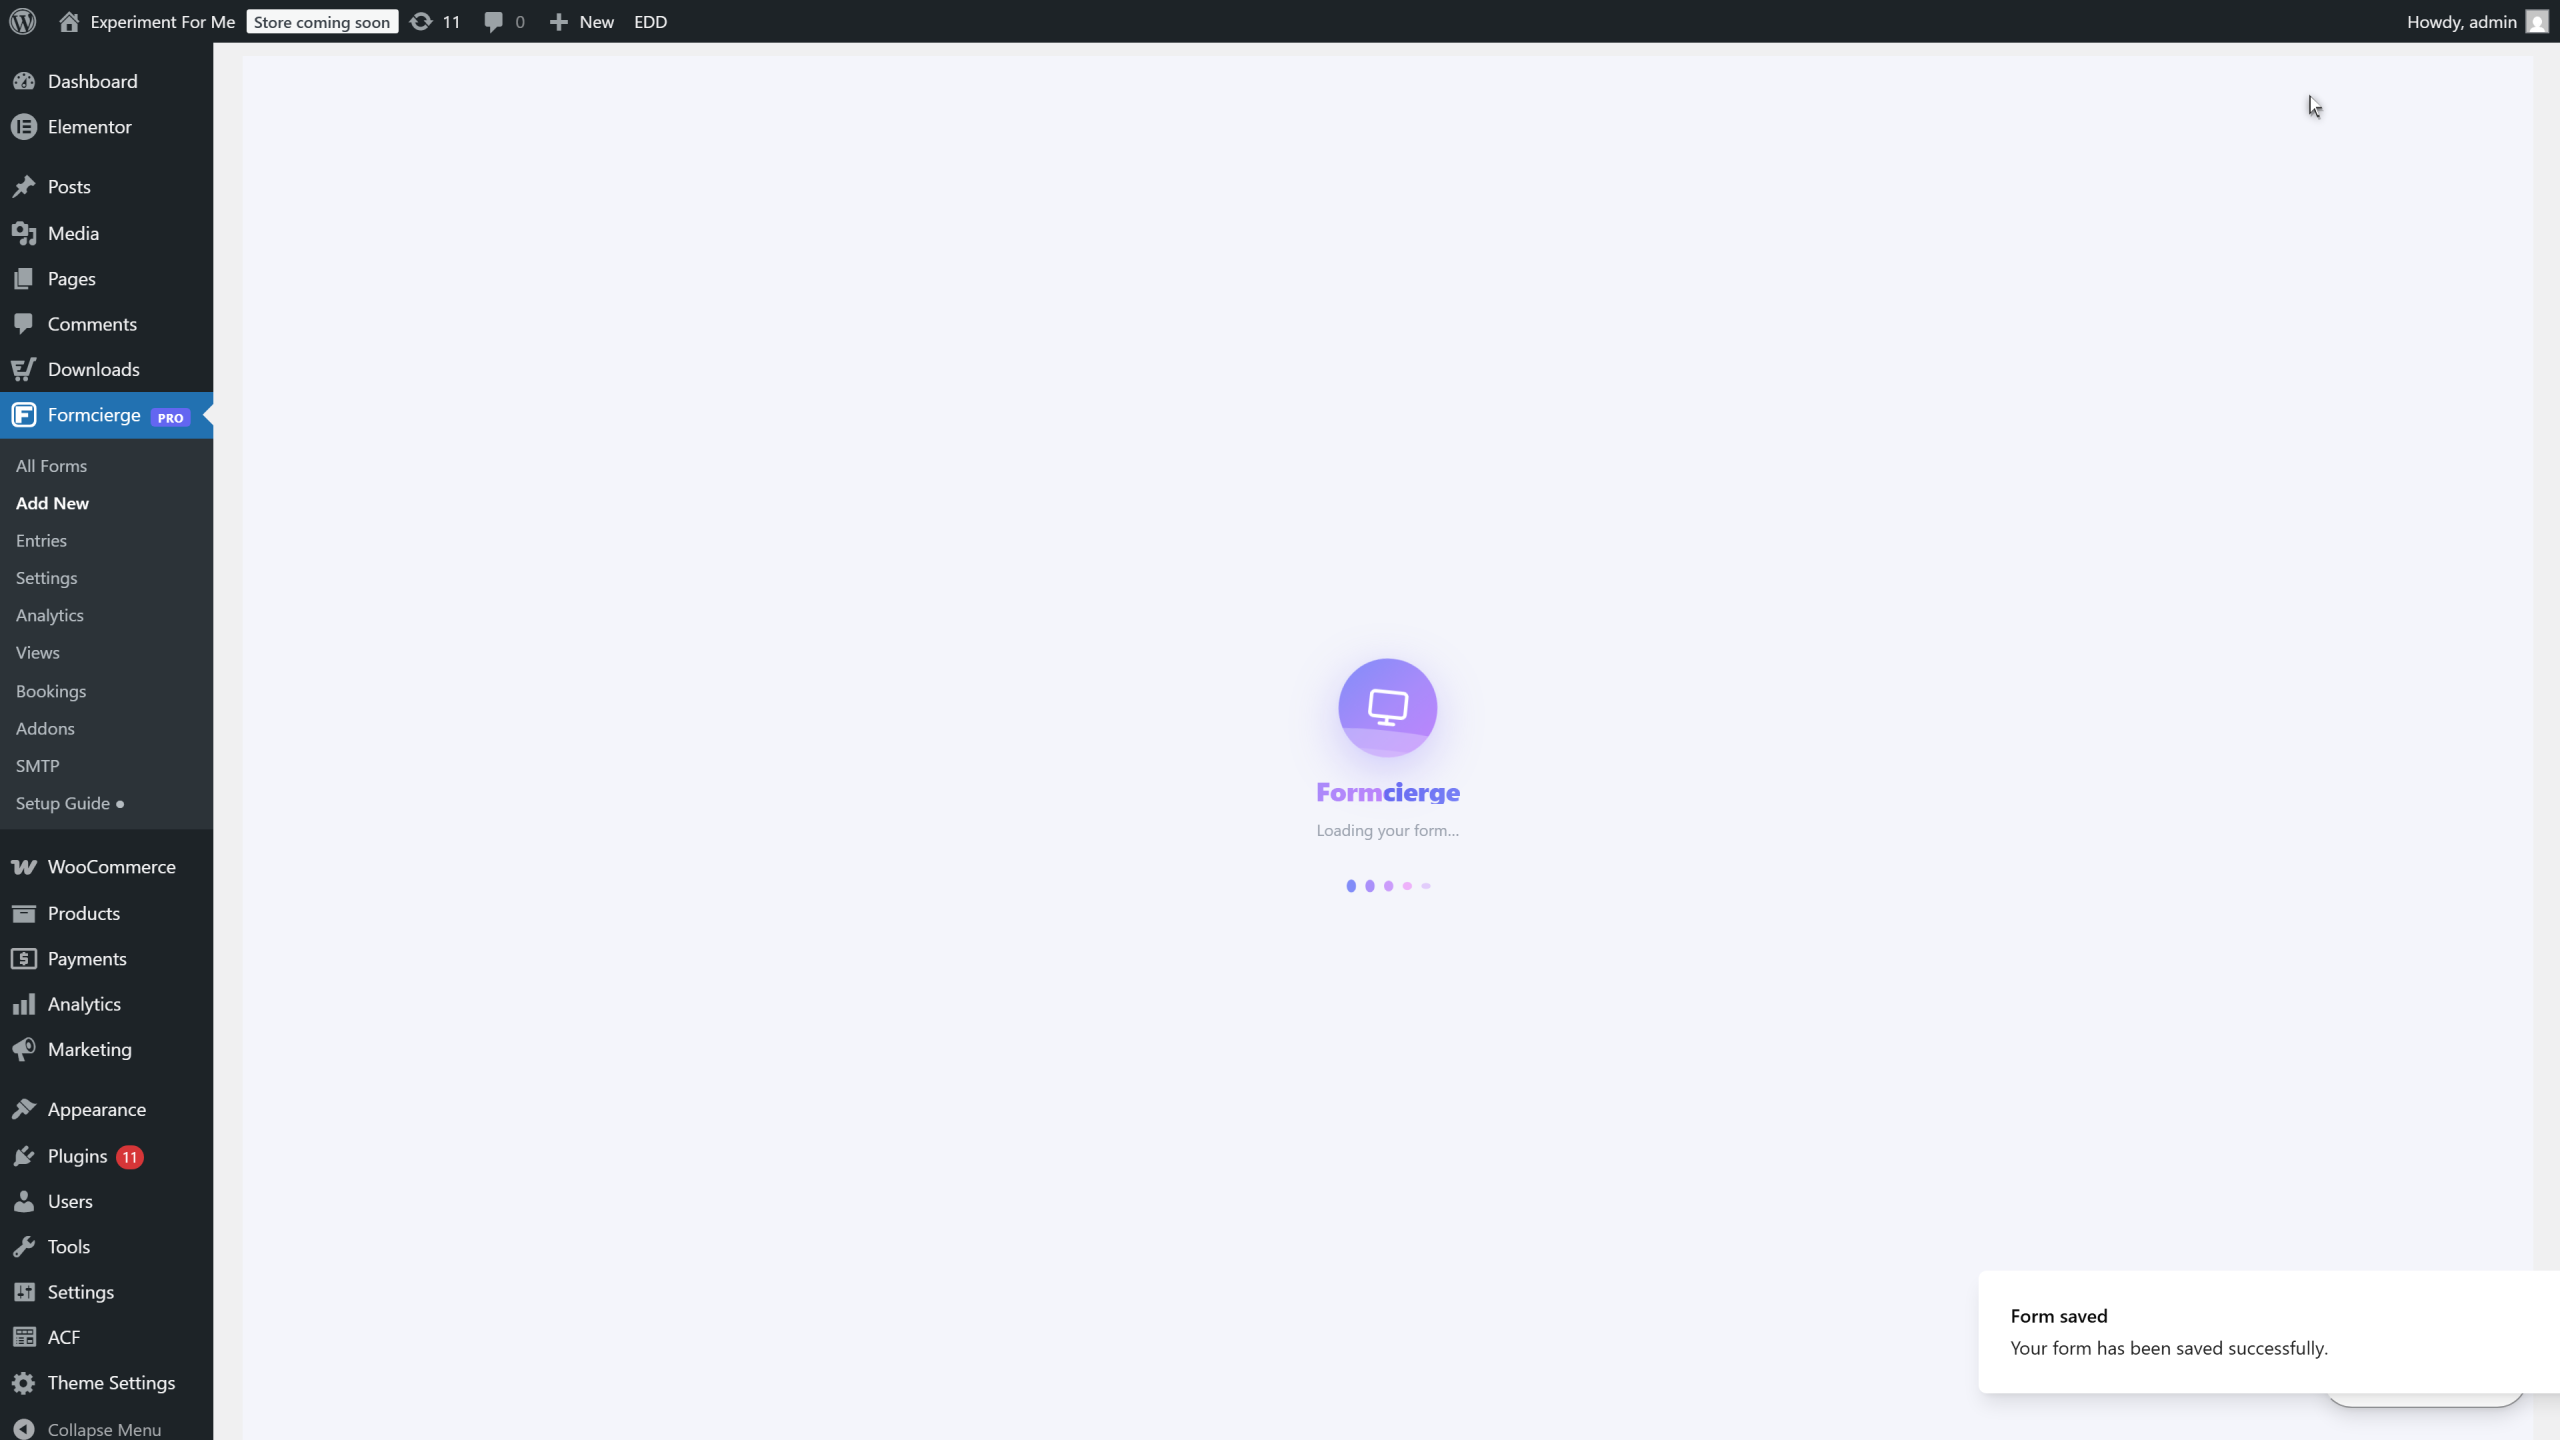
Click the **Save Form** button in the top bar. On the **first save**, Formcierge creates a new form record, assigns a permanent **Form ID** (a number like 5 or 12), and updates the browser URL to include that ID. A green *Form saved successfully* notification appears in the top-right corner. This ID never changes — it is the stable identifier for this form across your entire site.
Look at the browser address bar — the URL now contains `&form_id=5` (or whatever ID was assigned). This ID is how WordPress identifies your form internally, and it is the same number that appears in the shortcode `[formcierge id="5"]`. Bookmark this URL if you want to return directly to this form's editor later.
Click **Settings** in the top bar to open the Form Settings modal, then click the **General** tab. The blue **Form Information** box shows your **Form ID** and the full **Shortcode** ready to copy. This is the code you will paste into any WordPress page, post, or widget to display the form.
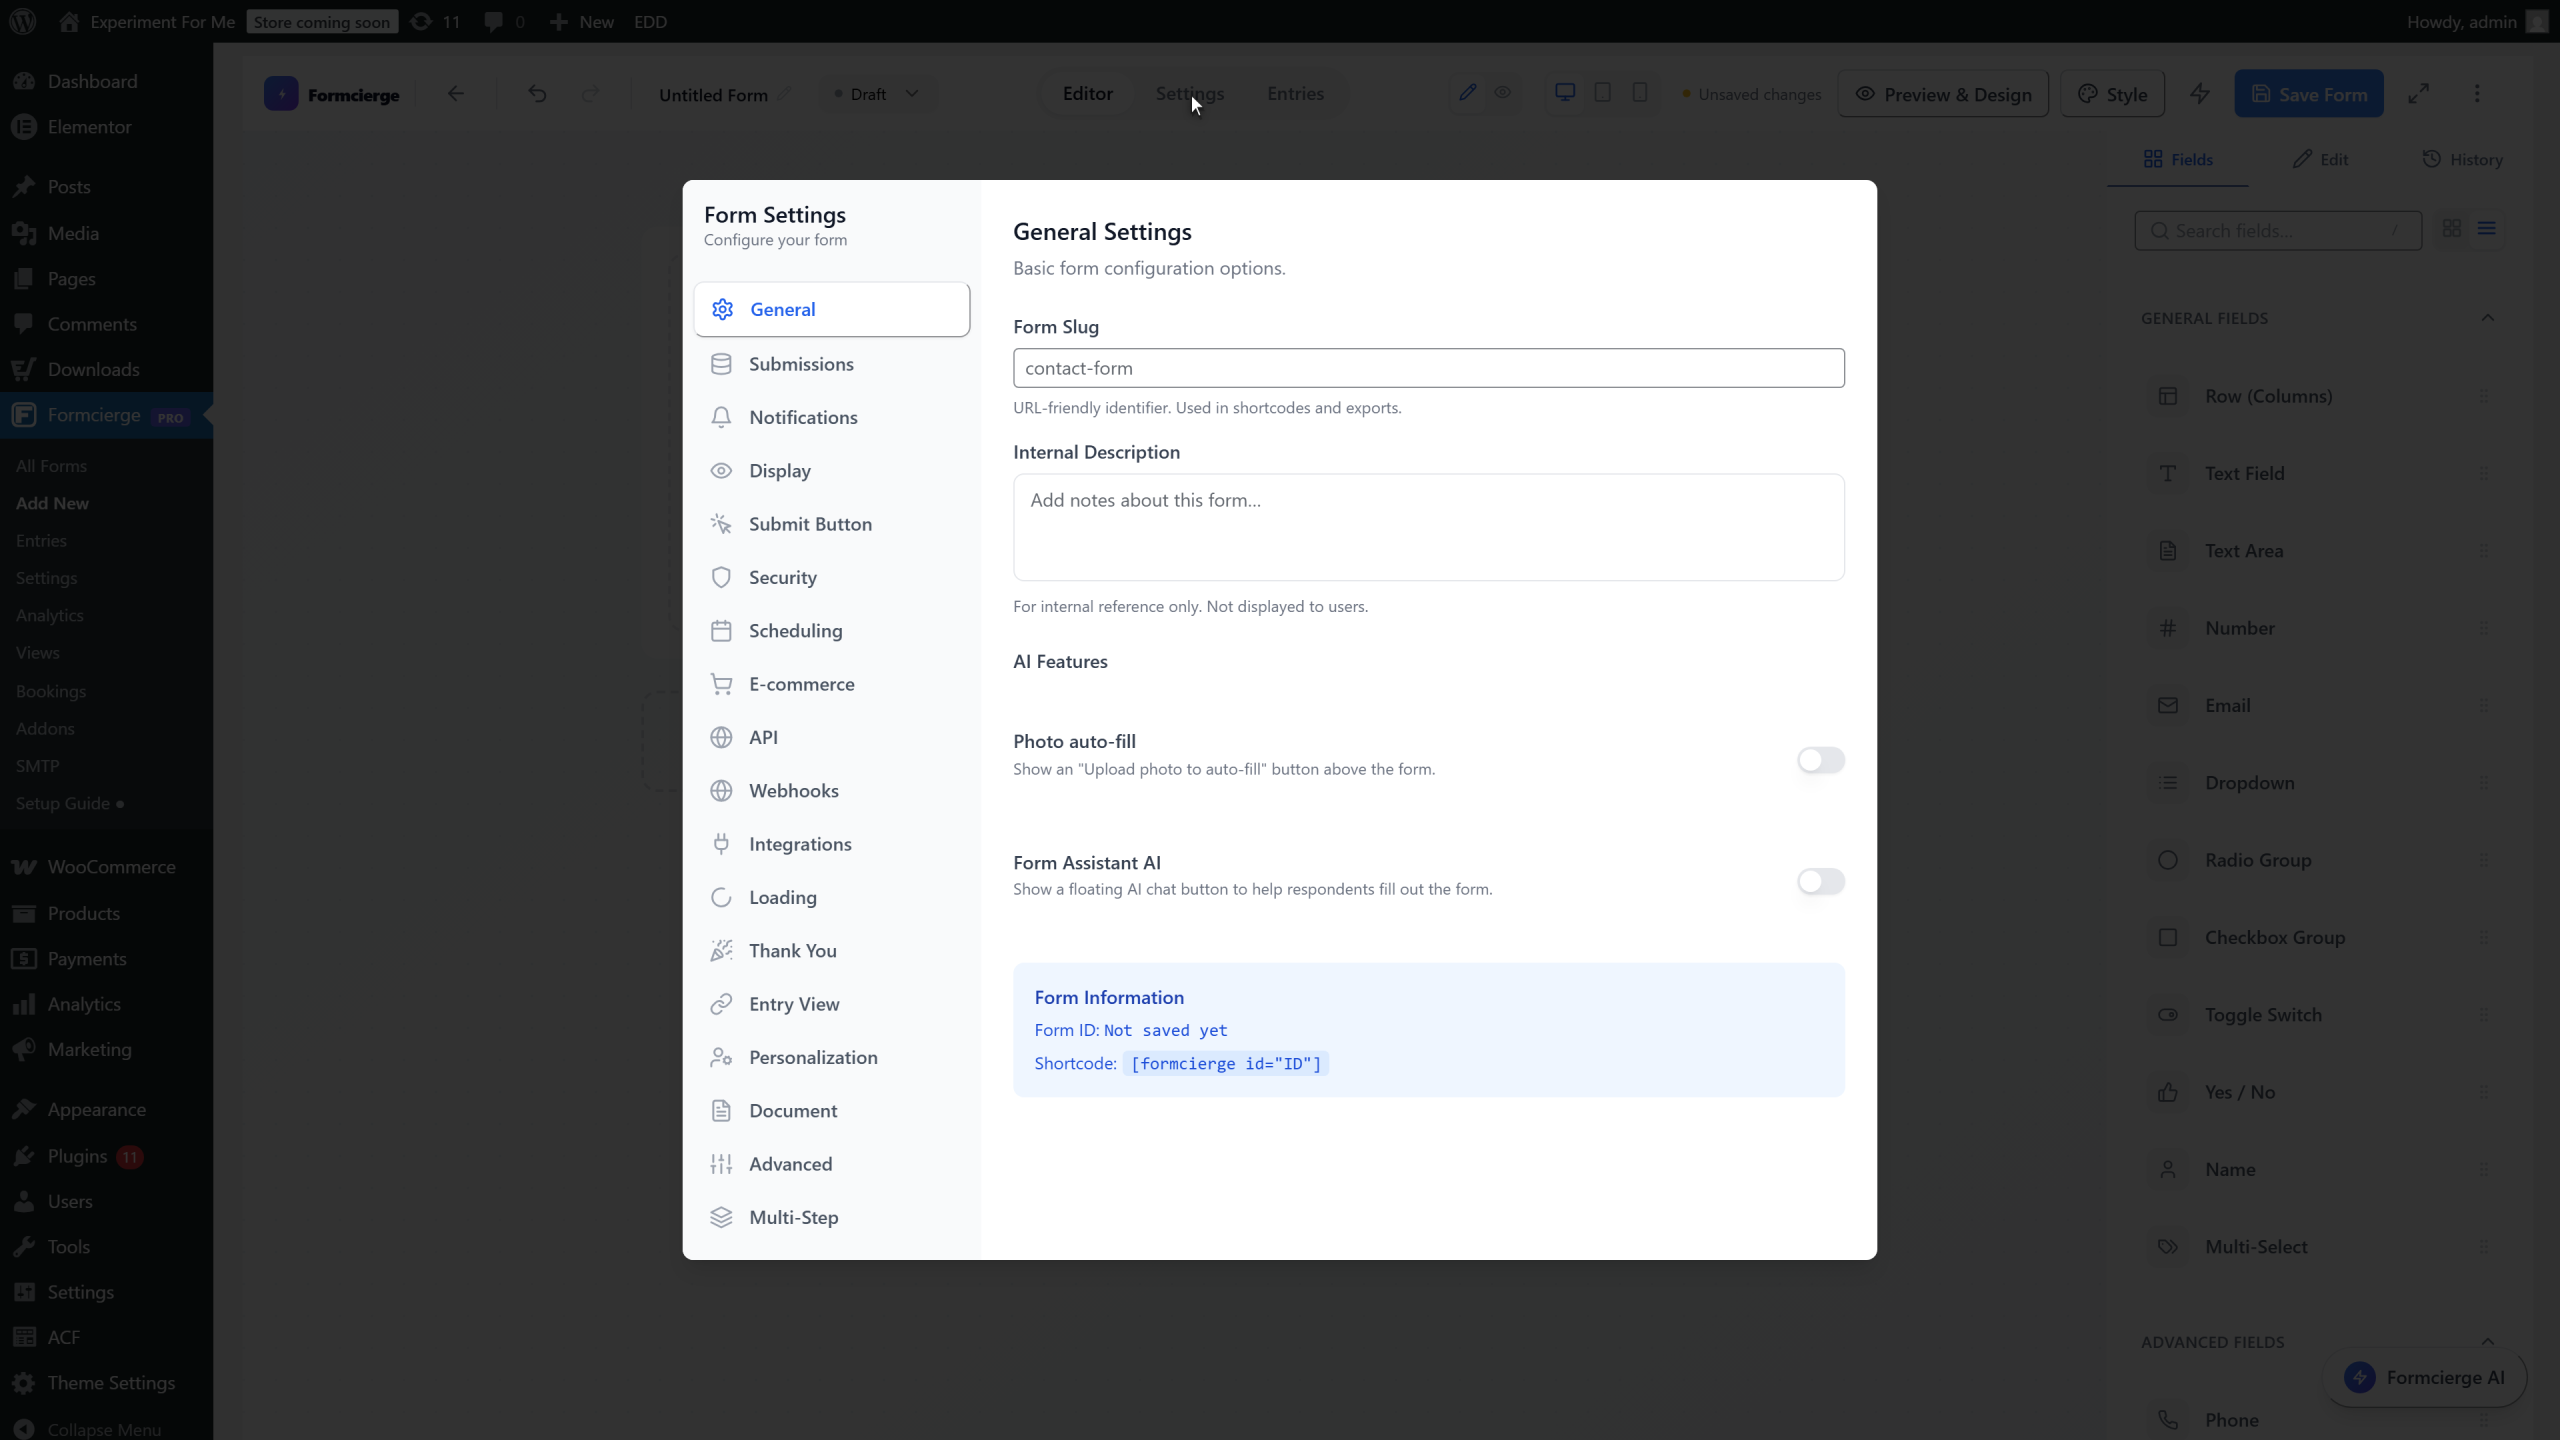
The **General** tab shows the shortcode in the format `[formcierge id="X"]`. This shortcode is permanent — it will never change even if you rename the form or move it to a different page. Write it down or copy it to your clipboard now.
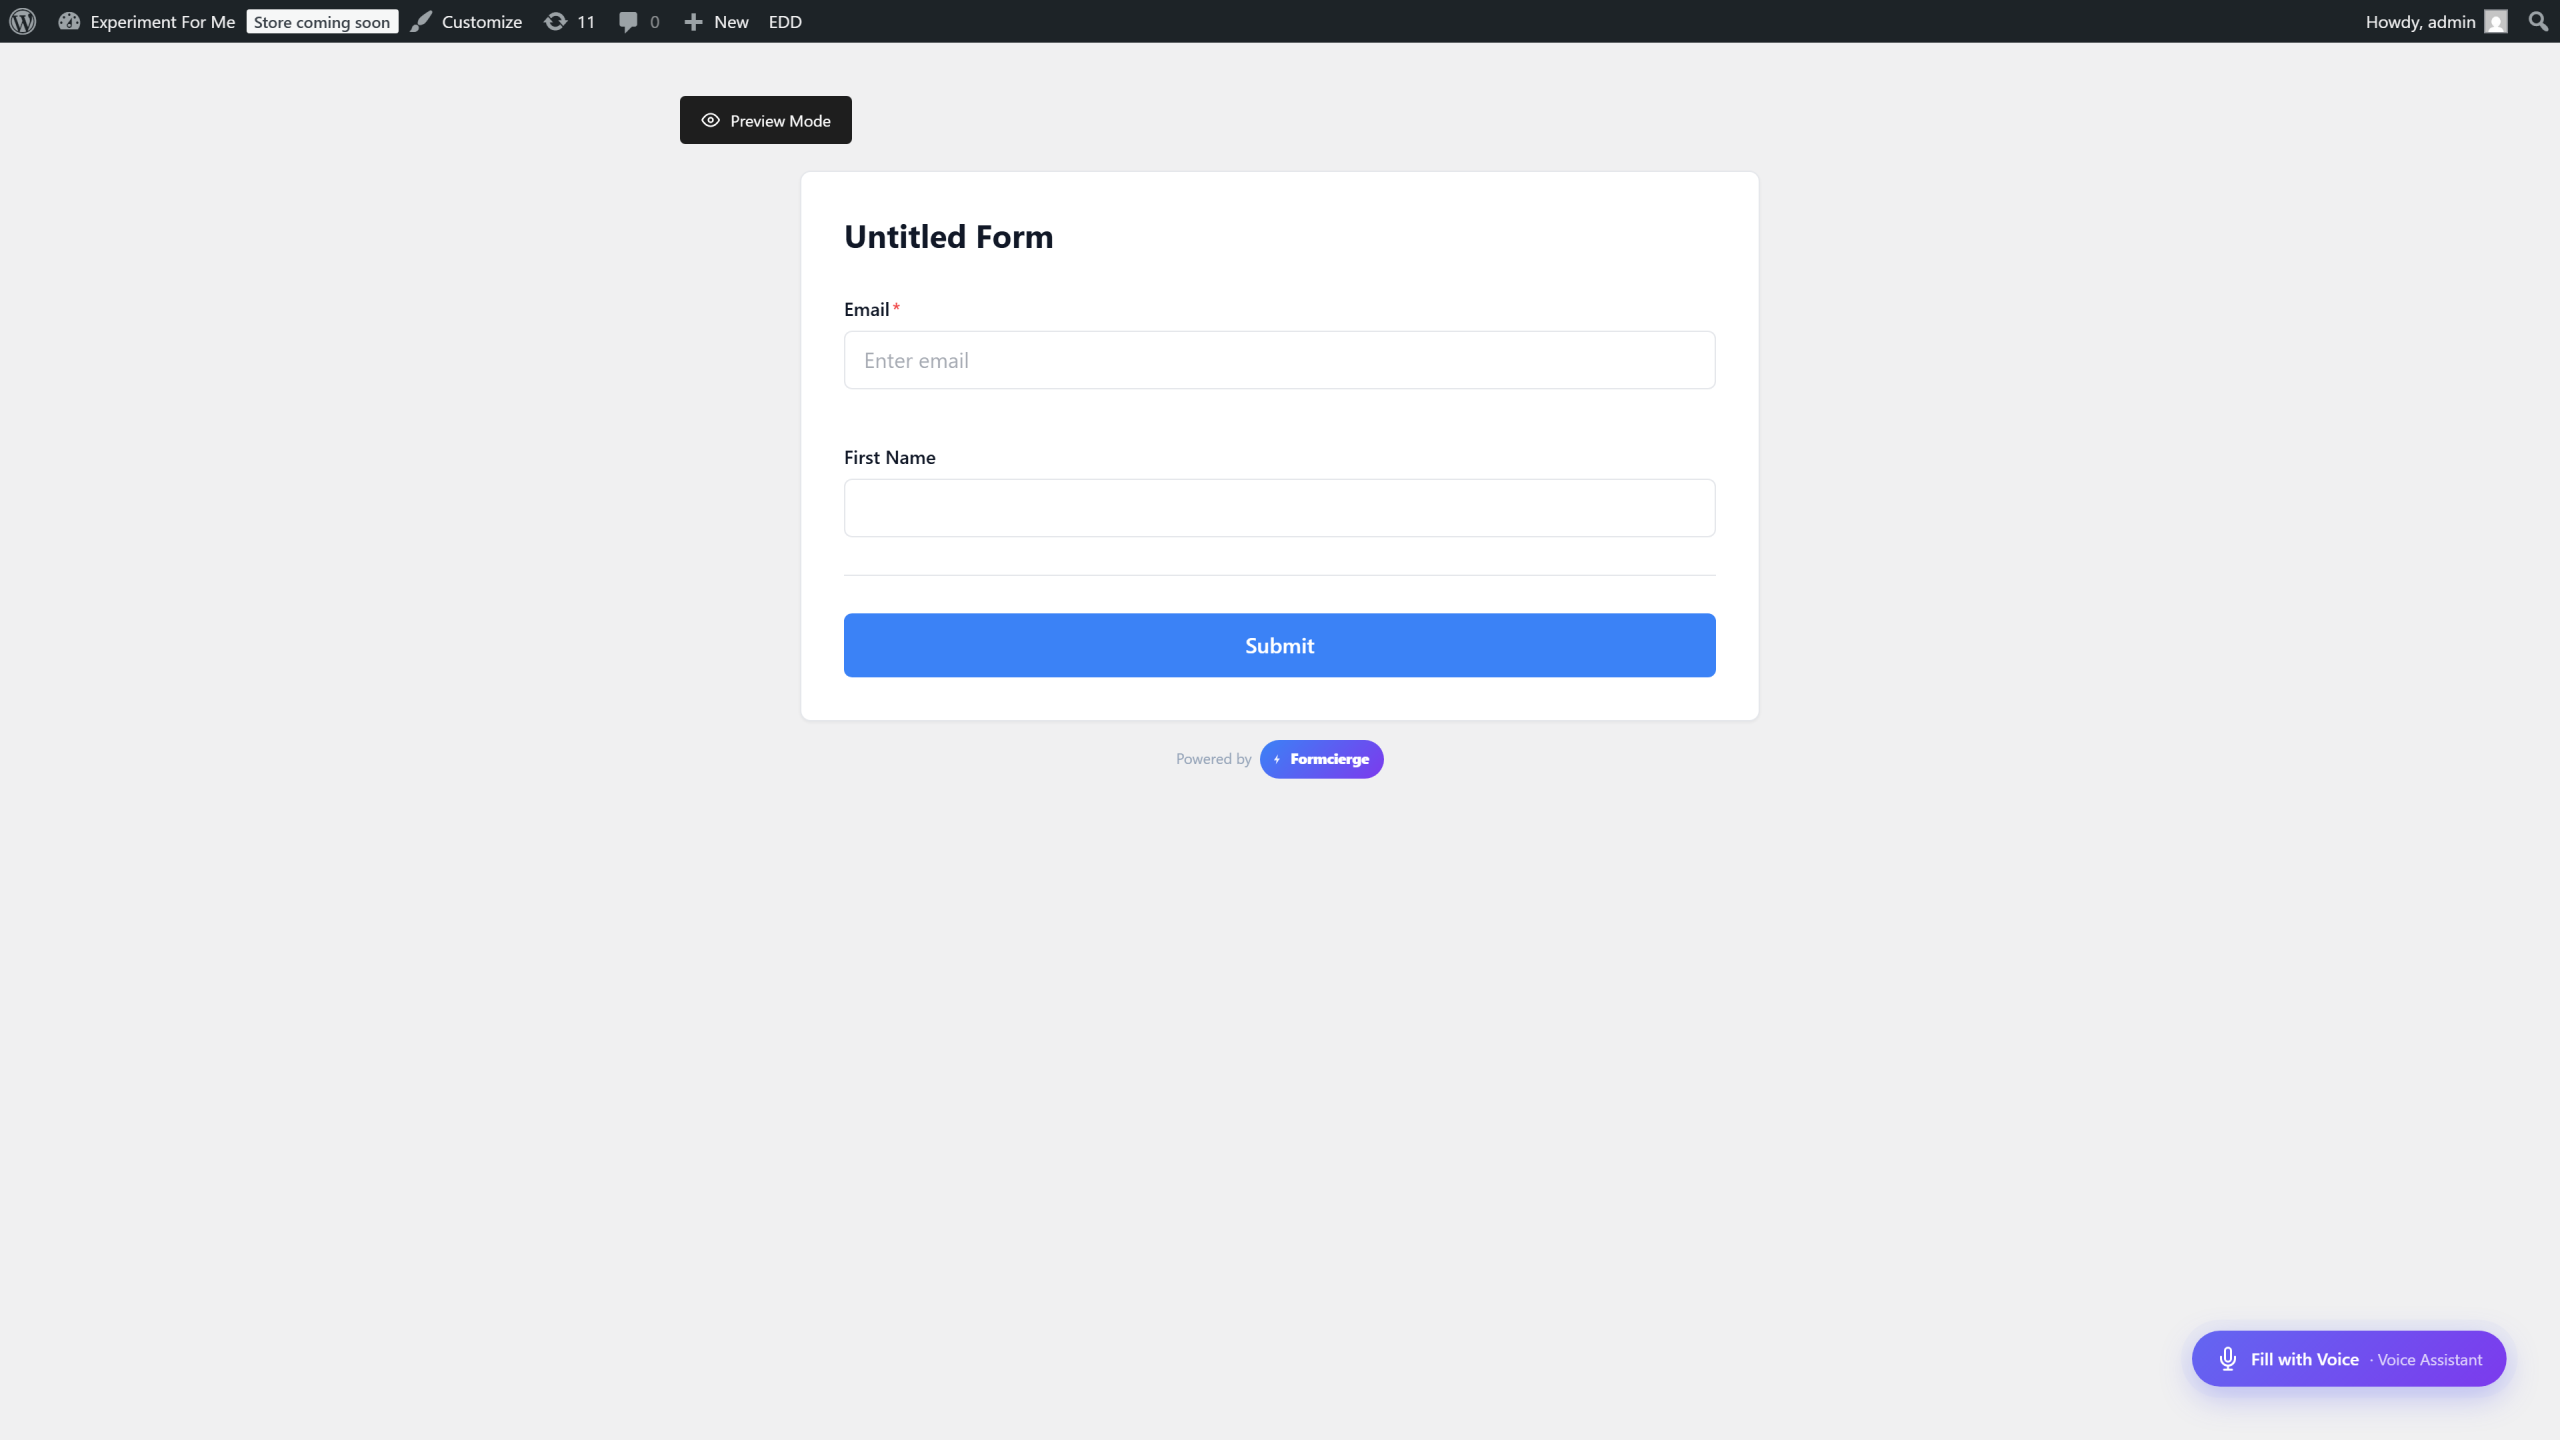
Close the settings modal and click **Preview** in the top bar. The preview opens in a clean, isolated page with no WordPress theme chrome around it — this makes it easy to focus on the form itself. You will see the two fields, their labels, and the Submit button.
On the preview page, click **Submit** without filling in any fields. Formcierge highlights the required **Email** field in red and shows a validation message. This is the built-in client-side validation — it runs instantly in the browser, before anything is sent to the server, giving visitors immediate feedback.
Fill in a test email address (e.g. `test@example.com`) and click **Submit**. The form processes the submission and shows the **thank-you message** — by default this is a simple *Thank you for your submission!* message. You can customise this message in Form Settings → Thank You.

Click **← Back to Builder** at the top of the preview page to return to the editor.

Make a small change — for example, click the Email field and update its **Placeholder** text. Notice the **Save Form** button in the top bar shows a small indicator that there are unsaved changes. Click **Save Form** again. Subsequent saves are faster than the first — Formcierge updates the existing form record rather than creating a new one. The same shortcode and Form ID remain unchanged.

To put the form in front of real visitors, go to **Pages → Add New** in WordPress. In the Gutenberg editor click **+**, search for **Shortcode**, and add the Shortcode block. Paste `[formcierge id="5"]` (your actual ID) and click **Publish**. Visit the page — your form is now live and accepting real submissions. Every entry is stored in **Formcierge → Entries**.

Video Walkthrough
Watch the full step-by-step tutorial